How to Create a Form in Excel (2022 Guide)
Udn Webber
Editorial Coordinator
Let’s say you own a hot sauce company.
Having an Excel customer feedback form will tell you how tasty 😋 and spicy 🌶️ your sauce is. Beats asking people individually, any day, right?
So whether you want to survey customers, take client feedback, or collect data from employees, Excel forms can be handy.
But how do you create a form in Excel in the first place?!
In this article, you’ll learn how to create a form in Excel.
We’ll also go over its limitations and suggest an alternative tool to create forms easily .
Make way for the hot sauce feedback with a quick Excel form!
What Are Excel Forms?
An Excel form is a data collection tool from Microsoft Excel . It’s basically a dialog box containing fields for a single record.
In each record, you can enter up to 32 fields, and your Excel worksheet column headers become the form field names.
What are the benefits of using an Excel data entry form?
Now Excel isn’t easy.
Its endless cells make it difficult to know where to feed what data.
Like trying to understand what ‘mild’ means when all you know and love is spicy sauces!
This is why people use Excel forms to make quick data entries in the right fields without scrolling up and down the whole worksheet.
No more entering data into an Excel spreadsheet row after row after row after row…
An Excel data entry form lets you:
Sounds quite helpful. So let’s learn how to create an Excel form.
How To Create A Form In Excel?
Before you cook up a form in Excel, you gotta do the prep work.
First, you must have your columns or fields ready.
They’re your raw ingredients, like chili peppers or ginger, ready for your sauce.
You also have to find the ‘Form’ option.
No worries.
We’ll help you make a table, find the ‘Form’ option, and create an Excel form using a step-by-step guide:
Step 1: Make a quick Excel table
Open an Excel spreadsheet, and you’ll start on the first sheet tab (by default).
For this form, you’re the owner of a hot sauce company.
And we’re gonna make a customer feedback form for your delicious sauce.
Here’s an example of the columns you can add to your Excel worksheet:
Now you have to convert your column names into a table.
Just select the column headers > click on Insert > Tables > Table .
A tiny dialog box should pop up. Make sure to tick the My table has headers checkbox.
Click on OK, and you should get an Excel table as shown in the image below.
Here, you can adjust the column width depending on the data the field may contain.
Step 2: Add data entry form option to the Excel ribbon
Take a good look at your Excel worksheet.
Check the row of tabs and icons at the top of the Excel window (ribbon). You won’t find the option to use a data entry form in any ribbon tab.
Don’t worry. It’s perfectly normal.
You have to add the ‘form’ option to the Excel sheet ribbon . To do this:
Did it work? If yes, congratulations!
In case it didn’t allow you to add the Form command button or option, just click on New Tab > Rename > Name it ‘Form’ > click OK .
Then, click on New Group > Add .
Make sure the Form option is selected when you click Add.
And that’s it! You have finally completed adding the Form icon to the ribbon.
To access it quickly in your workbook, click on Quick Access Toolbar in the same Excel Options dialog box you used earlier.
Select Form under All Commands > click Add . Then, hit enter.
And voila!
You’ll notice the Form button or icon appear on the green area at the top of the Excel workbook in the quick access toolbar.
Step 3: Enter form data
Now, you can click on any cell in your table and then on the Form icon to input form data.
A dialog box should open with the field names and some button options such as New , Delete , Restore , and criteria button .
This is a customized data entry form based on the fields in our data.
Enter the desired data in the fields and click on the form button New .
That should make the data appear in your Excel table.
Click on Close to leave the dialog box and view your data table.
Repeat the process till you have entered all the data you want.
Step 4: Restrict data entry based on conditions
If your hot sauce form contains certain criteria or rules for filling fields, data validation can be useful. It ensures your customers’ data conforms to a few conditions.
For example, you want the sauce feedback field to only accept short texts. So you can create a data validation rule to allow only a specific text length.
If a customer enters feedback longer than what you want, it will not be allowed, and they will see an error.
Here’s how you can set these data entry form control conditions:
Here we chose the condition ‘less than’ and set the feedback character limit to a maximum ‘10’.
Now, when you use the data entry form to enter text in the feedback column, and if it isn’t a text under ten characters, it won’t be allowed.
You’ll be alerted with a sound and this error message.
But this is just an example.
Don’t stop your customers from singing praises for your sauce! 😛
Data validation only helps ensure people don’t fill in wrong data in the fields.
I mean, what if someone enters the feedback ‘amazing’ in the name field?
Great idea for a name, but no help for your data collection efforts! 😜
Step 5: Start collecting data

You can now collect data using any of these options:
You’ll find all these options by clicking on share on the top right corner of your sheet.
Note : This process is different from creating a custom form using Excel VBA (Visual Basics for Application). Excel VBA is a Microsoft Excel programming language used to automate tasks and perform other functions such as create a text box , userform , etc.
The Excel VBA user form isn’t an ideal option since it’s even more complicated to set up.
3 Limitations Of Creating Forms In Excel
Excel does kind of speed up the data entry process using the form functionality.
However, it doesn’t make it fun, and that’s just one of its limitations.
Here are some more limitations that might make you want to reconsider using an Excel data entry form:
1. Formula restrictions
Excel formulas have split the world into two teams.
One finds it convenient, and the other finds it impossible.
Like how some people love hot sauces while others prefer something sweeter.
But with forms, you straight-up can’t enter an Excel formula into a data form field.
You just can’t.
Then why even use Excel?!
2. Field limit
Clearly, there’s a limit to how many fields there can be in an Excel form.
What do you do when you want more than 32 columns (fields)?
Wouldn’t it be easier to have a tool that wasn’t as complex as MS Excel and didn’t restrict fields?
3. Not the most user-friendly form
Excel can be difficult for many users because of the different functions and rules.
To create form in Excel, you must add a feature to the toolbar.
What’s with the hide and seek, Excel?
Oh, and it’s absolutely not user-friendly for Mac users.
Cause guess what?
The form command doesn’t even exist in the Mac version! *scoff*
Having second thoughts about Excel? Here are the top Excel alternatives .
Clearly, you need a tool that can make up for all the Excel form drawbacks and do more.
Good news!
Introducing UDN Task Manager , one of the world’s highest-rated productivity tool used by teams in small and big companies .
Create Effortless Forms Using UDN Task Manager
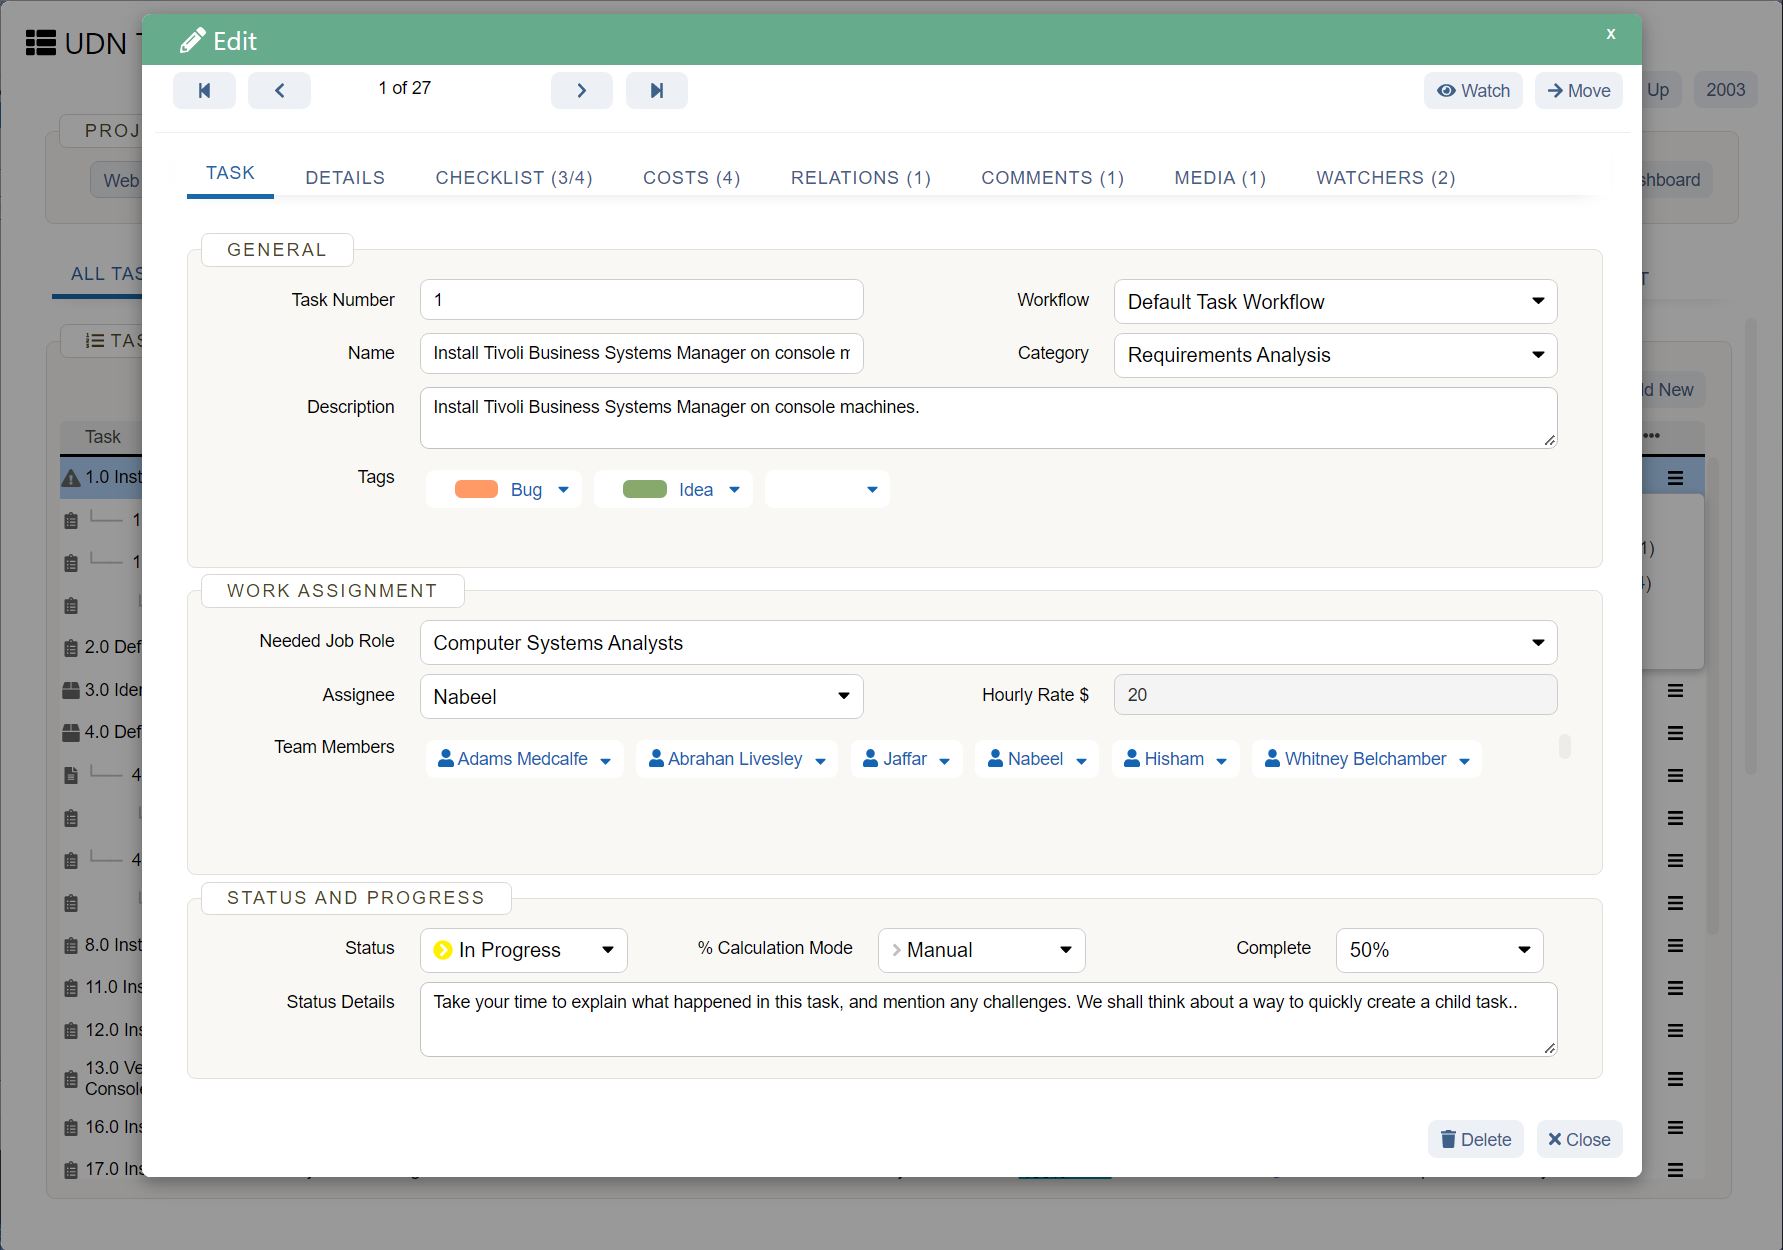
UDN Task Manager is the ultimate all-in-one tool to create forms.
What you’re looking for is our Form view .
And unlike Excel, we don’t hide it. Because we’re proud of it! 😎
We also want you to find it without reading a guide like you just did.
Check out these UDN Task Manager Form tips for educators! 🍎
To build a form in UDN Task Manager , you must add a form view in three simple steps:
Ensure that the name is something catchy or appropriate depending on the purpose of your form.
How’s ‘ Fire cannot kill a dragon ’ for a catchy hot sauce form title?
(Warning: Only people who love their spice will get this 😎)
Now let’s build this form!
You’ll find a bunch of fields on the left panel in the form view. Drag and drop them on your form, and that’s how easy it is to add a field.
The panel doesn’t have the field you’re looking for? No worries!
Just click on the field’s title to rename it.
But wait, we’re not close to done being awesome.
Did you know you can also add your company branding in the form view?
After you complete it, it’s time to share your form.
Spot the ‘Share’ icon on the top right of the form view. Click on it to copy the direct link for your form to share it with anyone you like.
Or you can build the form into a page via the HTML code through the ‘ embed code’ section.
Bonus: Form building tips for UDN Task Manager .
And lastly, we’re pretty sure you won’t need any other tool if you have UDN Task Manager forms.
But if you prefer other apps like Google Forms , UDN Task Manager can easily integrate with them too. The integration converts Google Forms responses into UDN Task Manager tasks automatically.
What’s more?
UDN Task Manager has so many more awesome features in store for you.
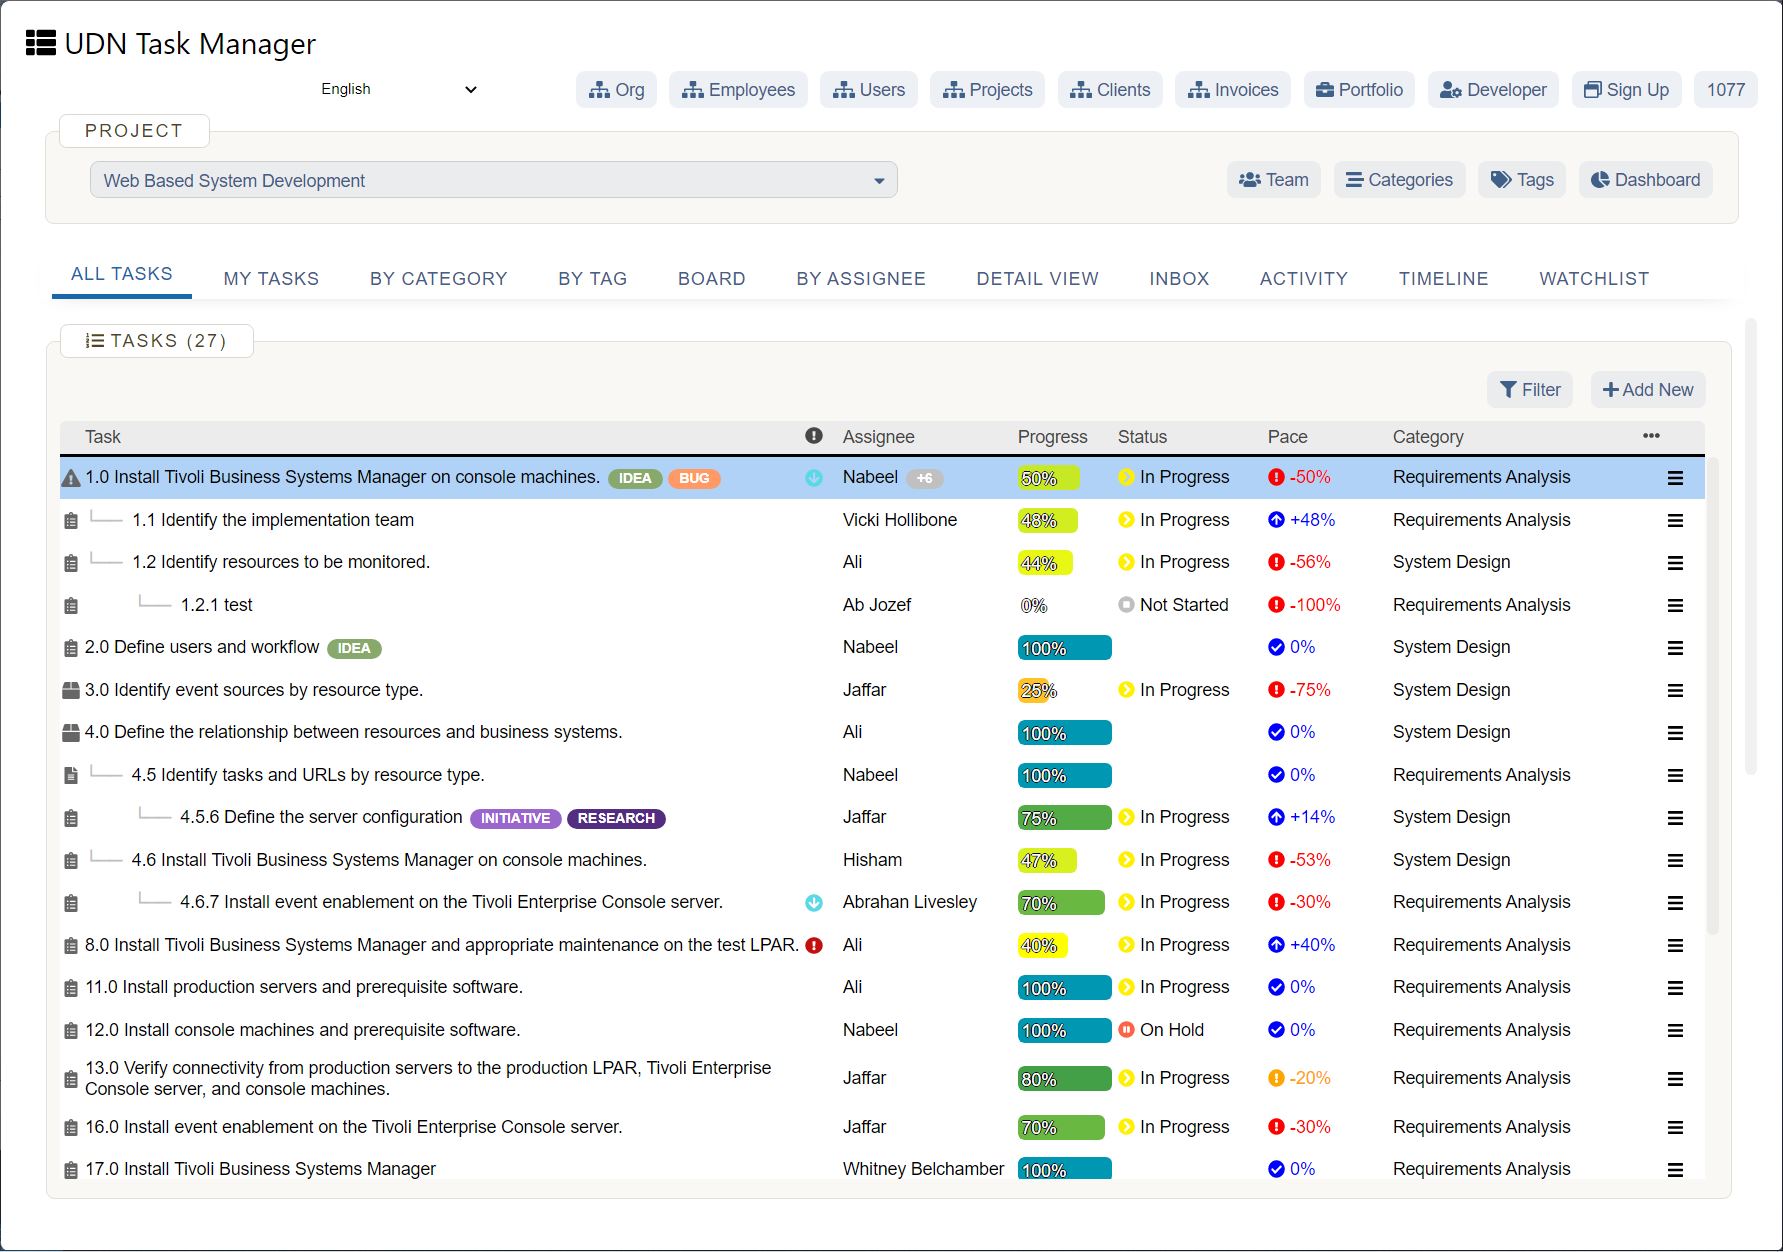
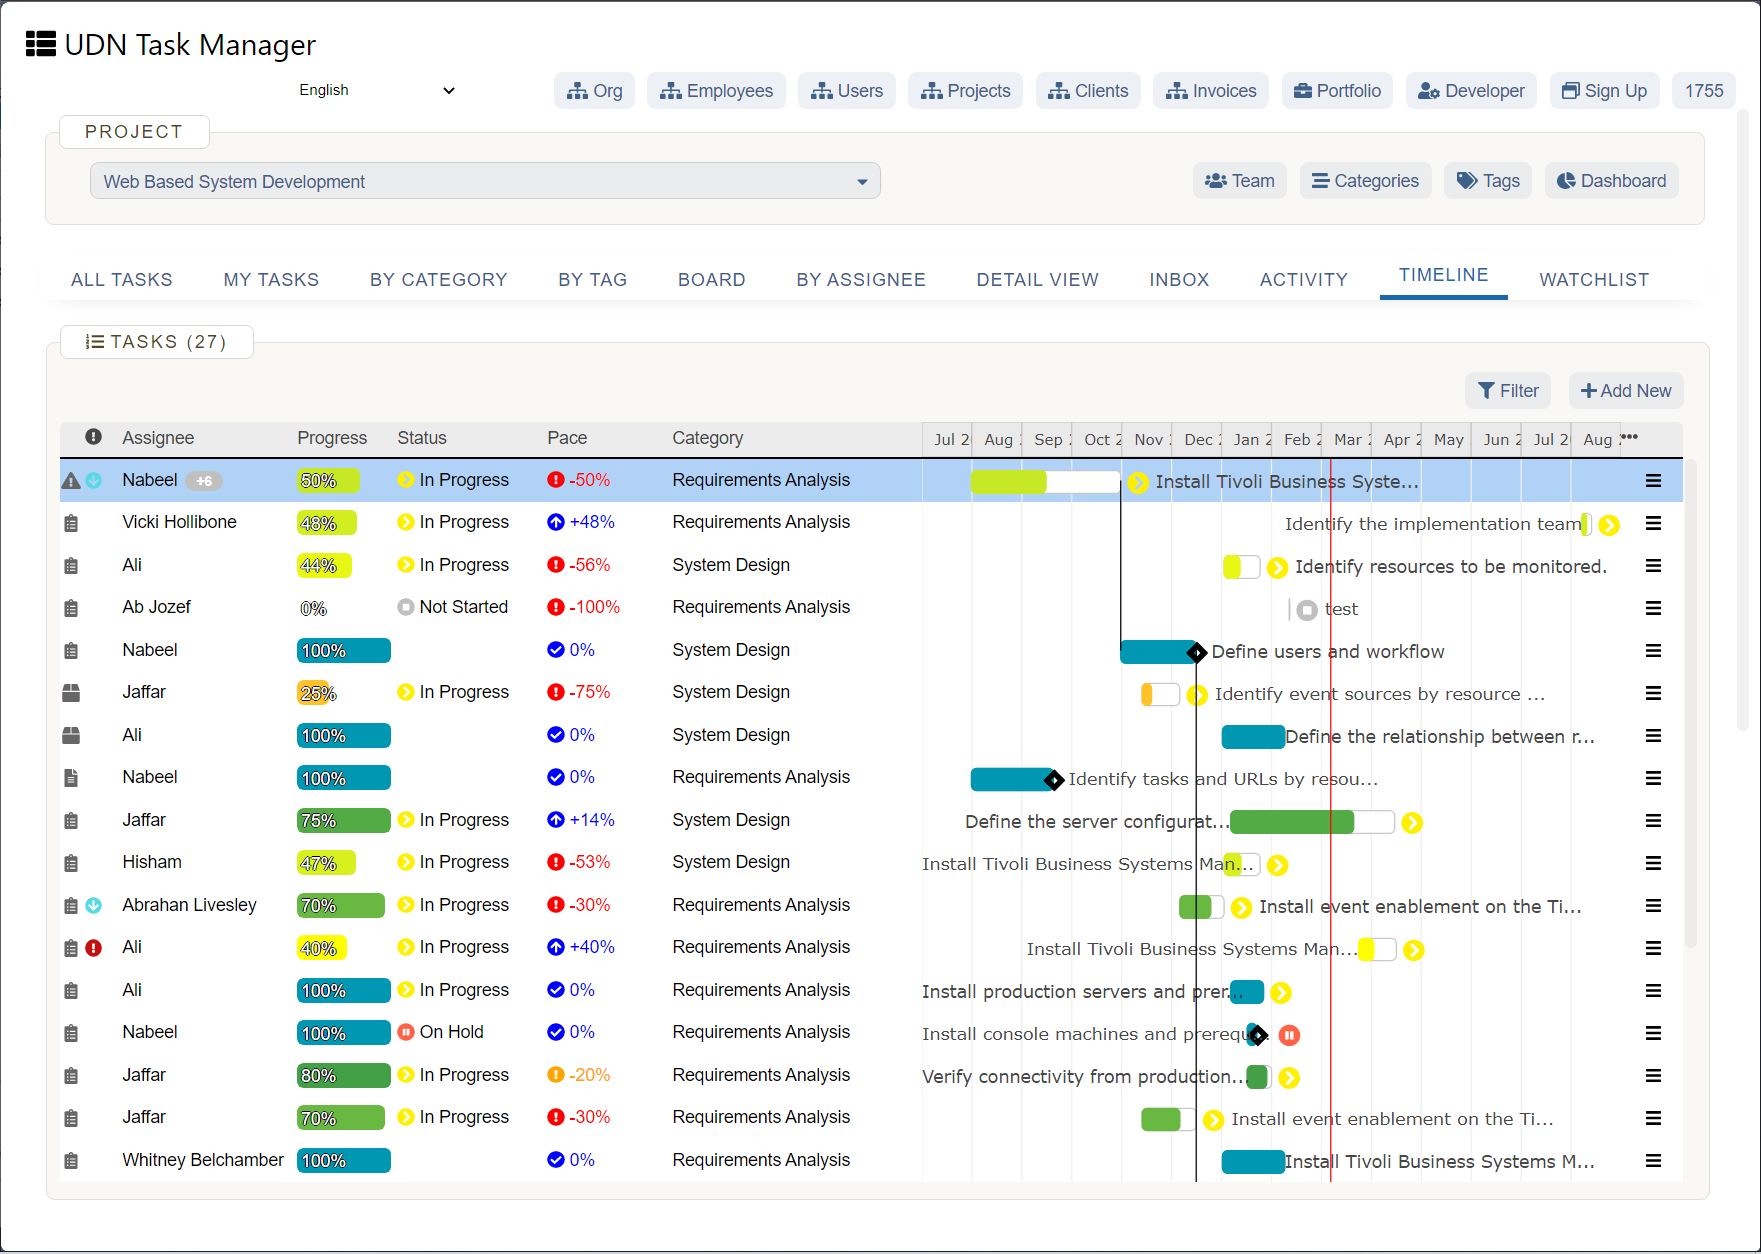
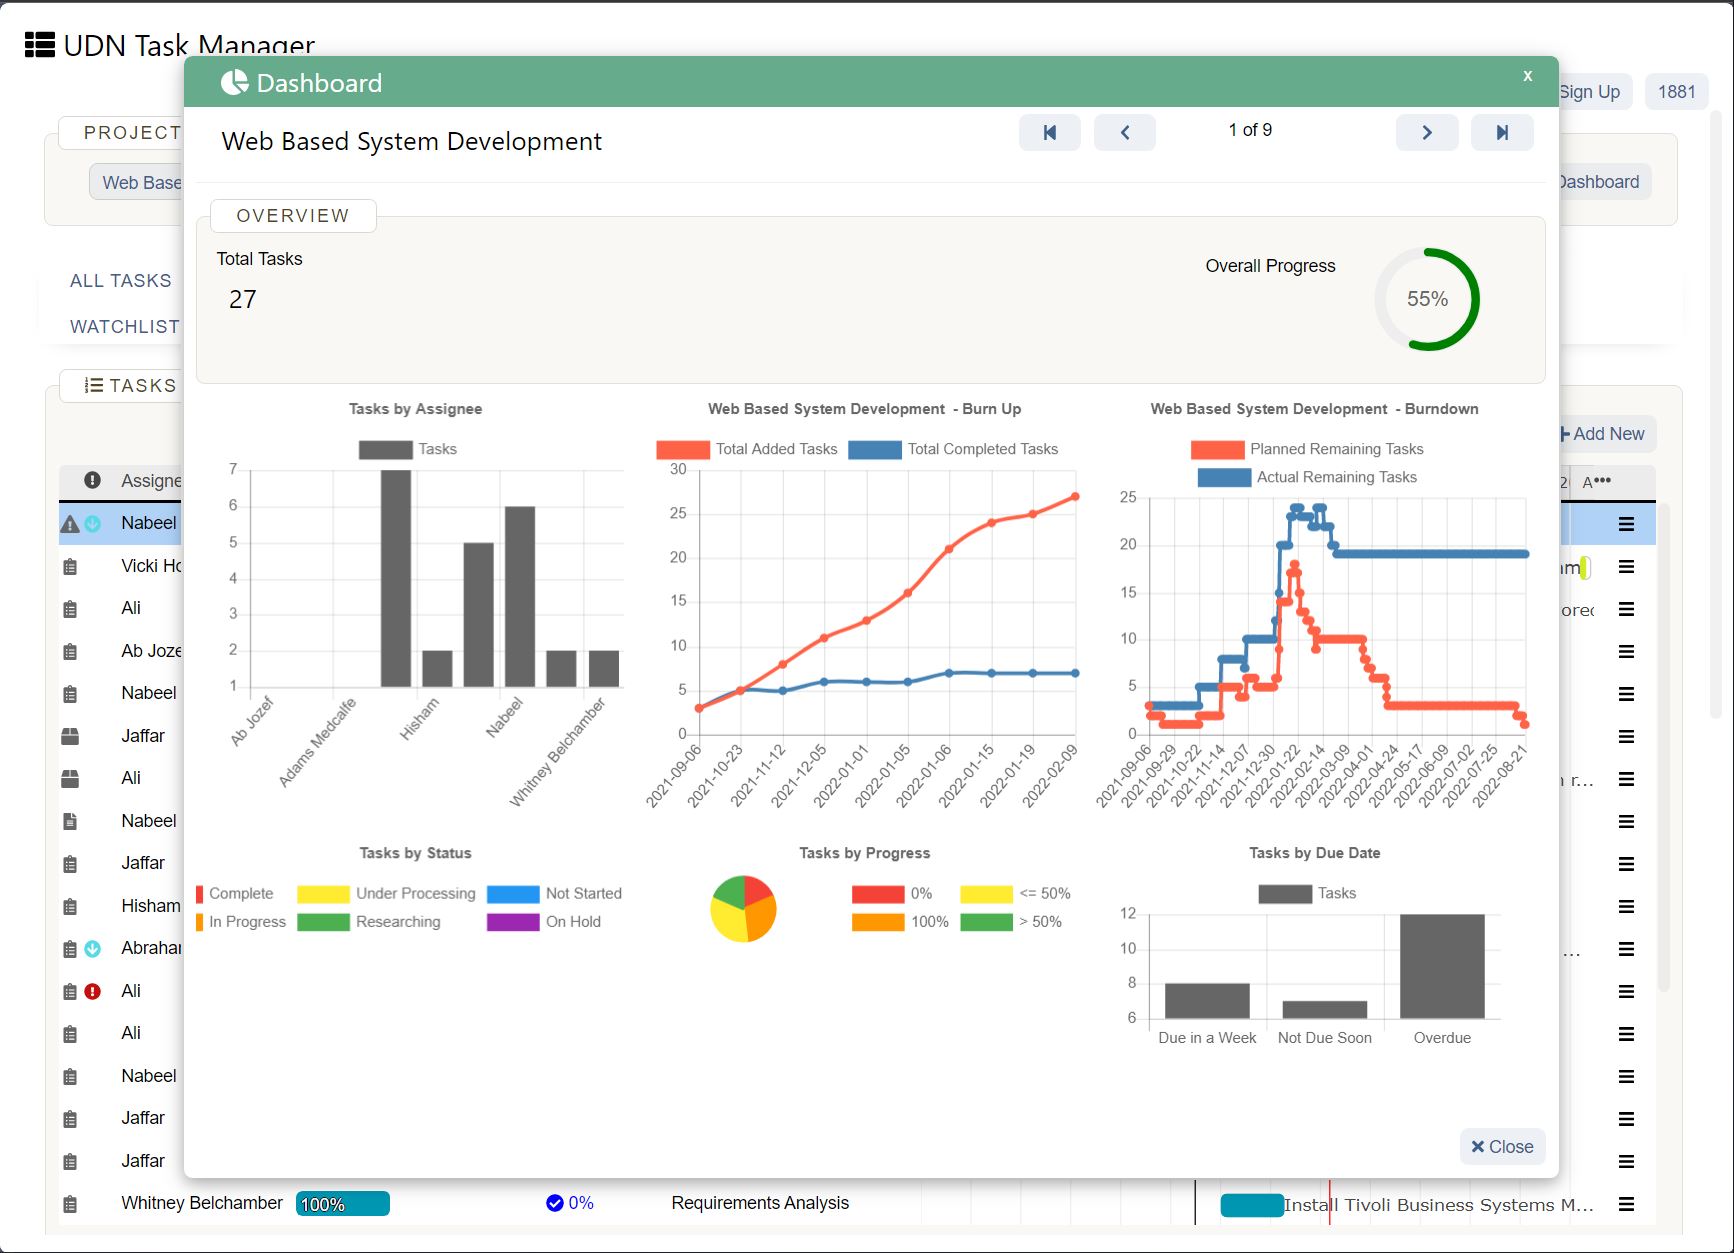
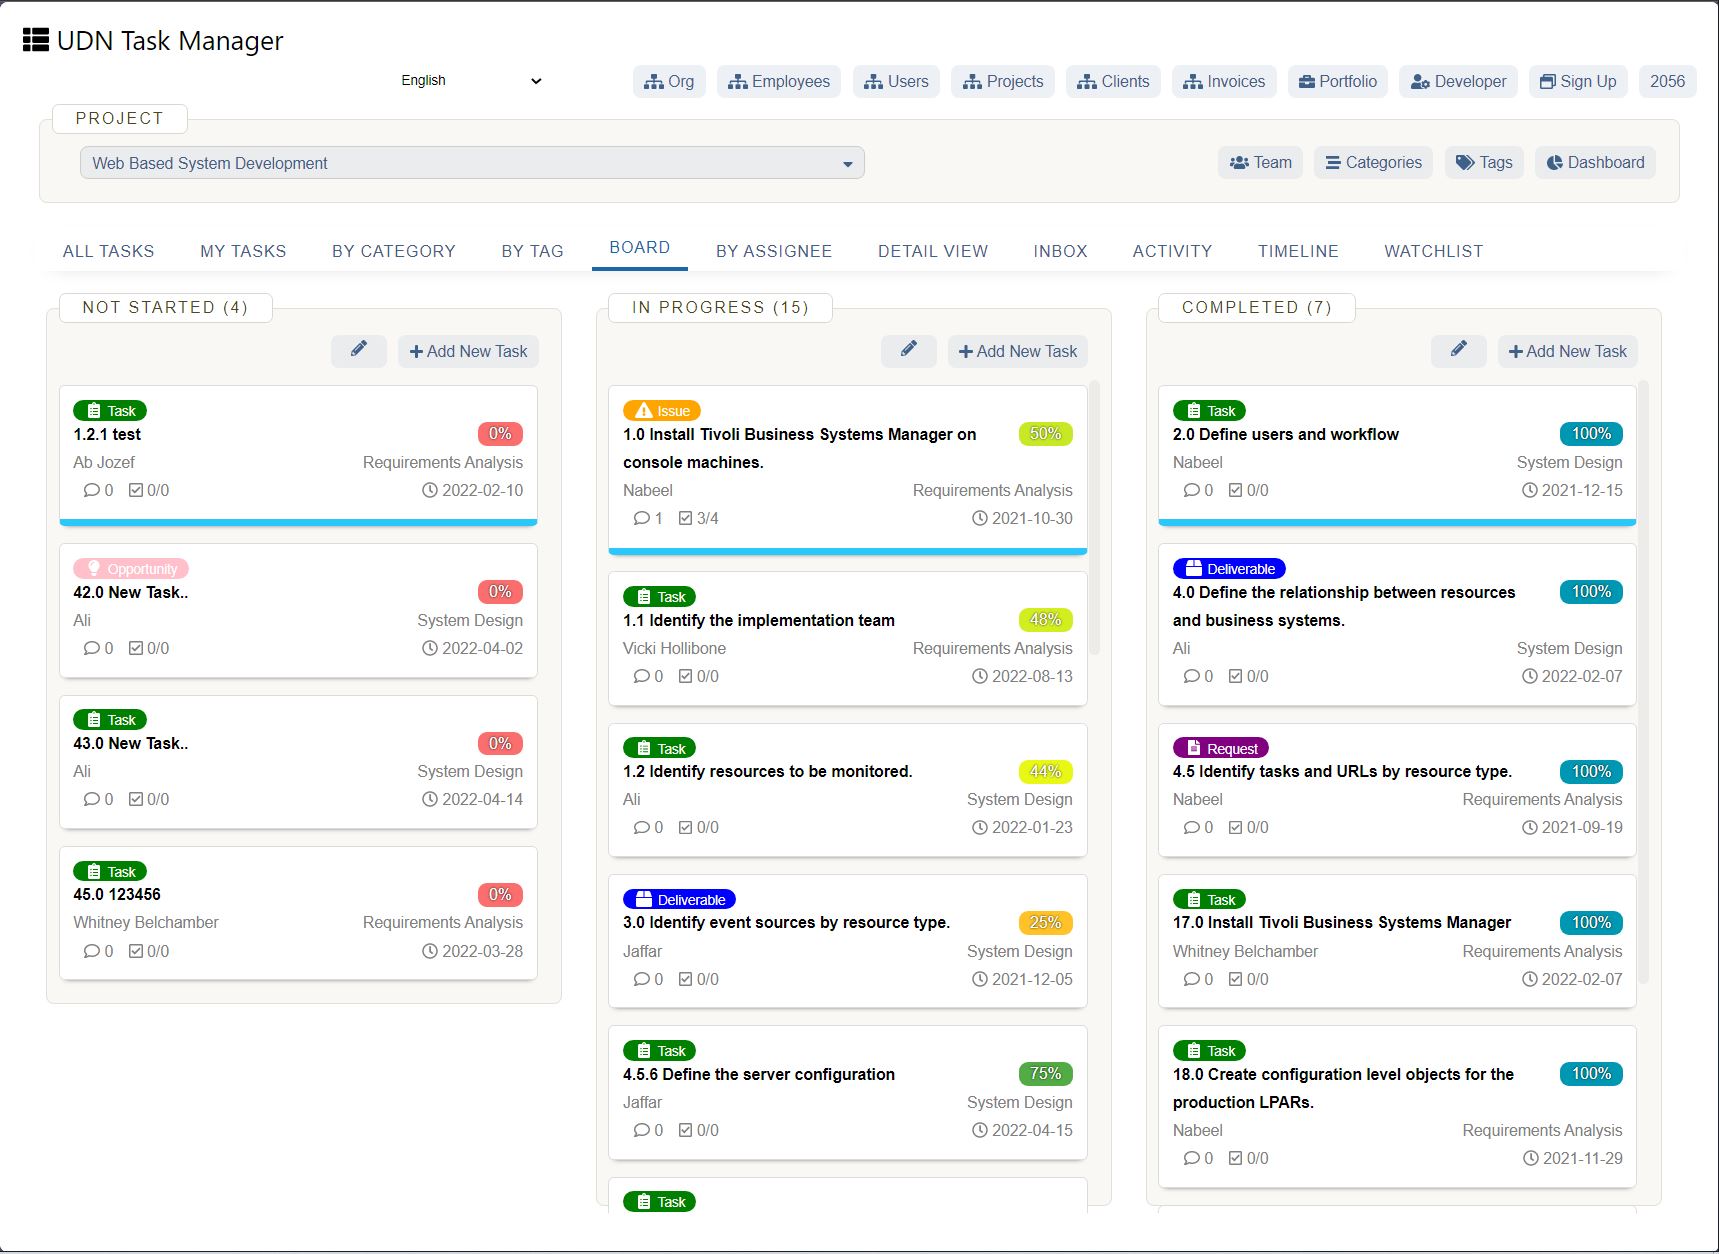
Here’s a sneak peek at some of the many features UDN Task Manager has to offer:
Excel Or UDN Task Manager : What’s Hot? 🔥
An Excel form is less of a form creator and more of an easy data entry application.
It can help you avoid mistakes if data entry is part of your daily work.
However, when it comes to creating forms, Excel doesn’t seem ideal.
Instead, try UDN Task Manager . It’s a powerful project management tool that lets you create custom forms using a simple drag and drop functionality.
If there’s anything you want to do beyond that, UDN Task Manager has a long list of features, including Mind maps , Workload view , Notepad , priorities , and more.
So you never have to leave the platform for anything. Save your precious time, people!
Use UDN Task Manager for free and create red-hot forms that nobody can resist!🌶️


