Process documentation: The ultimate how-to with examples
Summary
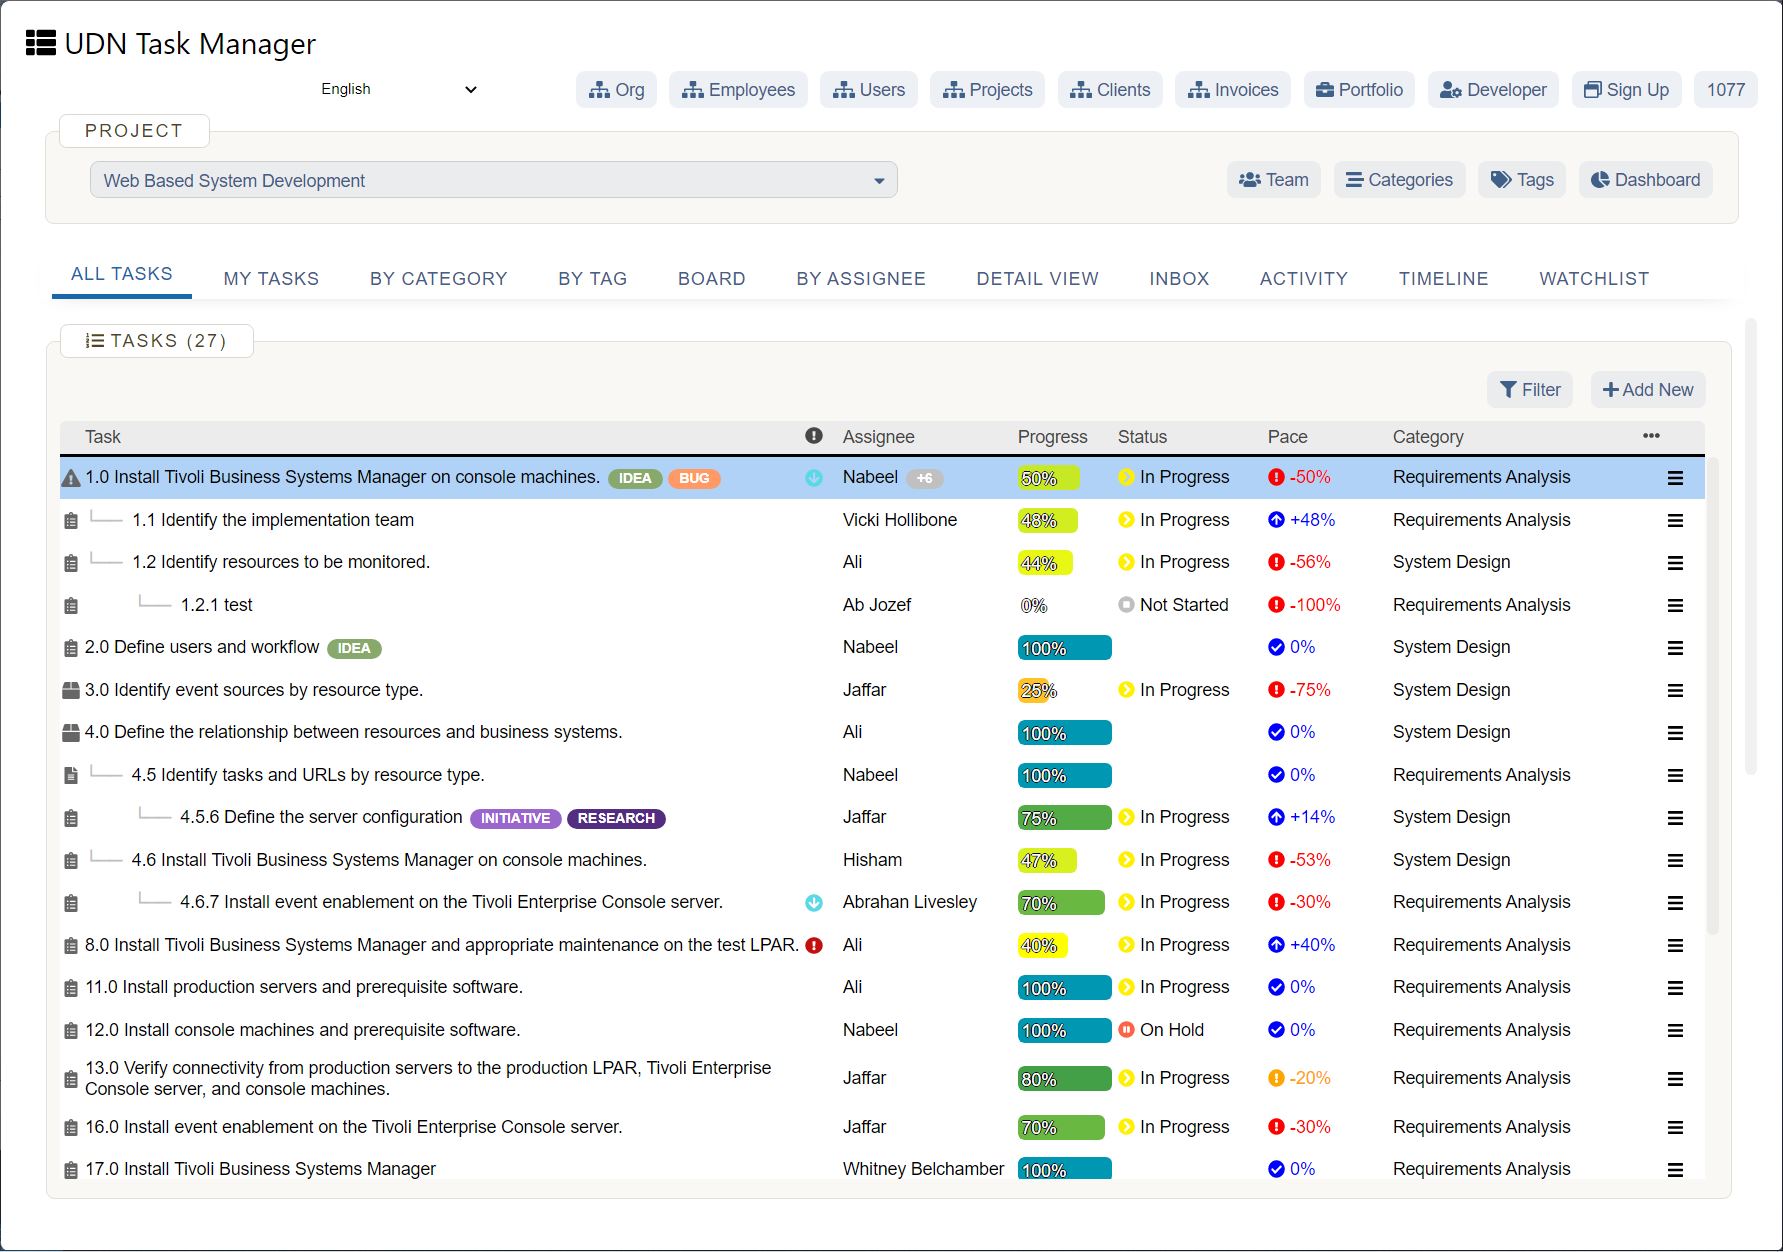
Process documentation is an internal, living document that details the tasks and steps needed to launch a new process. Learn how to create a process document, as well as the benefits of implementing one on your team.
Looking to execute a new process but aren’t sure how to get started? We have you covered. Process documentation is a detailed description of how to execute a process. It outlines the exact steps needed to complete a task from start to finish.
Creating a detailed document can align teamwork around process objectives and encourage organizational clarity. As a team leader, you have the opportunity to define which fields and functions best fit your team—from identifying process boundaries to documenting process steps.
Let’s go over the purpose of process documentation, how to create one (with examples), and the benefits of implementing it for your team.
What is process documentation?
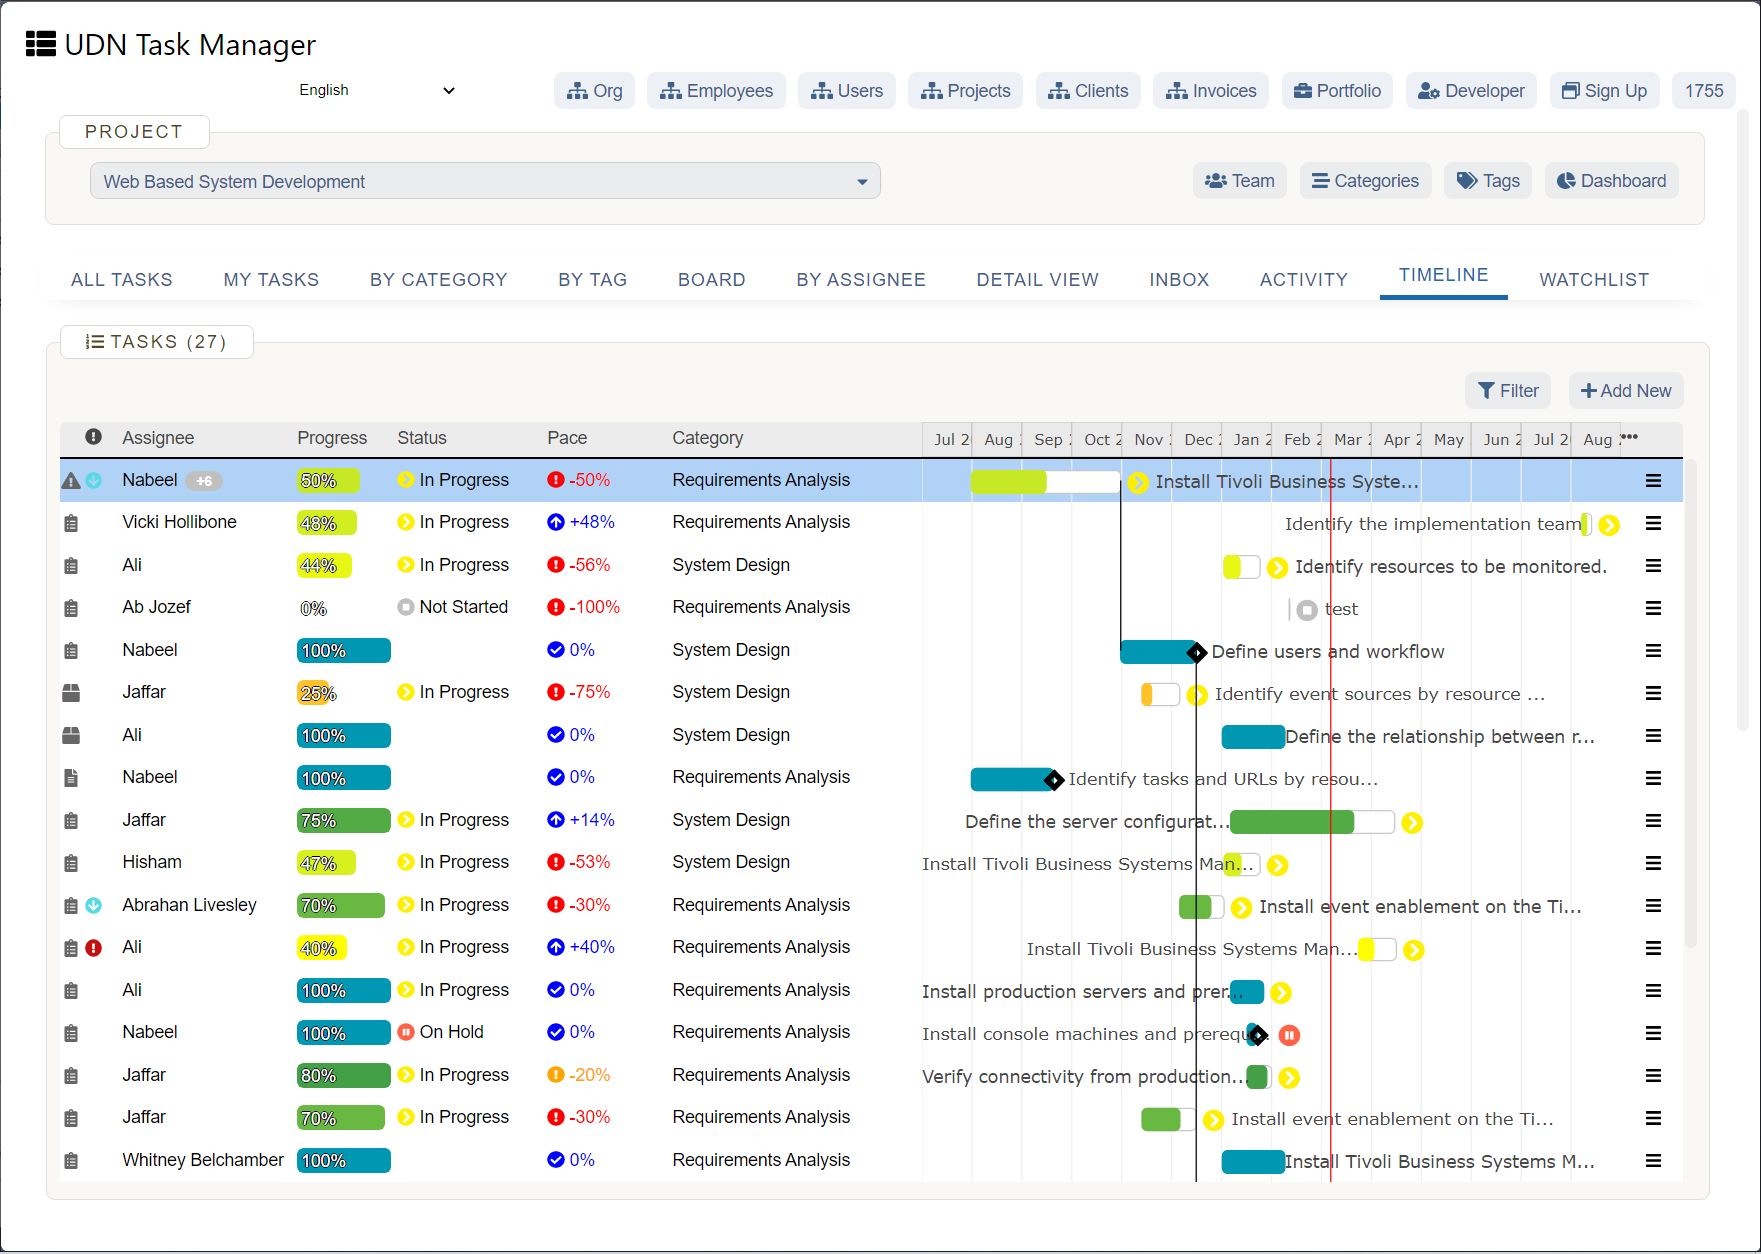
Process documentation is an internal, living document that details the tasks and steps needed to launch a new process.
From something as simple as onboarding new hires to bigger goals like changing team structure, it’s important to properly document and track the progress of new processes.
You can also create process documentation to streamline current processes. You may be surprised to learn just how many you have in your organization already—from deploying new tools to customer-facing communication.
Beyond keeping teams aligned, process documentation serves as a roadmap for team members which helps clarify the steps needed to create a new process. It also eliminates confusion between team members, serving as a go-to resource to refer back to on how to get something done.
Process documentation vs. process mapping
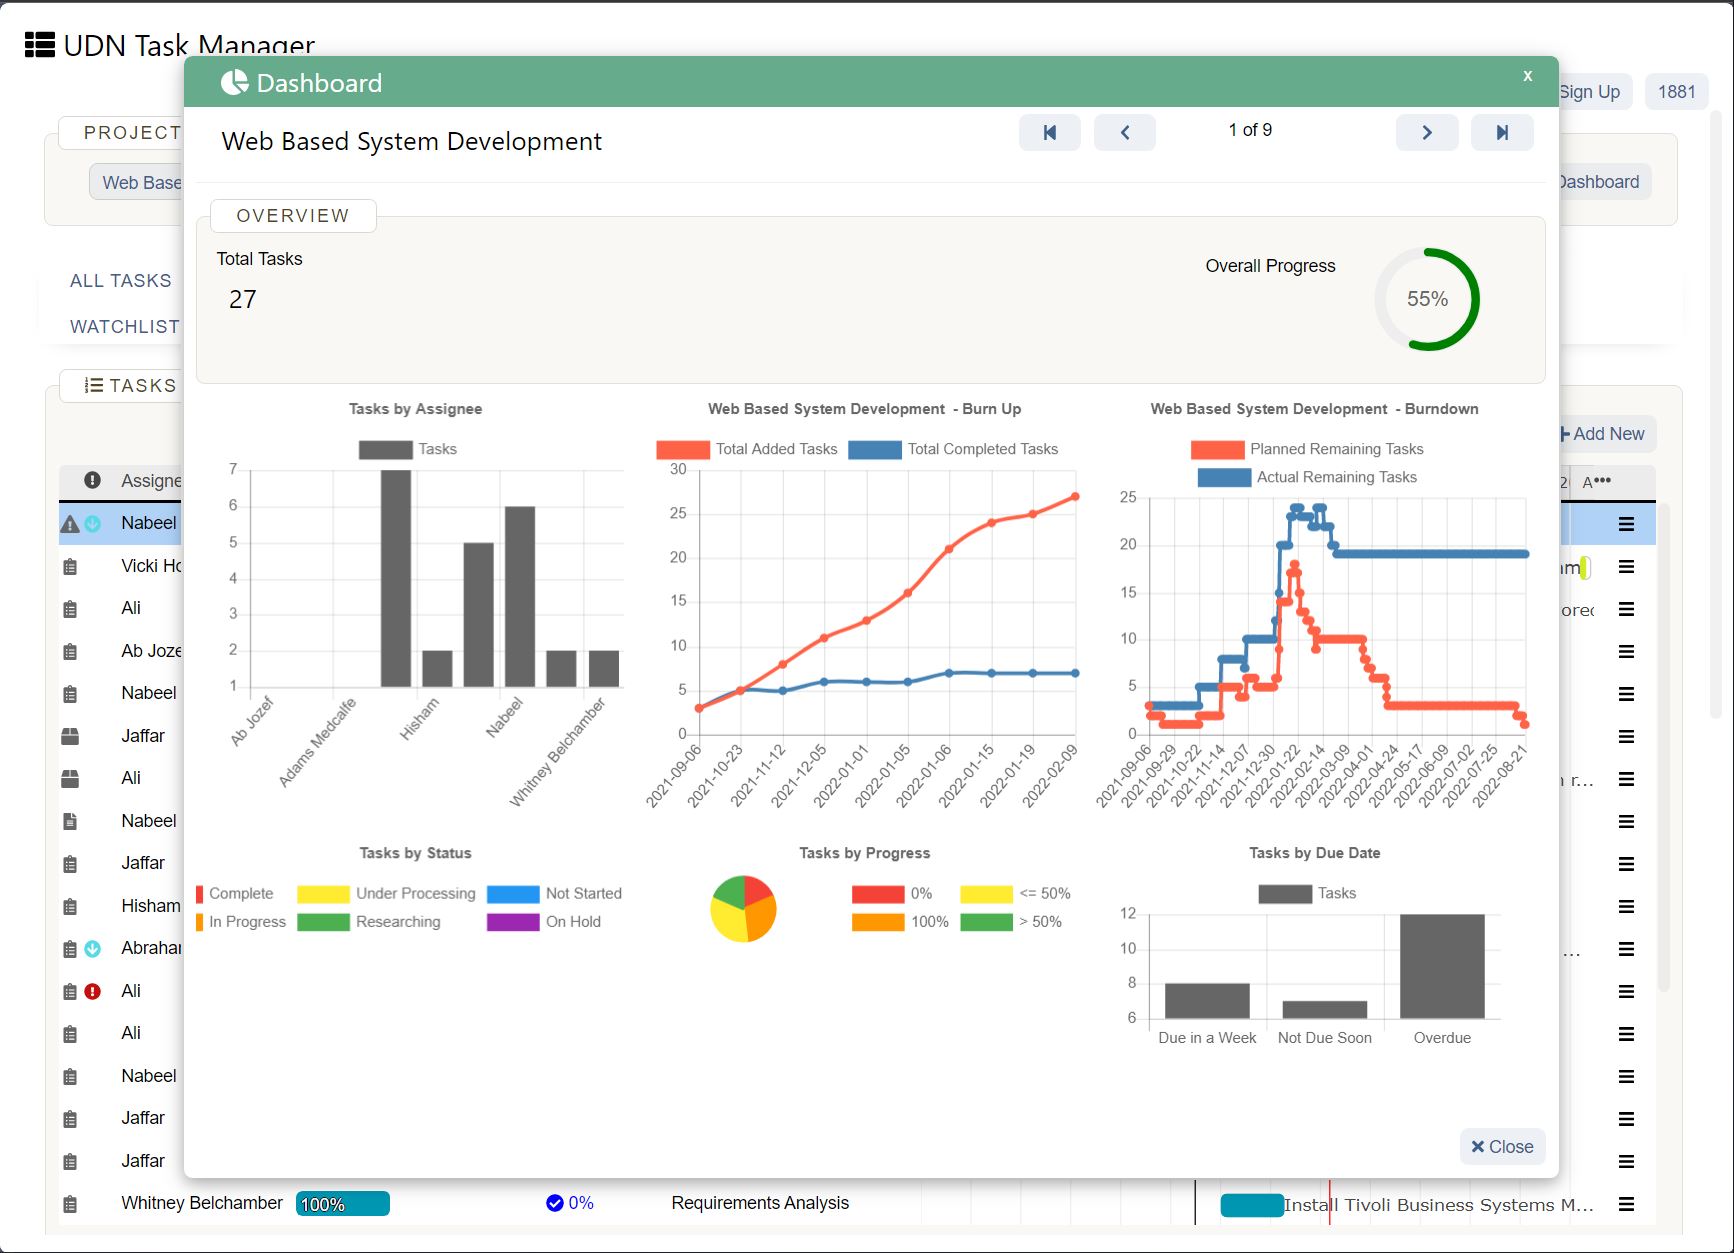
While the two terms sound similar, there are some key differences between process documentation and process mapping .
The main difference between the two is each system’s layout. Process documentation focuses on creating a written document outlining key details, while process mapping focuses on visualizing the process. And while process documentation does include a visual representation, it’s quite different from the in-depth visual of a process map.
How to create a process document
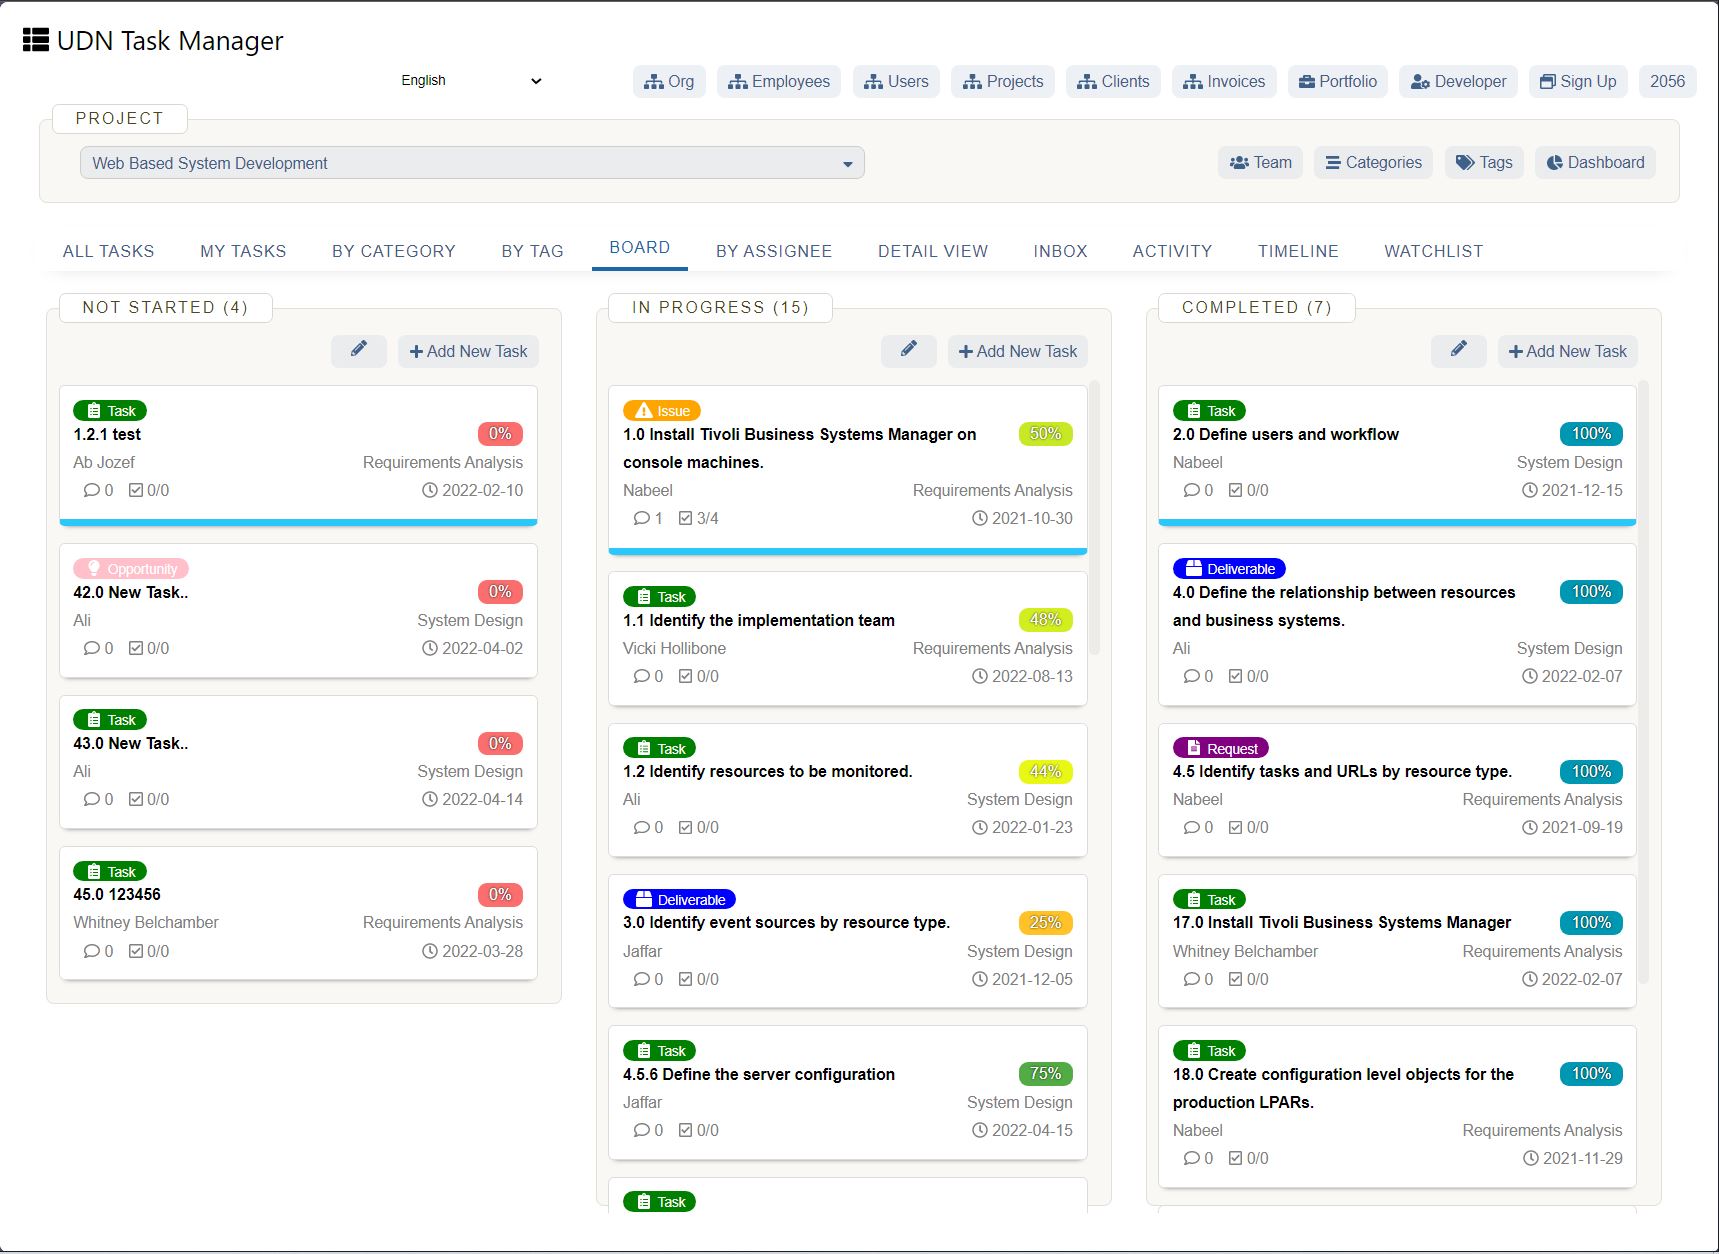
From initial scope to testing and reviewing, there are eight steps you can follow to create a process document.
Each phase aims to formally document the many steps of a process, keeping your team aligned and communication clear. We’ll go through these eight steps and highlight the key components that you should include in your process document.
1. Scope the initial process
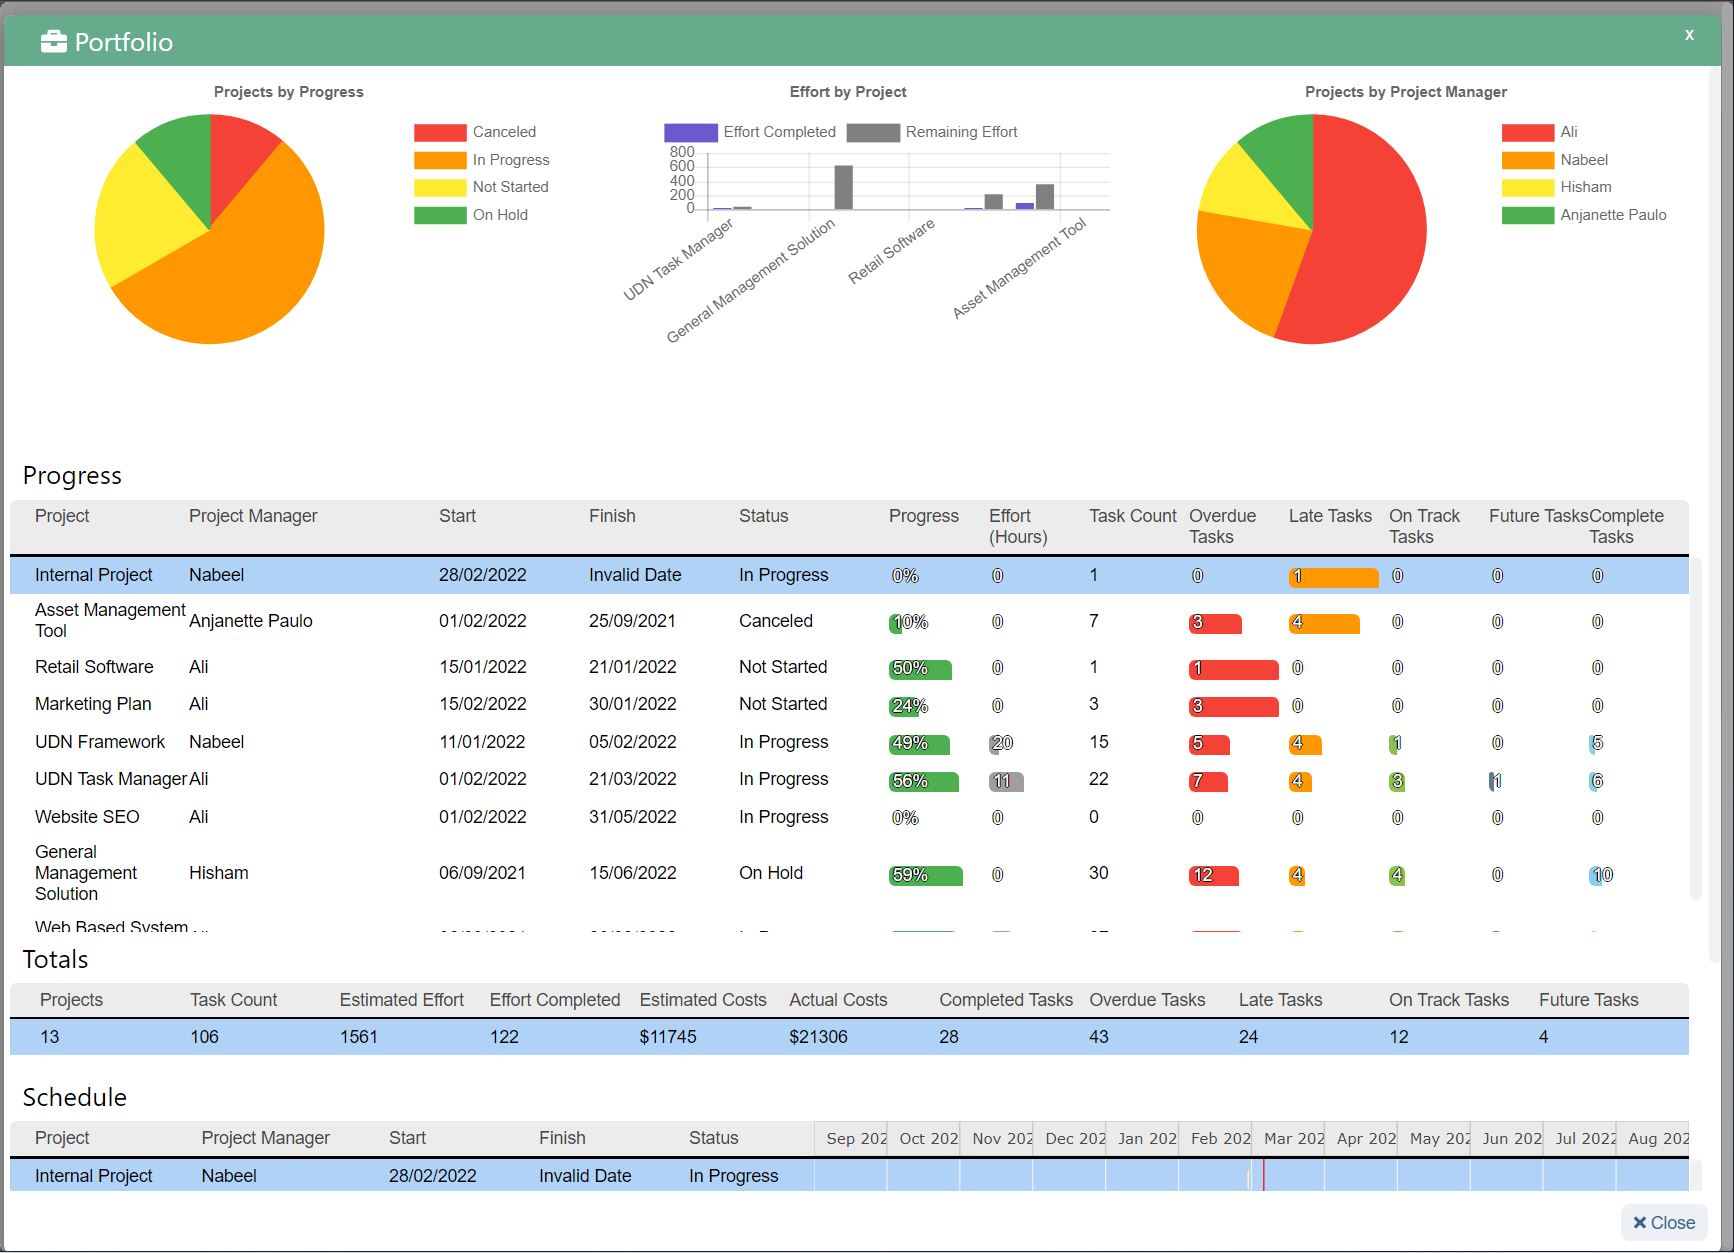
In the first step, the project manager scopes the initial information and creates a brief description based on goals, timeline, and priority. This is done by reviewing the objectives and documenting them in a business case .
As you scope the process, include the:
Key objectives: Consider what key performance indicators or business objectives your process is trying to achieve.
Stakeholders: Though you may not know specific individuals just yet, consider which teams will be working together.
Timeline: You can estimate the process scope and timeline for completion with the critical path method .
Priority: Determine how important this process is to implement compared to other projects and objectives your team is working on.
These factors help to paint a clear picture for stakeholders and the leadership team to quickly understand the process at hand.
2. Define process boundaries
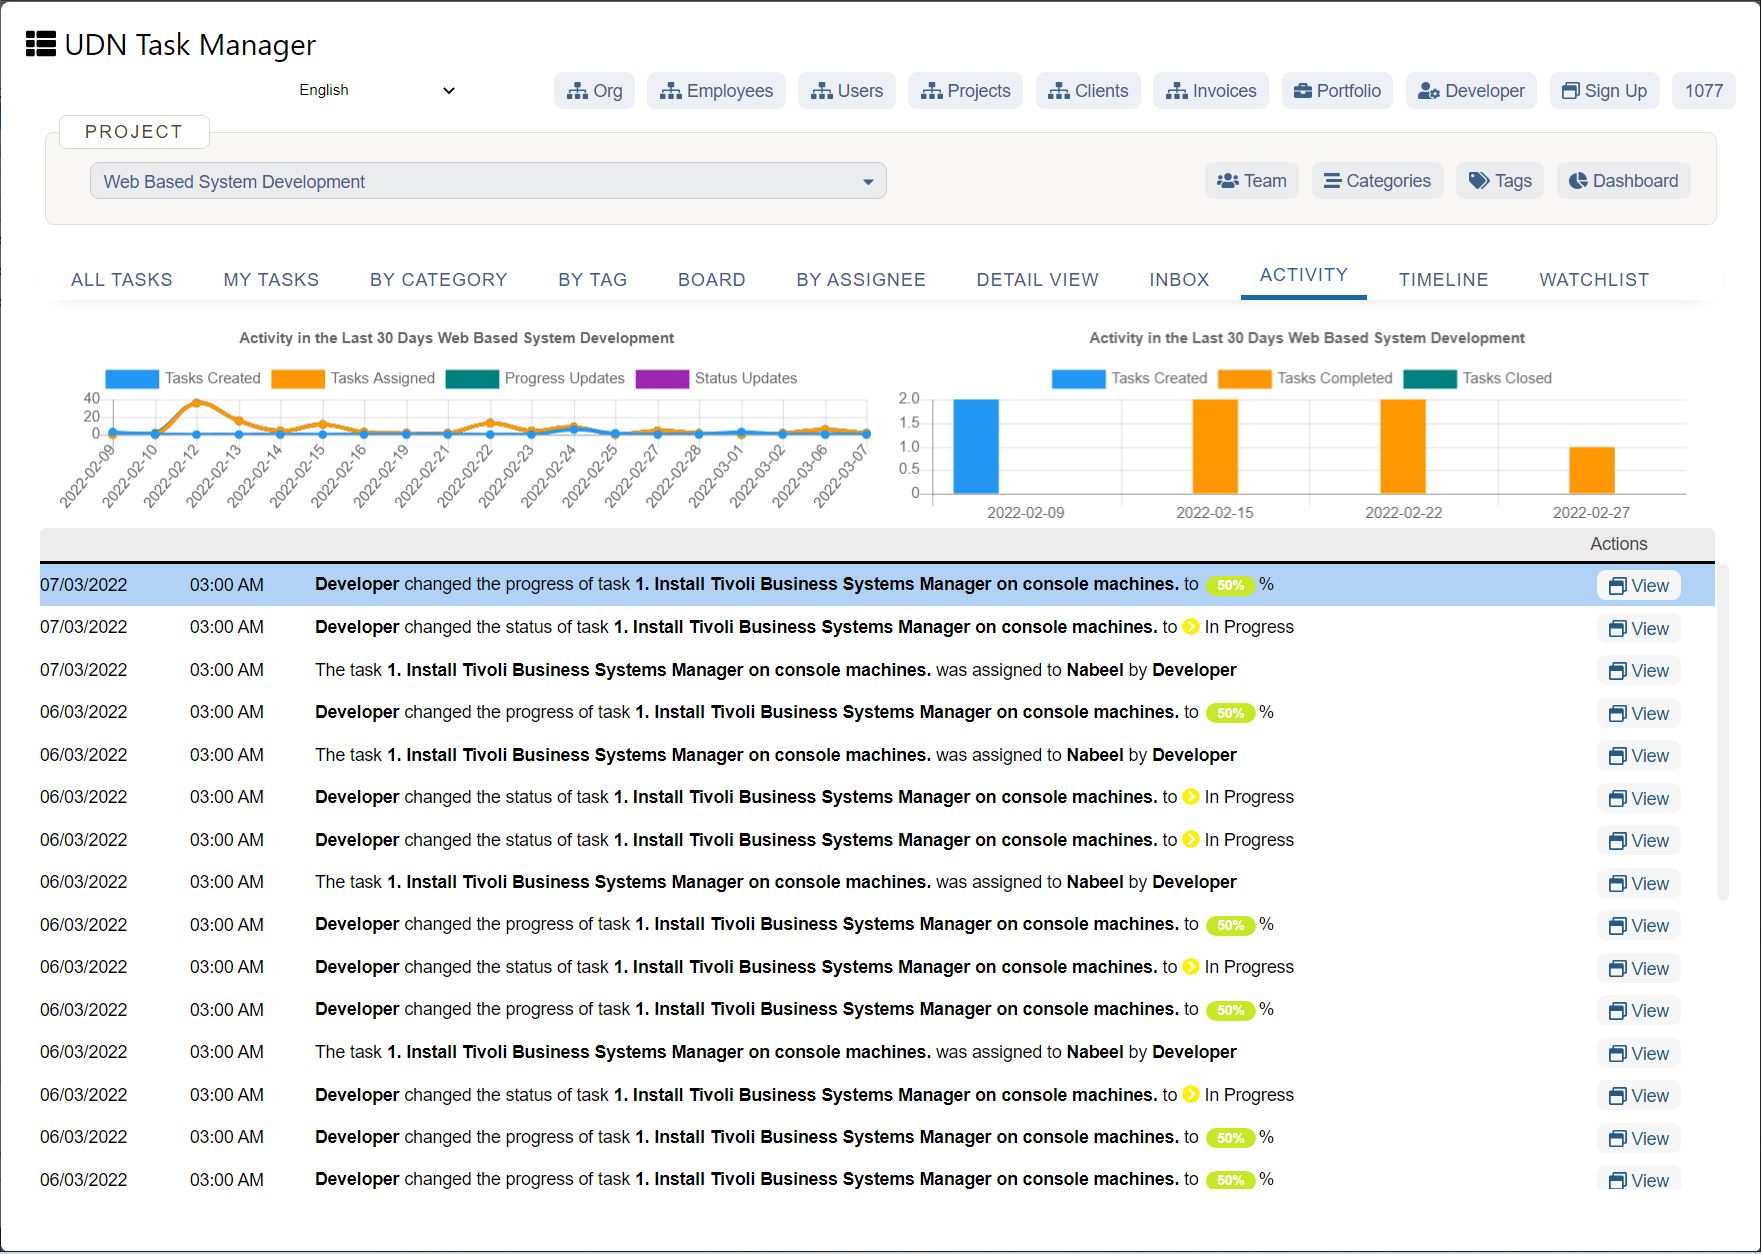
Once you have the initial process information, you can then define boundaries. To do so, outline where the process fits into various teams by identifying the different tasks each team accomplishes. Consider where the process starts and ends, and who is affected by it.
Defining these boundaries can help set clear task guidelines when you’re ready to implement the new process. For example, if you’re looking to reduce busywork with process automation , your boundaries might include dedicating your IT team to trigger the process and your operations team to complete the process.
3. Determine process inputs and outputs
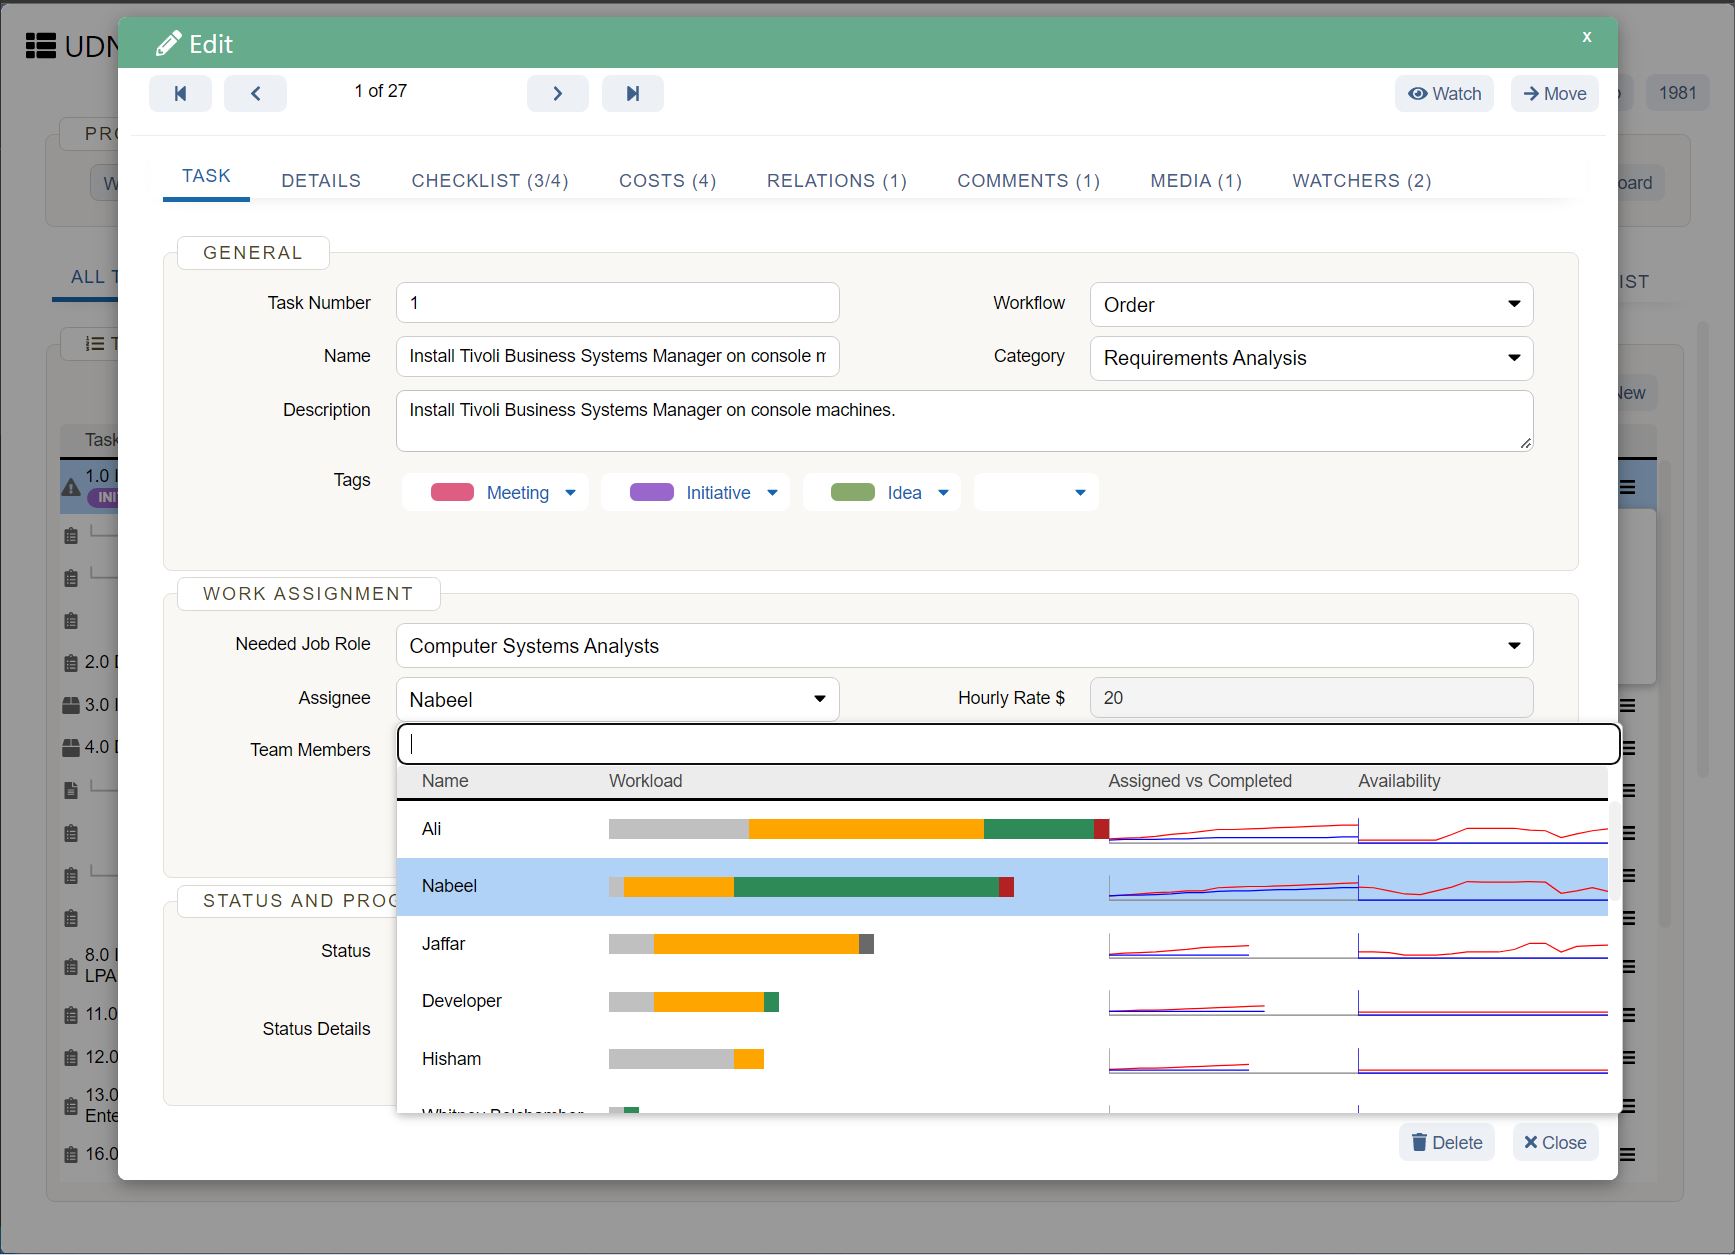
The third step involves identifying both the inputs and outputs.
Process inputs are the resources needed to complete a process.
Process outputs are what you wish to achieve at the end of a process.
You can determine outputs by looking at your initial project objectives and selecting specific, measurable indicators. For example, if your objective is to spend less time on busywork, one of your outputs might be to automate task reminders. In that same example, your input might be to implement a work management tool .
Determining the inputs and outputs will allow you to then break down each of these goals into smaller steps later on.
4. Identify process steps

Now that you’ve gathered the necessary information through process inputs and outputs, it’s time to break your process plan down into small steps. This can be done independently, or in a brainstorming session.
Begin by looking at the starting point of the process—in other words, what triggers the process boundaries. In some cases, there will be a dependency that must be completed for the process to begin. For example, in order for task reminders to be automated, the tasks first need to be created.
Once you’ve determined what triggers the process to begin and end, list each of the process steps in sequential order. If there are multiple tasks needed, list each of them within the step. You’ll want to keep your steps as simple as possible and focus on only capturing key parts of the process.
Break down each step into small components that can be assigned to individual stakeholders. The next step is to assign responsibilities for each step.
5. Connect with project stakeholders
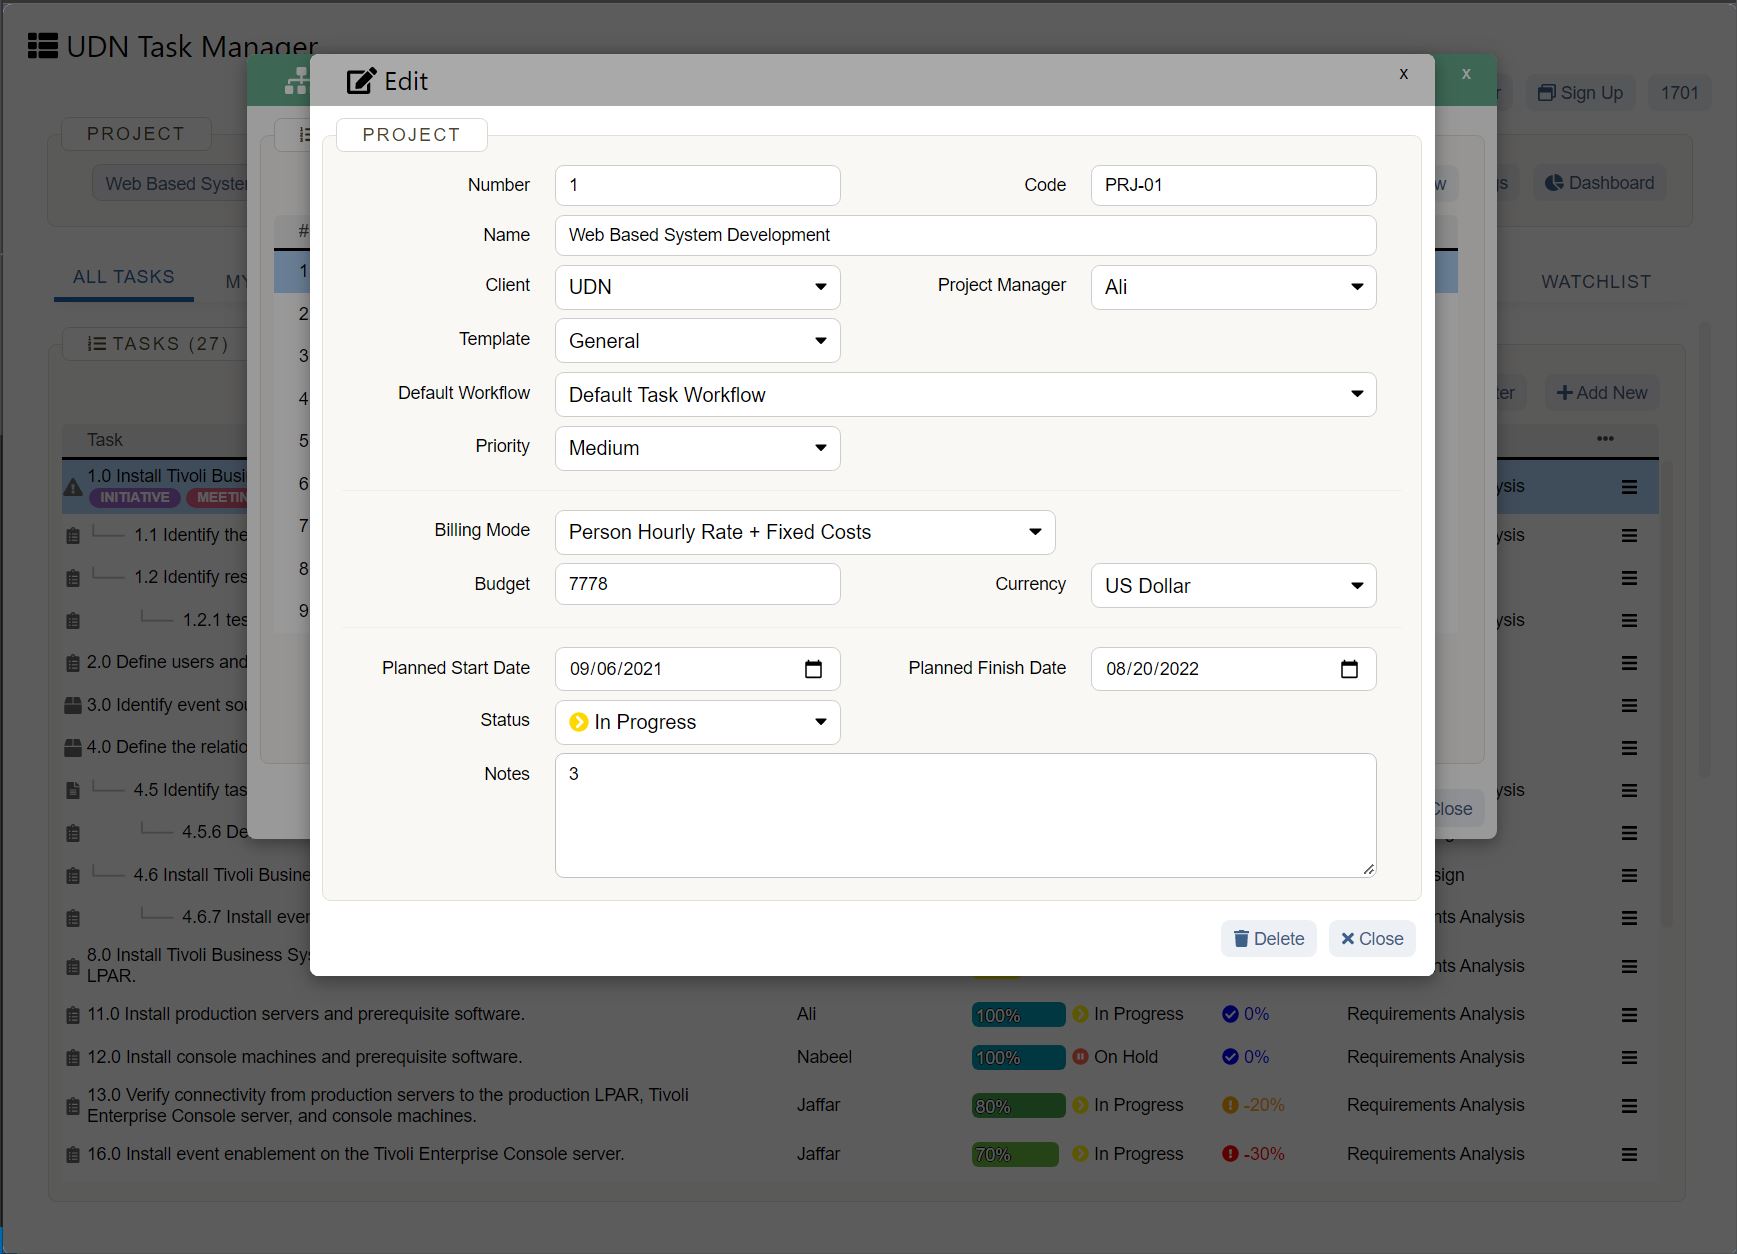
Once the steps have been laid out, it’s time to break each task down and assign out who is responsible for them. It’s a good idea to include detailed information for each task in the document, like deliverables and timeline. This provides clarity and streamlines communication.
If you need to provide additional task background or context for more complex projects, consider meeting with the team or direct them to the information they need. This could be legal knowledge or brand guidelines that are needed to complete deliverables.
6. Construct a process flowchart
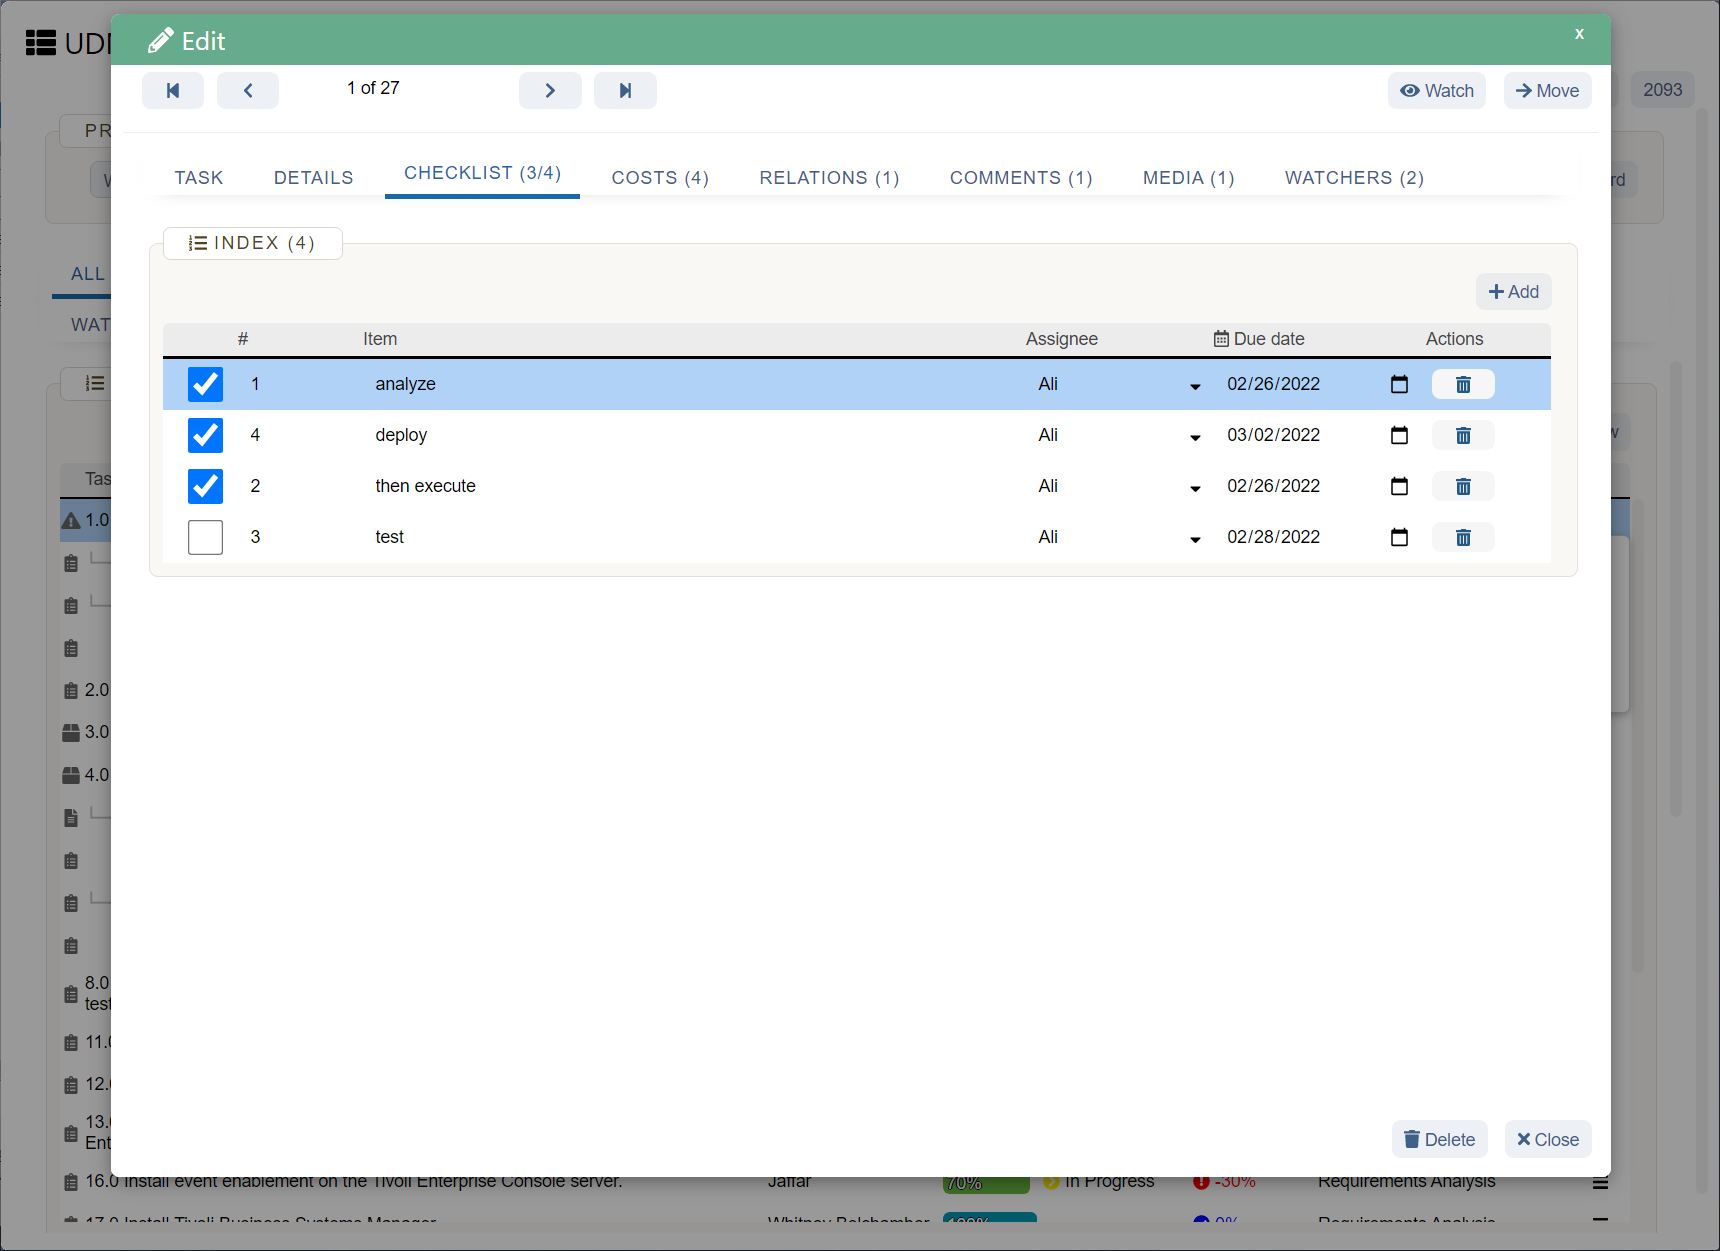
Now comes the fun part—visualizing your process. One easy way to do this is with a flowchart . Depending on the type of process you’re documenting, a flowchart can provide clarity in a digestible way. You may also benefit from a workflow management tool that allows you to track goals and tasks along the way.
In order to build the flowchart, you’ll need to have your process steps, inputs and outputs, and assigned stakeholder information handy. Then, all you have to do is neatly lay out each step in sequential order.
Here’s an example of a process document flowchart to inspire your own:
As you can see, each step has a corresponding input and output. Visualizing these steps in a flowchart makes it easy to see which resources and outcomes you can expect. You can also add swimlanes to your diagrams to categorize who is assigned to which tasks. These can be particularly helpful for complex processes.
While each process will look slightly different, it’s important that you connect your steps in order and provide the most important information upfront.
7. Note process flow exceptions
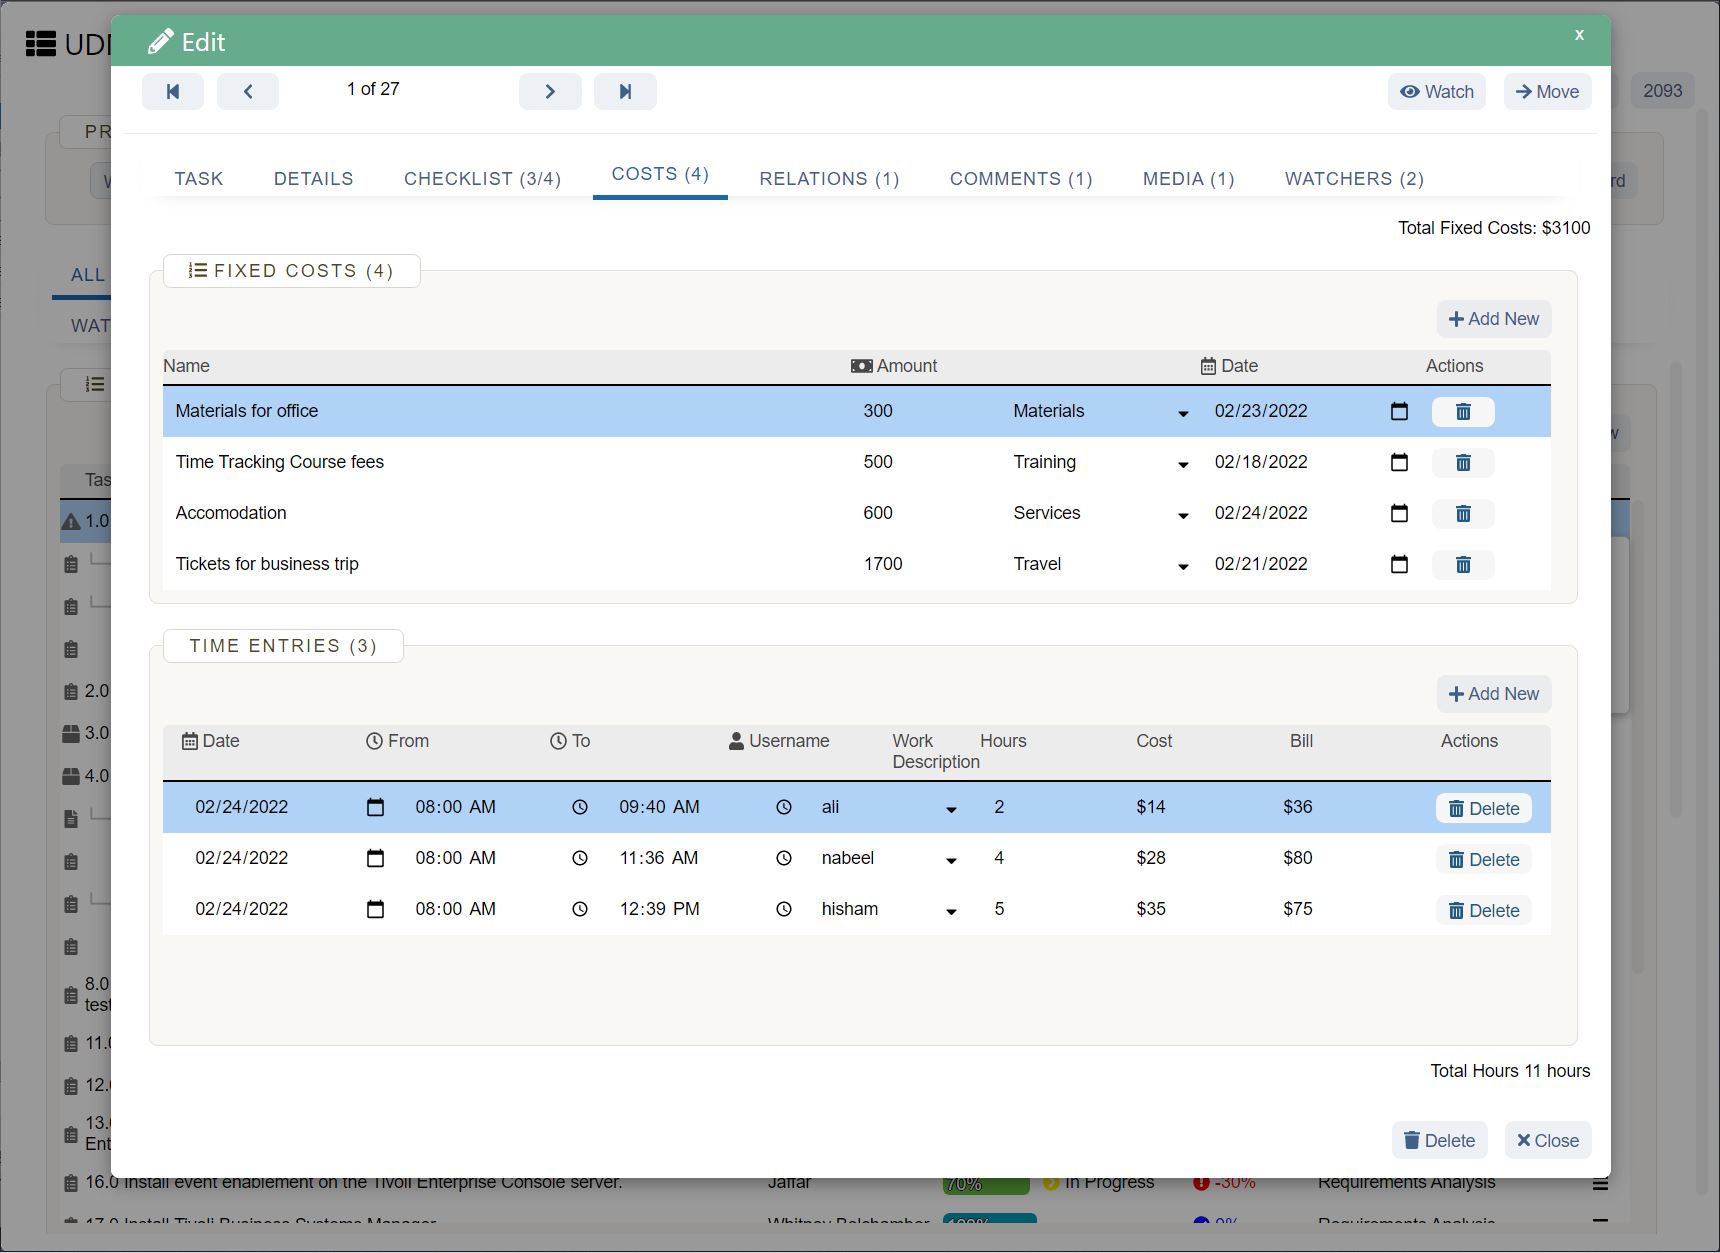
Now that you’ve documented a visual representation of your process flow, note any exceptions that your team may come across. These exceptions come from the fact that not every flow will follow the exact same path.
For example, an exception to the above workflow might be that some tasks don’t need a review depending on the complexity of the work. In that case, you’ll want to note which scenarios don’t require approval. You should also include the steps your team should take to address these exceptions.
8. Test the process
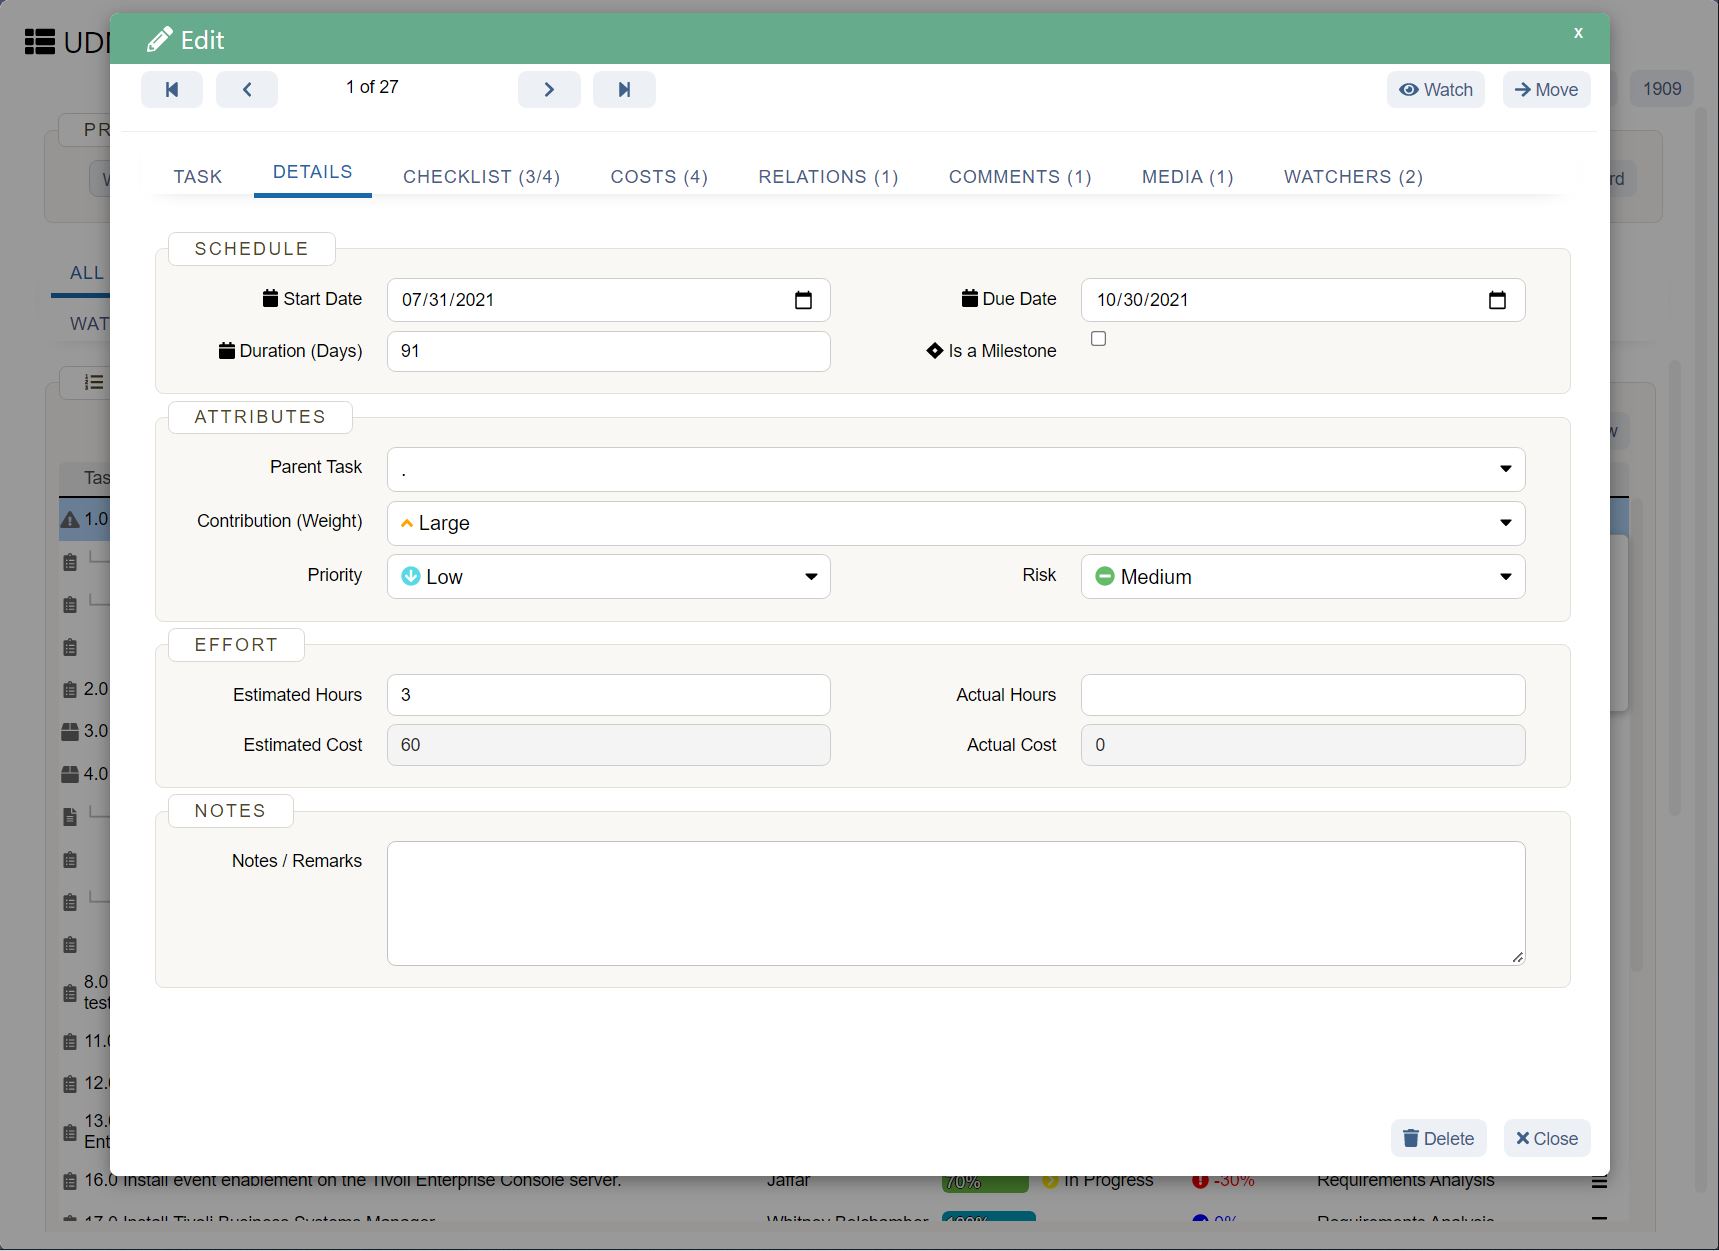
The final step in the process documentation lifecycle is testing the process to ensure it’s working. While testing, identify where issues arise or where risks are possible and correct those in real time. This is a chance to fine-tune your new process, so make any necessary changes so it can run as smoothly as possible.
Ask questions to uncover any pain points:
Did your process flow document solve the problem you were looking to fix?
Do you need to implement larger changes in order for your process to run optimally?
Once you’ve worked through the pain points, determine the effectiveness of the process. This is a chance to fine-tune your process so it can run as smoothly as possible.
Finally, you can close any open process tasks and store information in a shared space to be reviewed later if needed.
Benefits of process documentation
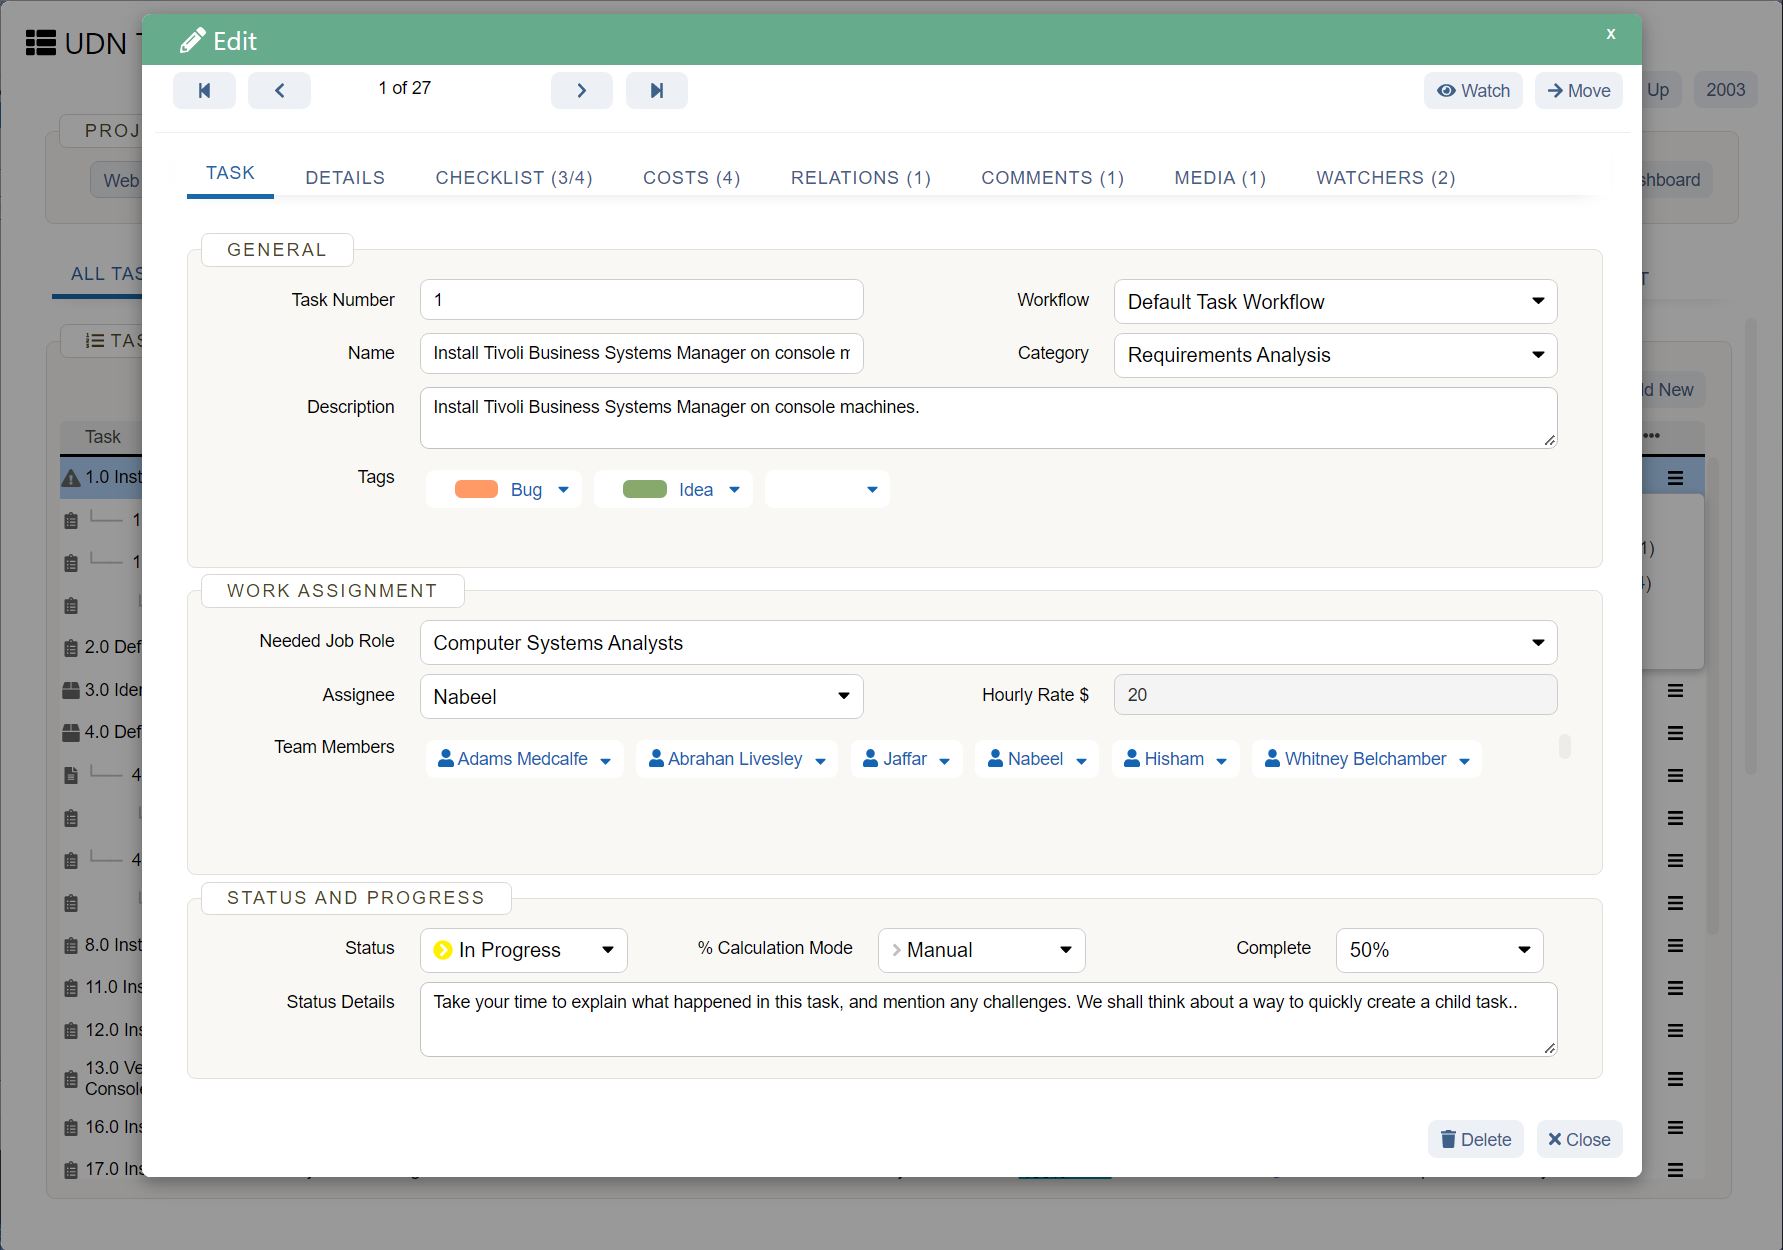
Whether you create an in-depth process flow or stick to a shared outline, documenting information right away can prevent work from getting derailed by issues in the long run.
From eliminating errors to enhancing resource allocation and efficiency, there are four key advantages to process documentation:
Eliminates errors
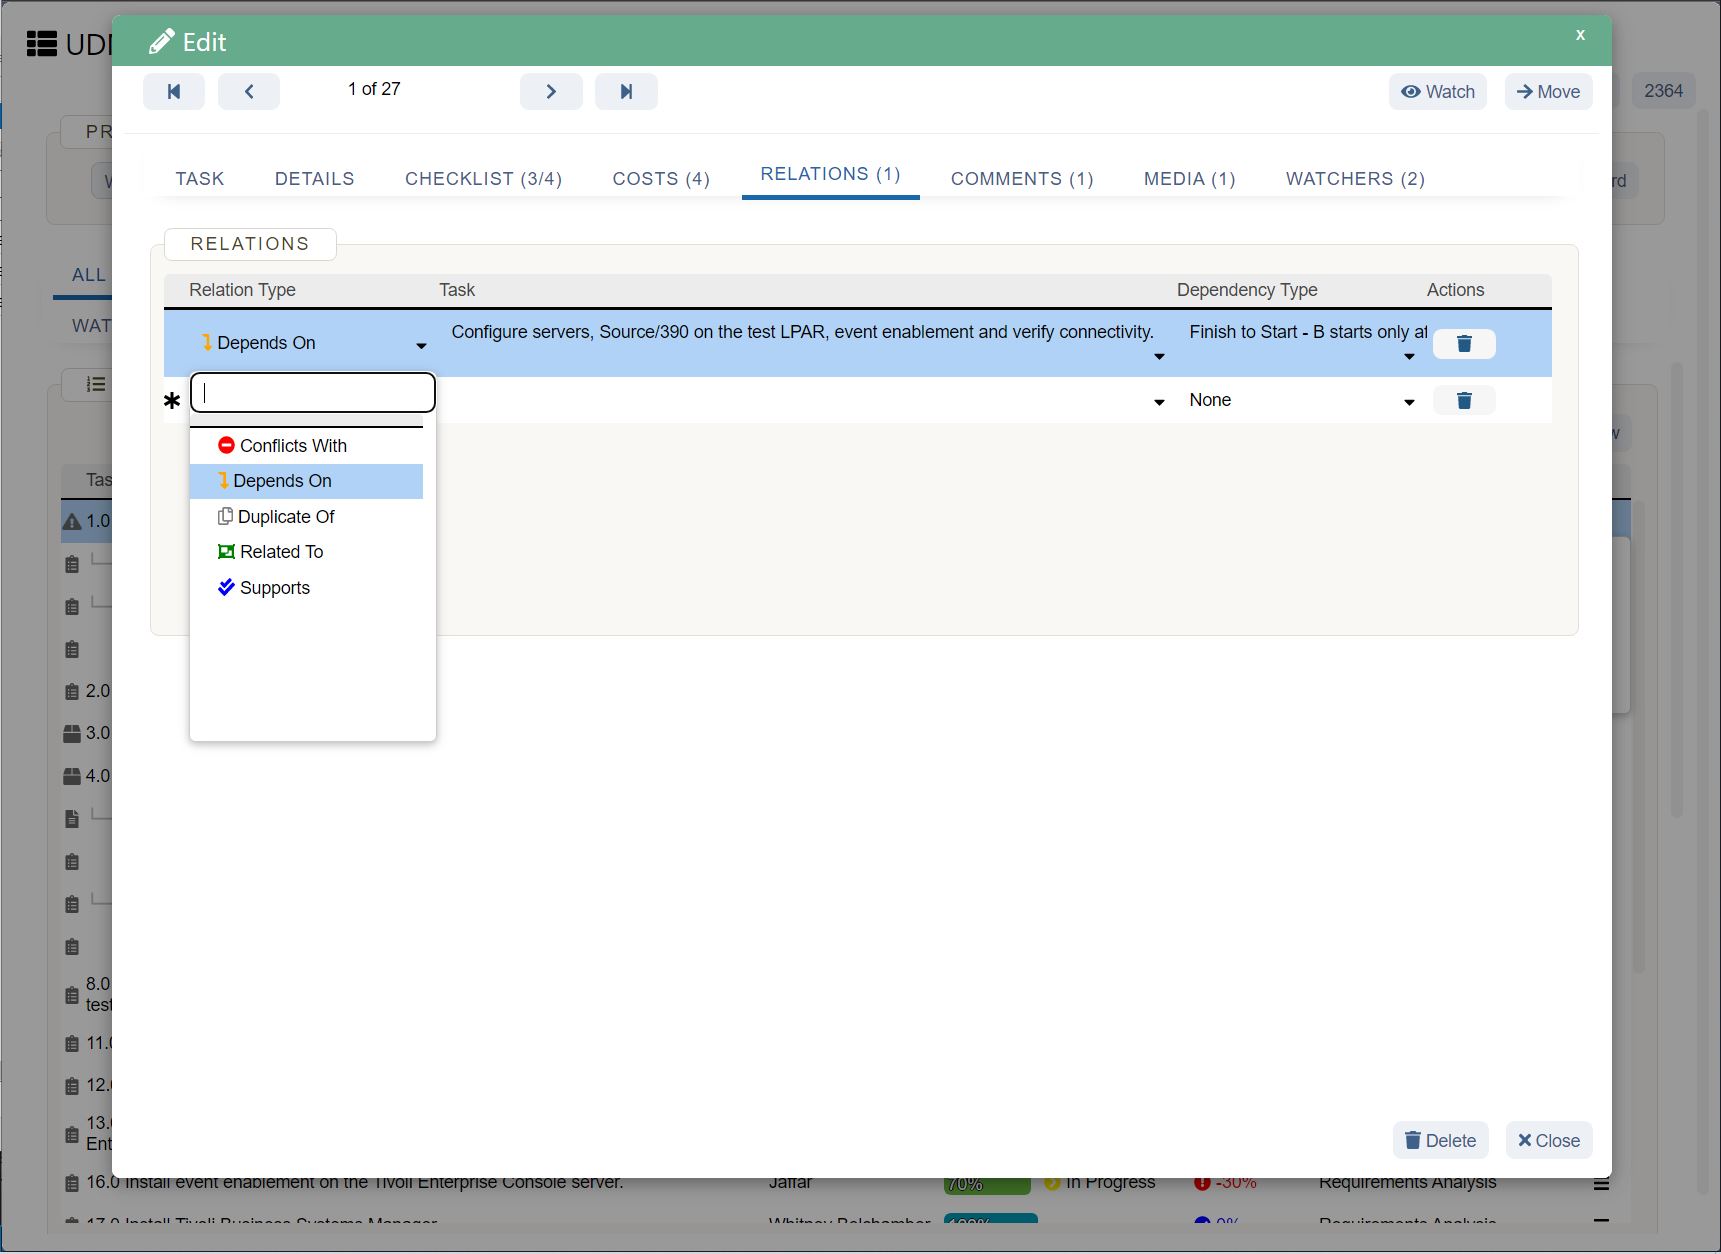
Business process documentation prevents errors by proactively outlining each step of the process. You can analyze the effectiveness of those steps and make changes as you go.
By proactively documenting your process, you eliminate:
Lack of communication: Without proper documentation, communication can be distributed which results in more work about work.
Missed process steps: Without detailed steps, tasks may be confused or overlooked resulting in an inefficient process.
Unclear objectives and outputs: If they don’t understand the purpose of a particular process, team members may be unclear about deliverables or priority.
The process documentation lifecycle analyzes errors and gives you a system to continually monitor potential bottlenecks throughout the process lifecycle. This gives you the opportunity to modify or eliminate steps that aren’t needed.
Reduces busywork
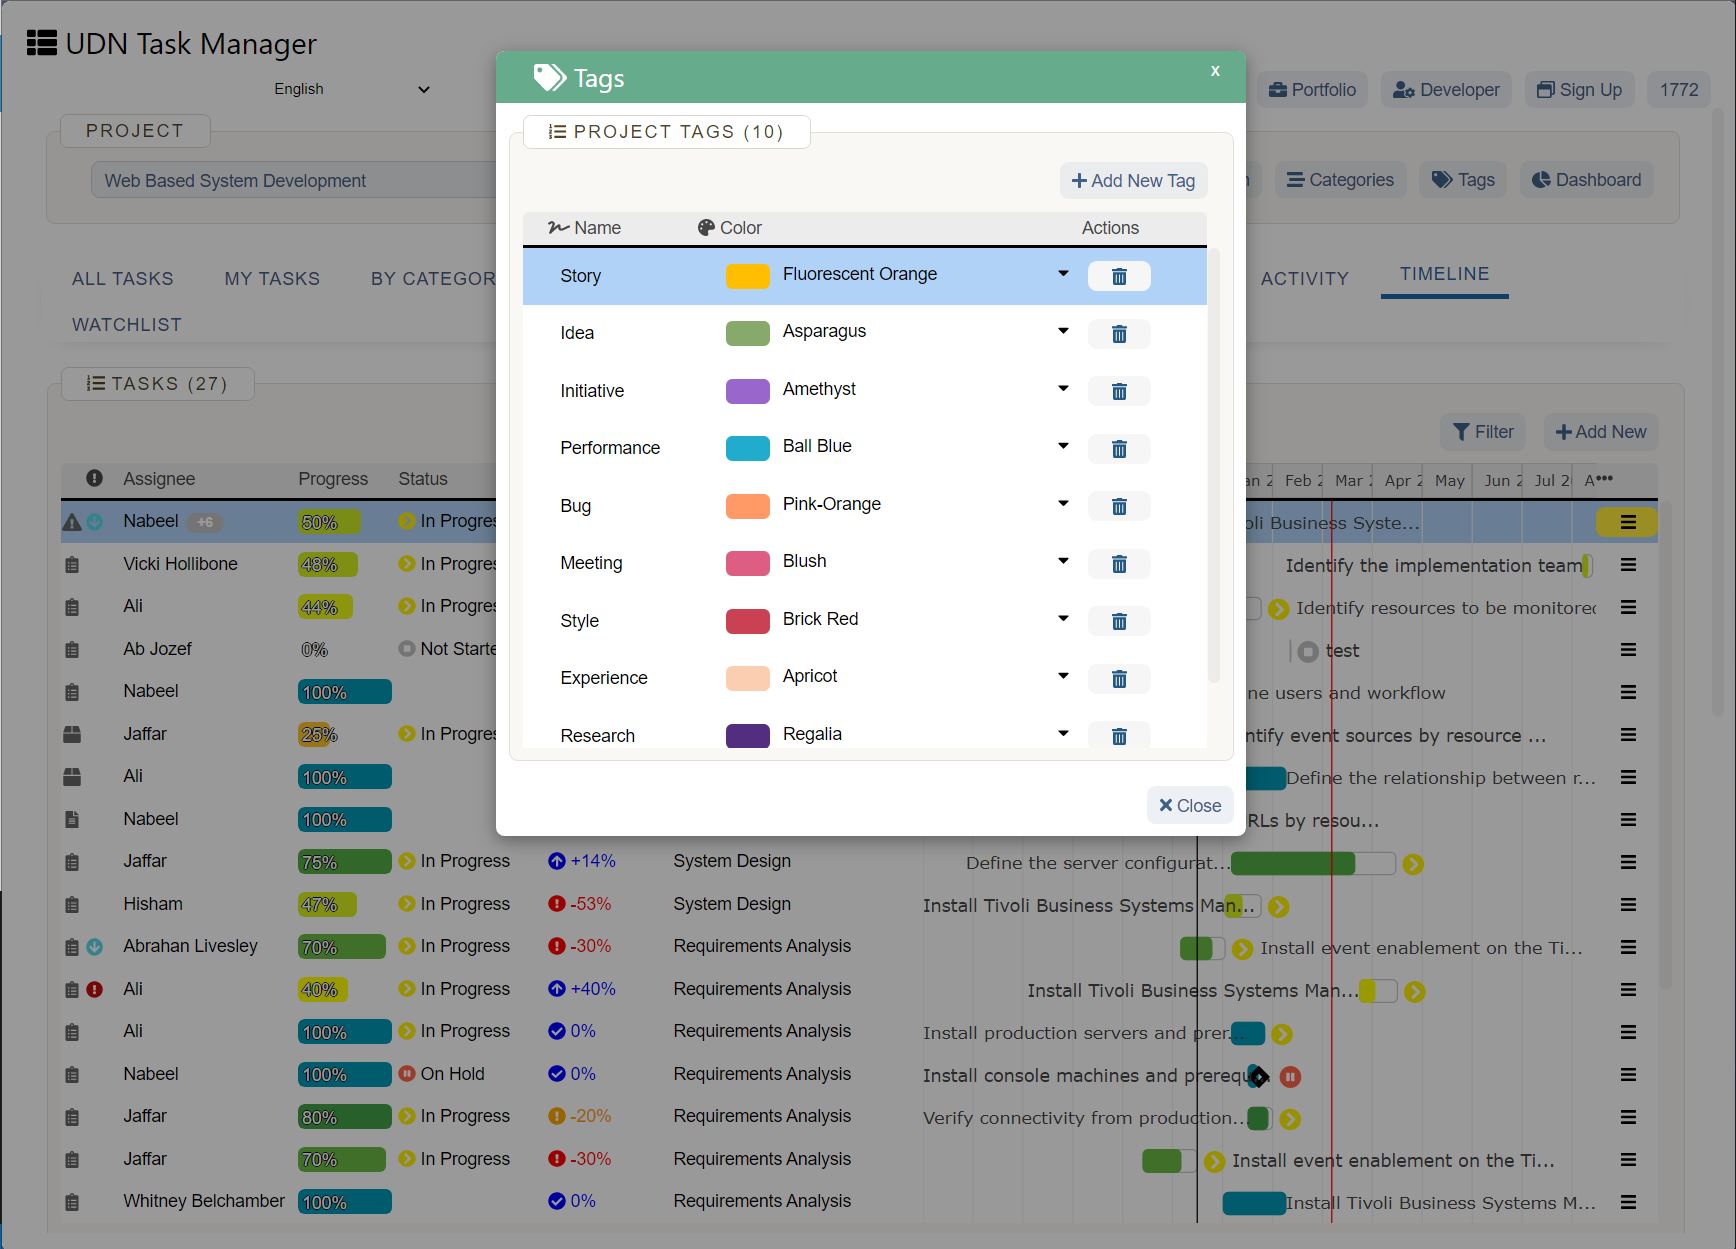
The right process document reduces busywork and time spent on work about work since information is presented up front and paired with a visual.
Common roadblocks that process documentation eliminates include:
Frequent meetings: A process document can detail the needed information that would otherwise require a meeting. Ineffective meetings waste time and can even increase confusion in select cases.
Duplicate work: When tasks are organized correctly the first time, work is less likely to be duplicated.
Disorganized communication: Information stored in various locations can lead to disorganized communication.
Reducing these errors helps your team be more productive and focus on the work at hand. You can also go one step further and implement business process automation to eliminate additional busywork.
Streamlines resource allocation
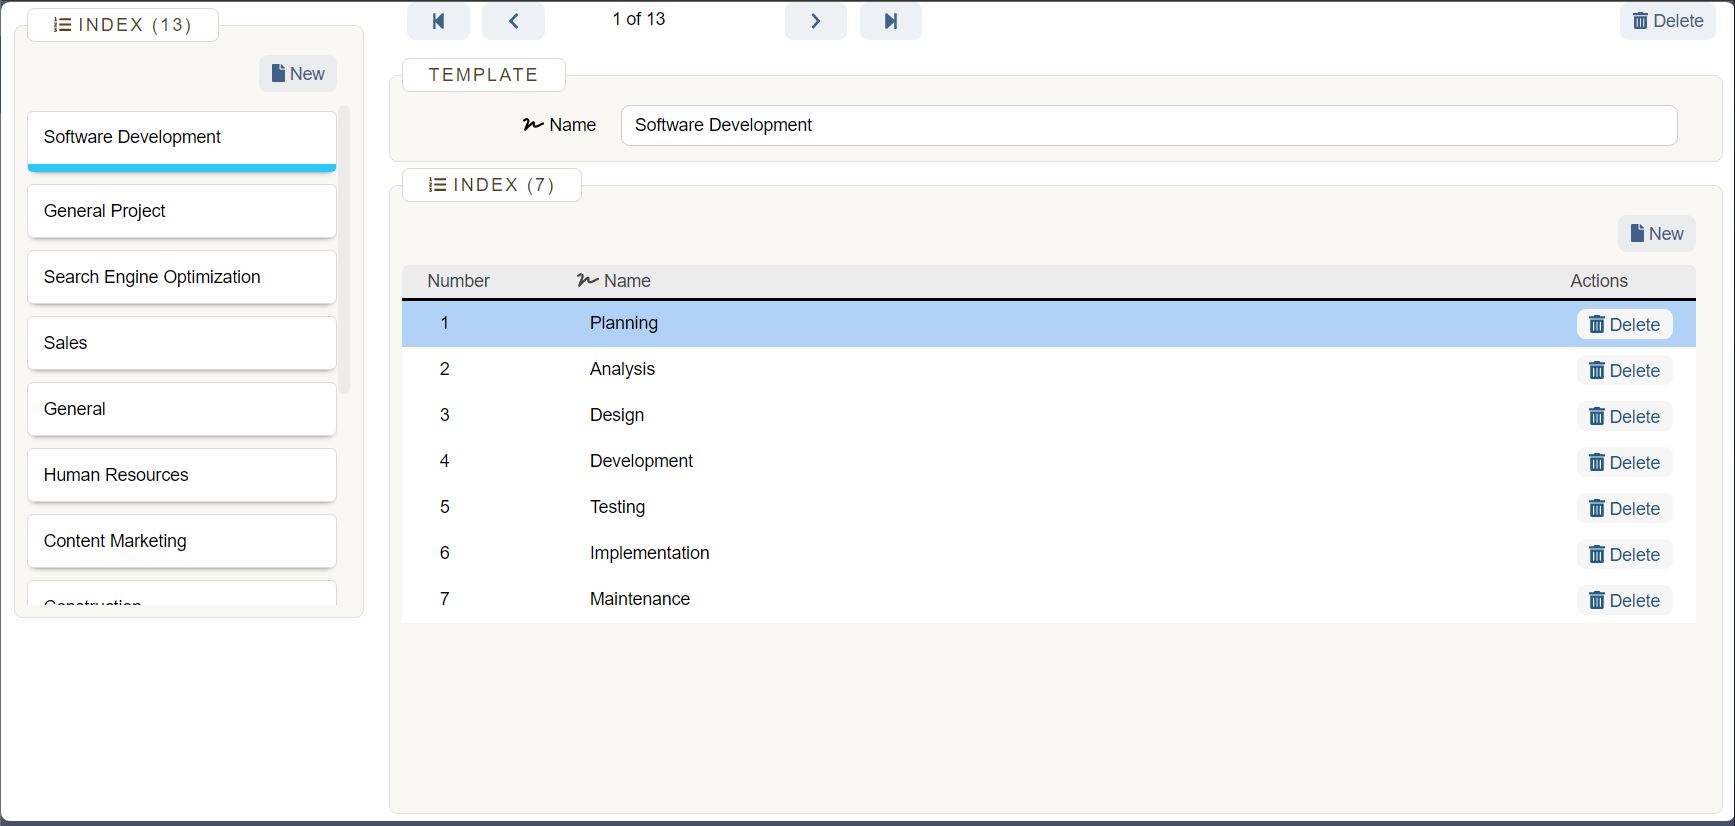
A process document streamlines resource allocation by organizing information into clear steps and connecting them with the resources needed.
This ensures that resources are:
Used in the correct way: When teams know which resources to use they can use them correctly and efficiently.
Connected to the right steps: By connecting resources to tasks, it’s clear how and when they should be used.
Produce the intended outcome: When resources are allocated properly they can be used for their intended purpose.
Since misuse of resources can result in overspending, it’s important to correctly map out allocation so your team is prepared with the necessary resources.
Enhances communication
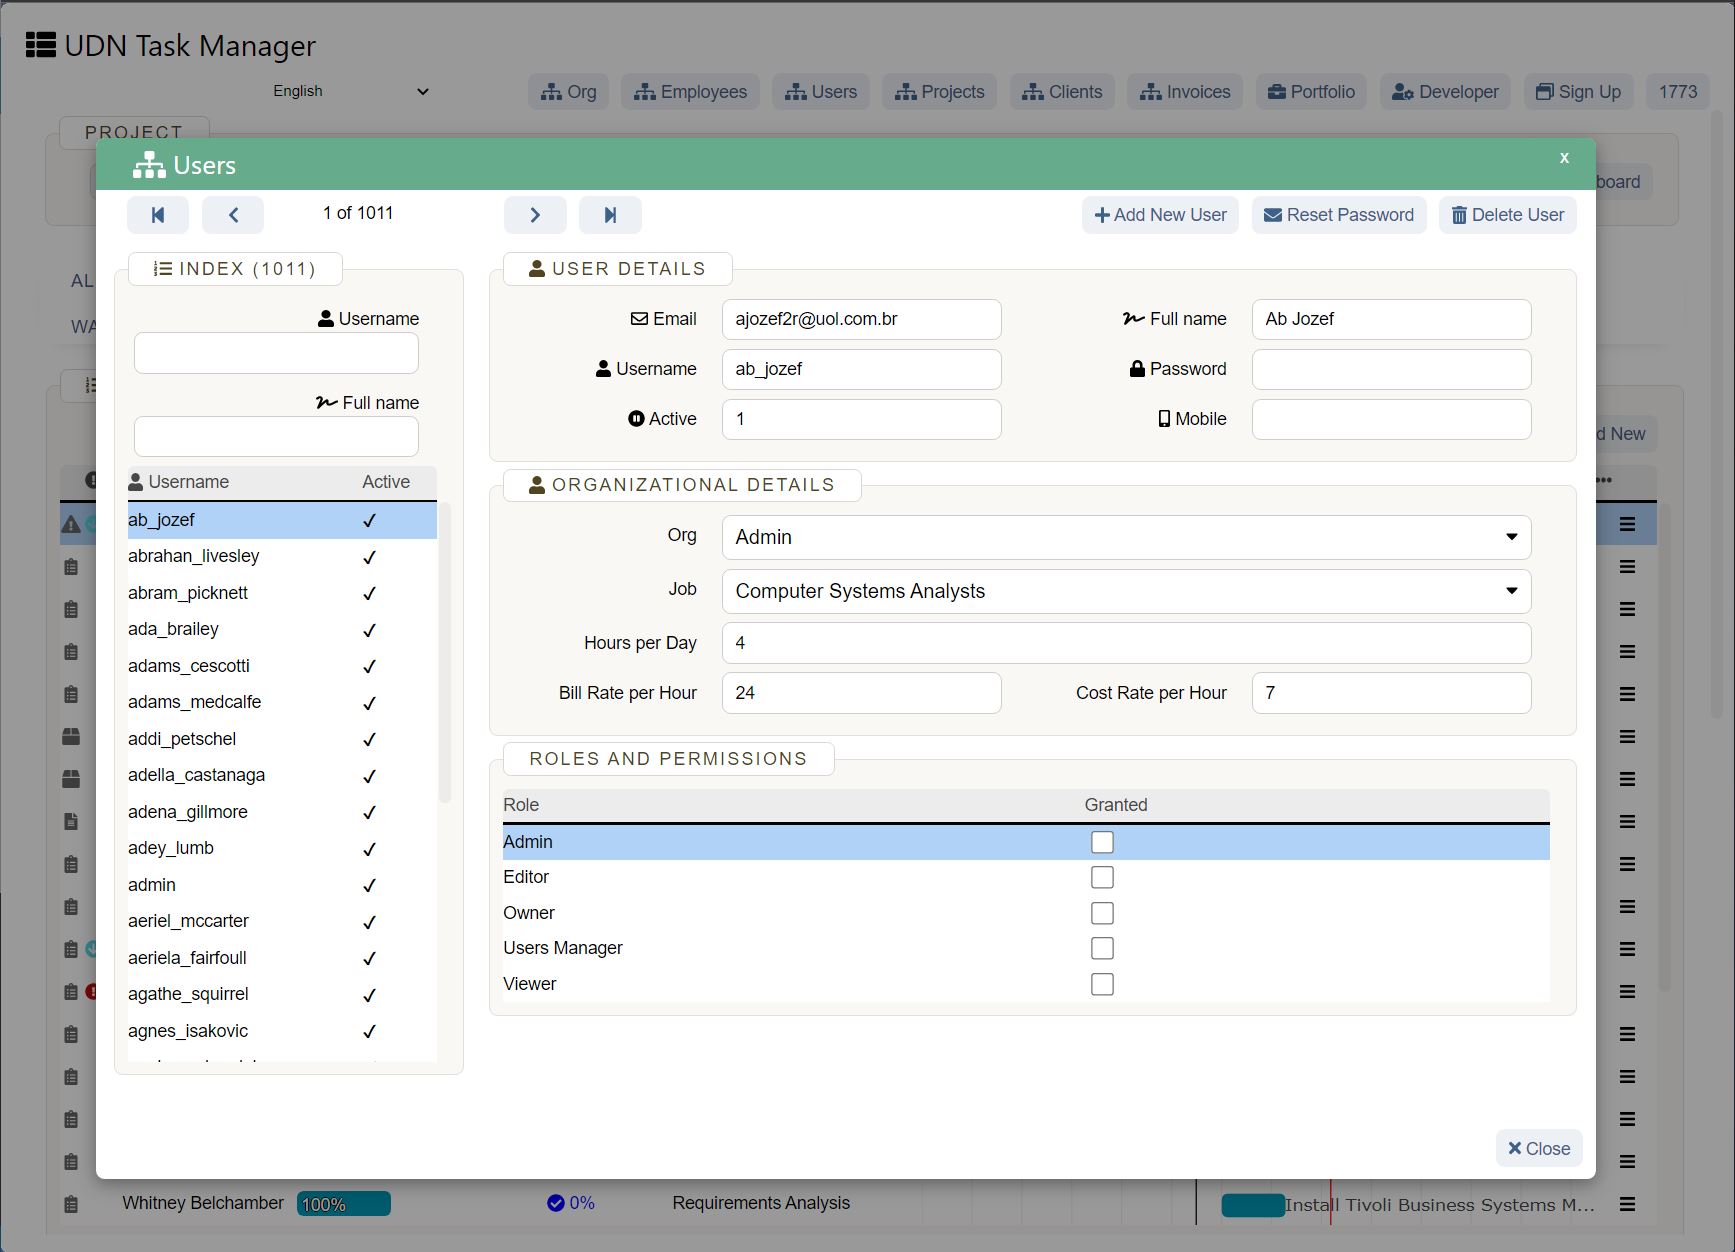
Keeping communication in a shared tool can prevent future process issues. This helps by giving all stakeholders access to a shared source of truth that can be viewed at any time.
Enhanced communication can help:
Work gets done correctly the first time around: Clear communication reduces the risk of confusion and low-quality work.
Create clear process knowledge: Communication can keep teams stay up to date with new processes.
Enhance process maps and standard operating procedures: Communication can clarify information and ensure process maps and procedures align with the original process objectives.
Team communication can be the difference between a good process and a great one, so be sure to communicate up front and frequently in order to create clarity.
Speed up your progress with process documentation
Process documentation can help optimize process improvements and pave the way for different processes down the road. A documented process can help prevent inefficiencies and bottlenecks while preparing team members for successful projects in the future.
Take your process documentation one step further with workflow management software that helps teams streamline processes.


