Product development process: The 6 stages (with examples)
Summary
The product development process is a six-stage plan that involves taking a product from initial concept to final market launch. This process helps break down tasks and organize cross-departmental collaboration. Find out how to implement a process of your own.
Developing a new product is both an exciting and challenging endeavor. From initial ideation to research and prototyping, no two product launches are the same. However, there’s a general process that can help you get started with the product development process.
The product development process describes the six steps needed to take a product from initial concept to final market launch. This includes identifying a market need, researching the competition, ideating a solution, developing a product roadmap, and building a minimum viable product (MVP).
The product development process has evolved in recent years and is now commonly used by dividing each step into six separate phases. This helps better organize the process and break individual deliverables into smaller tasks.
Not only does the product development process help simplify a launch, but it also encourages cross-team collaboration with teamwork and communication at the forefront of the process.
Let’s dive into the product life cycle and define the six product phases. All of which can help you successfully launch your next product.
1. Idea generation (Ideation)
The initial stage of the product development process begins by generating new product ideas. The initial idea stage is where you brainstorm product concepts based on customer needs, pricing, and market research.
It’s a good idea to consider the following factors when initiating a new product concept:
Target market: Your target market is the consumer profile you’re building your product for. This is important to identify in the beginning in order to build your product concept around your target market.
Existing products: When you have a new product concept, it’s a good idea to evaluate your existing product portfolio. Are there existing products that solve a similar problem? If so, is the new concept different enough to be viable? Answering these questions can ensure the success of your new concept.
Functionality: While you don’t need a detailed report of the product functionality just yet, you should have a general idea of what functions it will serve. Consider the look and feel of your product and why someone would be interested in purchasing it.
SWOT analysis : Analyzing your product strengths, weaknesses, opportunities, and threats early in the process can help you build the best version of your new concept. This will ensure your product is different from competitors and solves a market gap.
SCAMPER method : In order to refine your idea, use brainstorming methods like SCAMPER , which involves substituting, combining, adapting, modifying, putting to another use, eliminating, or rearranging your product concept.
To validate a product concept, consider documenting ideas in the form of a business case . This will allow all team members to have a clear understanding of the initial product features and the objectives of the new product launch.
2. Product definition
Once you’ve completed the business case and discussed your target market and product functionality, it’s time to define the product. This is also referred to as scoping or concept development, and focuses on refining the product strategy.
During this stage, it’s important to define specifics including:
Business analysis: A business analysis consists of mapping out distribution strategy, ecommerce strategy, and a more in-depth competitor analysis. The purpose of this step is to begin building a clearly defined product roadmap.
Value proposition: The value proposition is what problem the product is solving. Consider how it differs from other products in the market. This value can be useful for market research and for developing your marketing strategy.
Success metrics: It’s essential to clarify success metrics early so you can evaluate and measure success once the product is launched. Are there key metrics you want to look out for? These could be basic KPIs like average order value, or something more specific like custom set goals relevant to your organization.
Marketing strategy: Once you’ve identified your value proposition and success metrics, begin brainstorming a marketing strategy that fits your needs. Consider which channels you want to promote your product on—such as social media or a blog post. While this strategy may need to be revised depending on the finished product, it’s a good idea to think about this when defining your product to begin planning ahead of time.
Once these ideas have been defined, it’s time to begin building your minimum viable product (MVP) with initial prototyping.
3. Prototyping
During the prototyping stage, your team will intensively research and document the product by creating a more detailed business plan and constructing the product.
These early-stage prototypes might be as simple as a drawing or a more complex computer render of the initial design. These prototypes help you identify areas of risk before you create the product.
During the prototyping phase, you will work on specifics like:
Market risk research: It’s important to analyze any potential risks associated with the production of your product before it’s physically created. This will prevent the product launch from being derailed later on. It will also ensure you communicate risks to the team by documenting them in a risk register .
Development strategy: Next, you can begin working through your development plan. In other words, understand how you’ll be assigning tasks and the timeline of these tasks. One way you can plan tasks and estimate timeline is by using the critical path method .
Feasibility analysis: The next step in the process is to evaluate your product strategy based on feasibility. Determine if the workload and estimated timeline are possible to accomplish. If not, adjust your dates accordingly and request help from additional stakeholders.
MVP: The final outcome of the prototyping stage is a minimum viable product. Think of your MVP as a product that has the features necessary to go to launch with and nothing above what’s necessary for it to function. For example, an MVP bike would include a frame, wheels, and a seat, but wouldn’t contain a basket or bell. Creating an MVP can help your team execute the product launch quicker than building all the desired features, which can drag launch timelines out. Desired features can be added down the road when bandwidth is available.
Now it’s time to begin designing the product for market launch.
4. Initial design
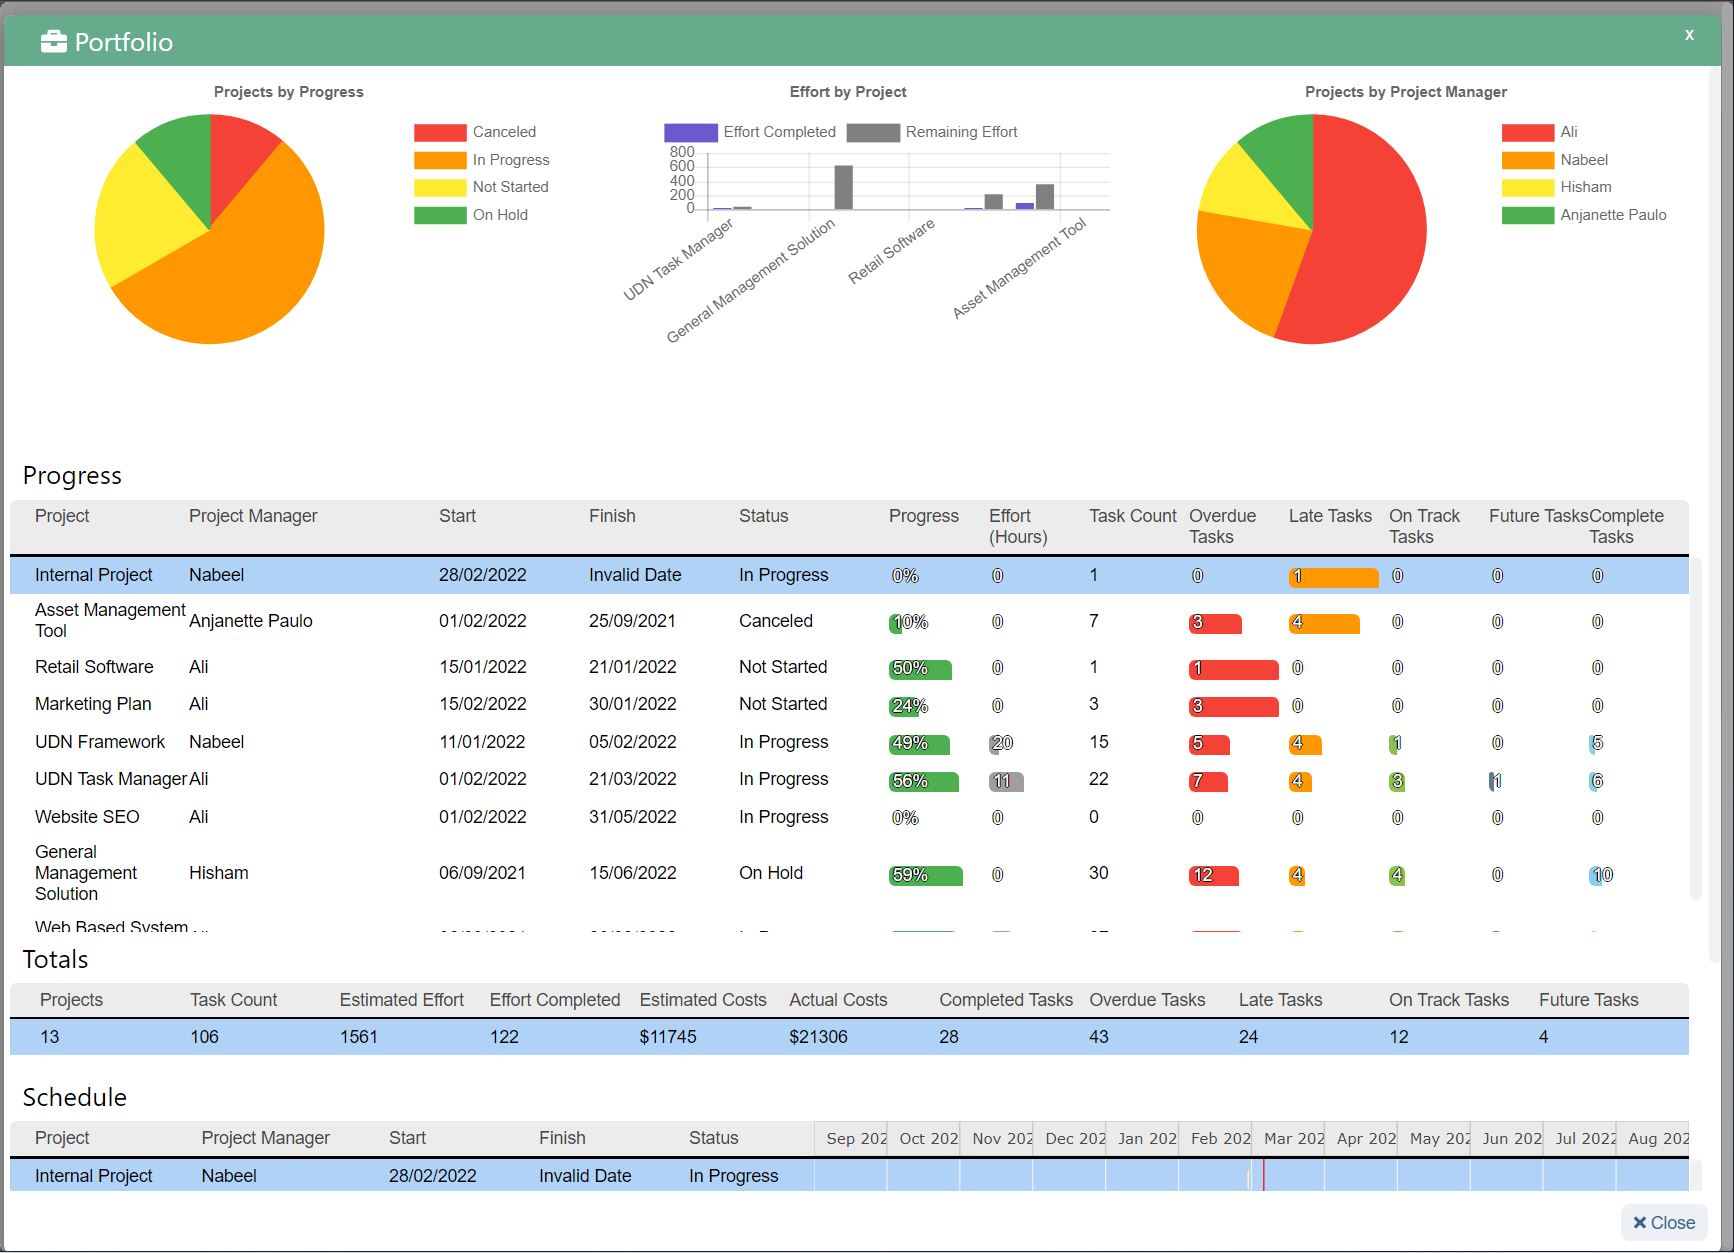
During the initial design phase, project stakeholders work together to produce a mockup of the product based on the MVP prototype. The design should be created with the target audience in mind and complement the key functions of your product.
A successful product design may take several iterations to get just right, and may involve communicating with distributors in order to source necessary materials.
To produce the initial design, you will:
Source materials: Sourcing materials plays an important role in designing the initial mockup. This may entail working with various vendors and ordering materials or creating your own. Since materials can come from various places, you should document material use in a shared space to reference later if needed.
Connect with stakeholders: It’s important to keep tight communication during the design phase in order to verify your initial design is on the right track. Share weekly or daily progress reports to share updates and get approvals as needed.
Receive initial feedback: When the design is complete, ask senior management and project stakeholders for initial feedback. You can then revise the product design as needed until the final design is ready to be developed and implemented.
Once the design is approved and ready to be handed off, move onto the validation phase for final testing before launching the product.
5. Validation and testing
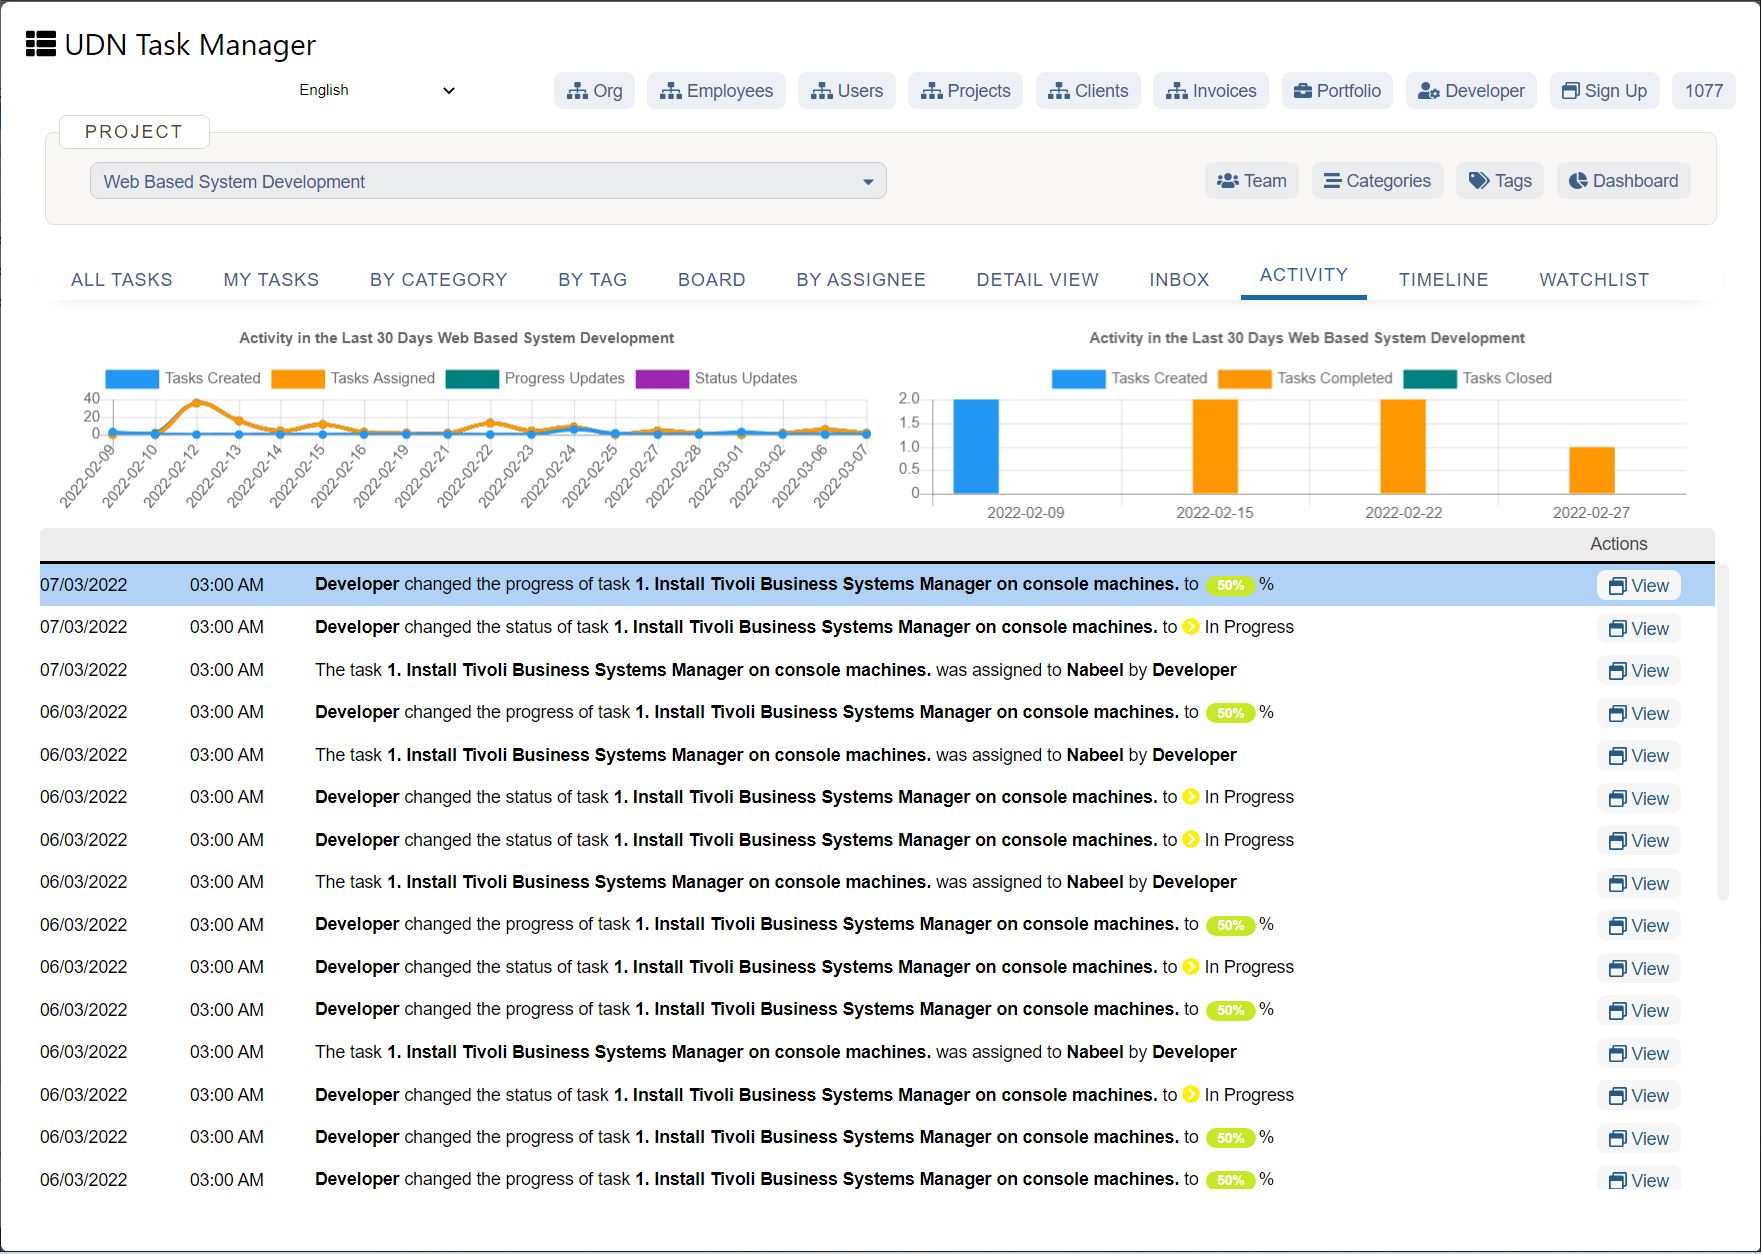
In order to go live with a new product, you first need to validate and test it. This ensures that every part of the product—from development to marketing—is working effectively before it’s released to the public.
To ensure the quality of your product, complete the following:
Concept development and testing: You may have successfully designed your prototype, but you’ll still need to work through any issues that arise while developing the concept. This could involve software development or the physical production of the initial prototype. Test functionality by enlisting the help of team members and beta testers to quality assure the development.
Front-end testing: During this stage, test the front-end functionality for risks with development code or consumer-facing errors. This includes checking the ecommerce functionality and ensuring it’s stable for launch.
Test marketing: Before you begin producing your final product, test your marketing plan for functionality and errors. This is also a time to ensure that all campaigns are set up correctly and ready to launch.
Once your initial testing is complete, you’re ready to begin producing the final product concept and launch it to your customer base.
6. Commercialization
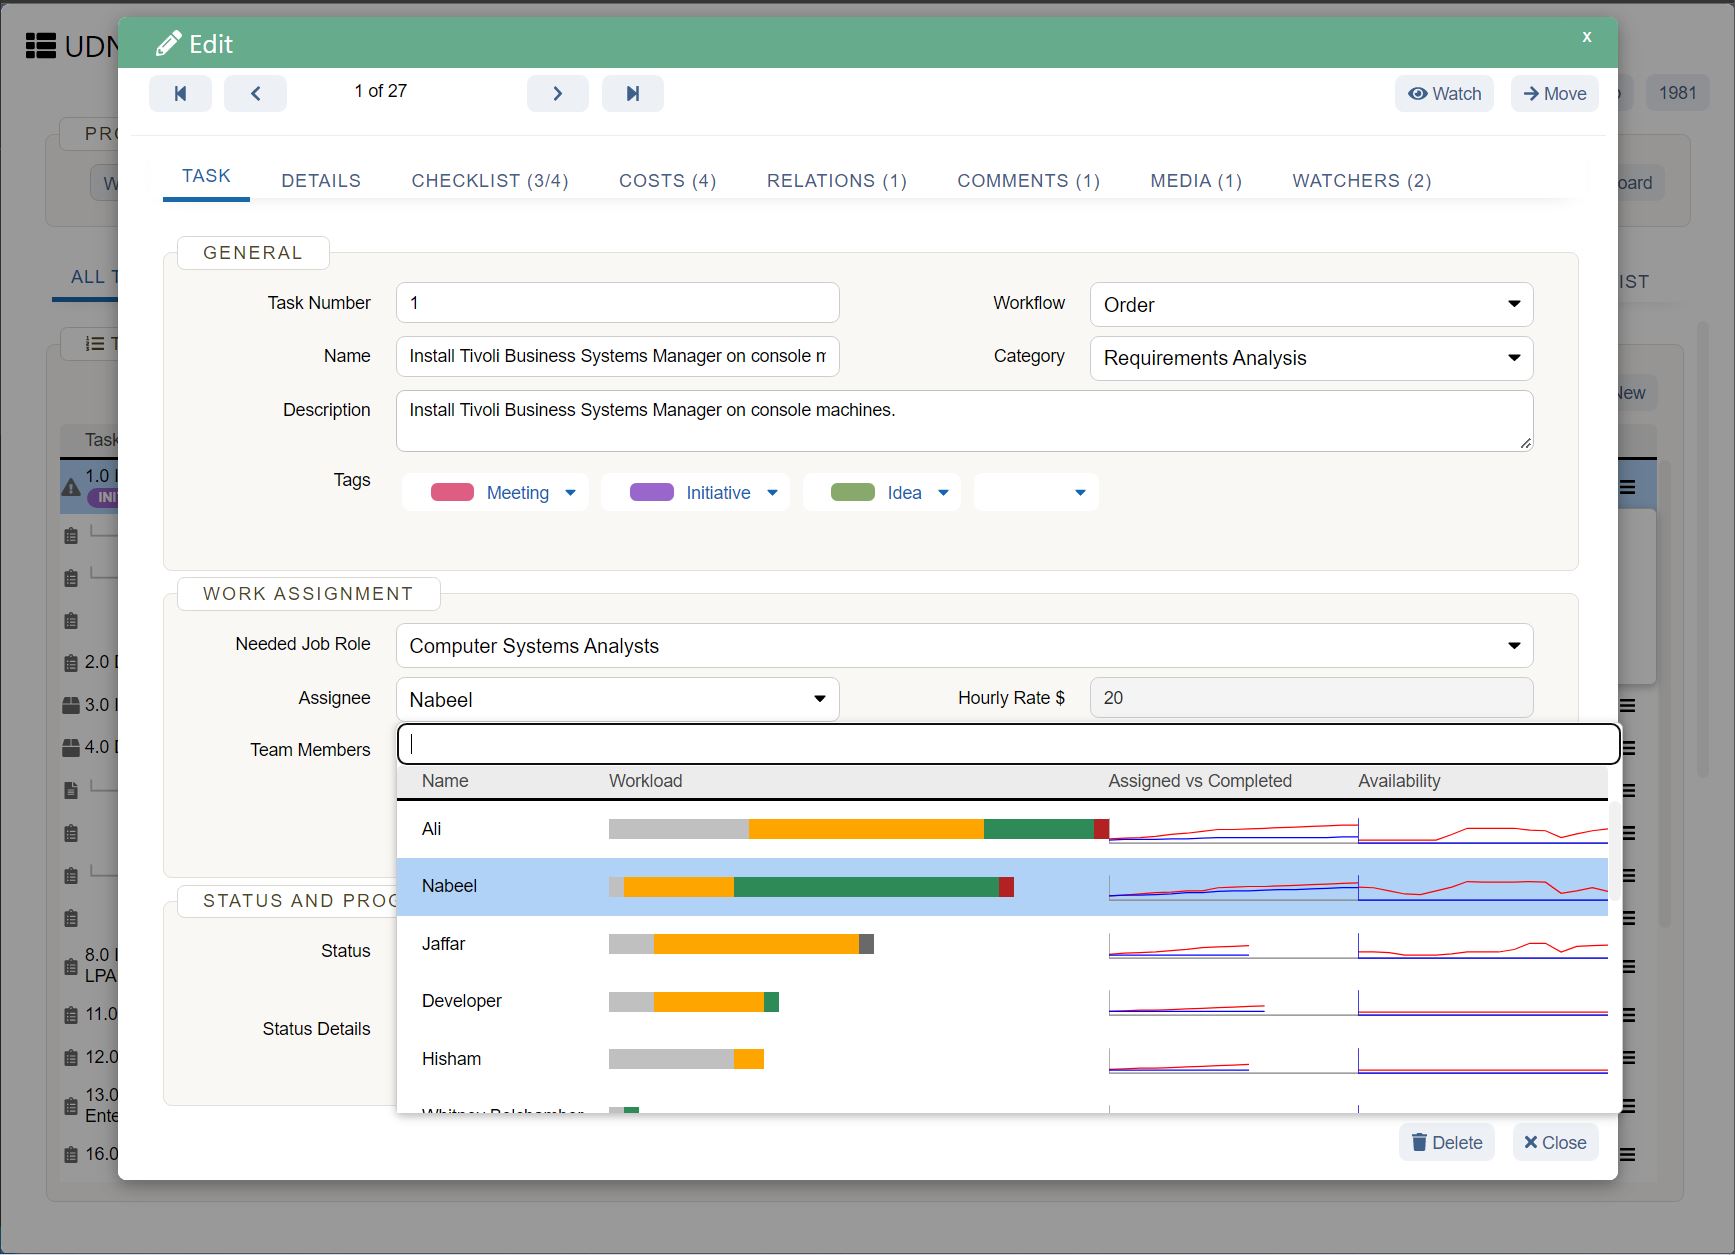
Now it’s time to commercialize your concept, which involves launching your product and implementing it on your website.
By now, you’ve finalized the design and quality tested your development and marketing strategy. You should feel confident in your final iteration and be ready to produce your final product.
In this stage you should be working on:
Product development: This is the physical creation of your product that will be released to your customers. This may require production or additional development for software concepts. Give your team the final prototype and MVP iterations to produce the product to the correct specifications.
Ecommerce implementation: Once the product has been developed and you’re ready to launch, your development team will transition your ecommerce materials to a live state. This may require additional testing to ensure your live product is functioning as it was intended during the previous front-end testing phase.
Your final product is now launched. All that’s left is to measure success with the initial success metrics you landed on.
Product development process examples

Now that you understand the six stages of the product life cycle, let’s look at real world examples of some of the most successful product development strategies of iconic startups to inspire your own.
Example 1: How Figma expanded their product features
Originally started in 2012, Figma was the first professional-grade UI design tool built entirely in the browser. Today, Figma has grown into the leading competitor for design web applications.
Their mission is to make design accessible to more people and help them bring their creativity to life. They’ve shown this by continuously adding new product features—like multiple flow capabilities, a brainstorming timer, and an interactive whiteboard—coordinating successful software releases, and building trust through transparency.
Example 2: How Uber solved a market gap
While today we think of Uber as the biggest ride-sharing service, that wasn’t always the case. They too started with a compelling product strategy that made them into the innovative company they are today.
Uber’s strategy began by solving a gap in the existing taxi industry: creating an easier ride-hailing process with simplified payment processing. But they didn’t stop there: they continued to innovate their product portfolio by developing ride tiers ranging from luxury to budget-friendly.
While each situation varies slightly, with the right product strategy, you too can create an innovative portfolio.
Who is part of the product development team?
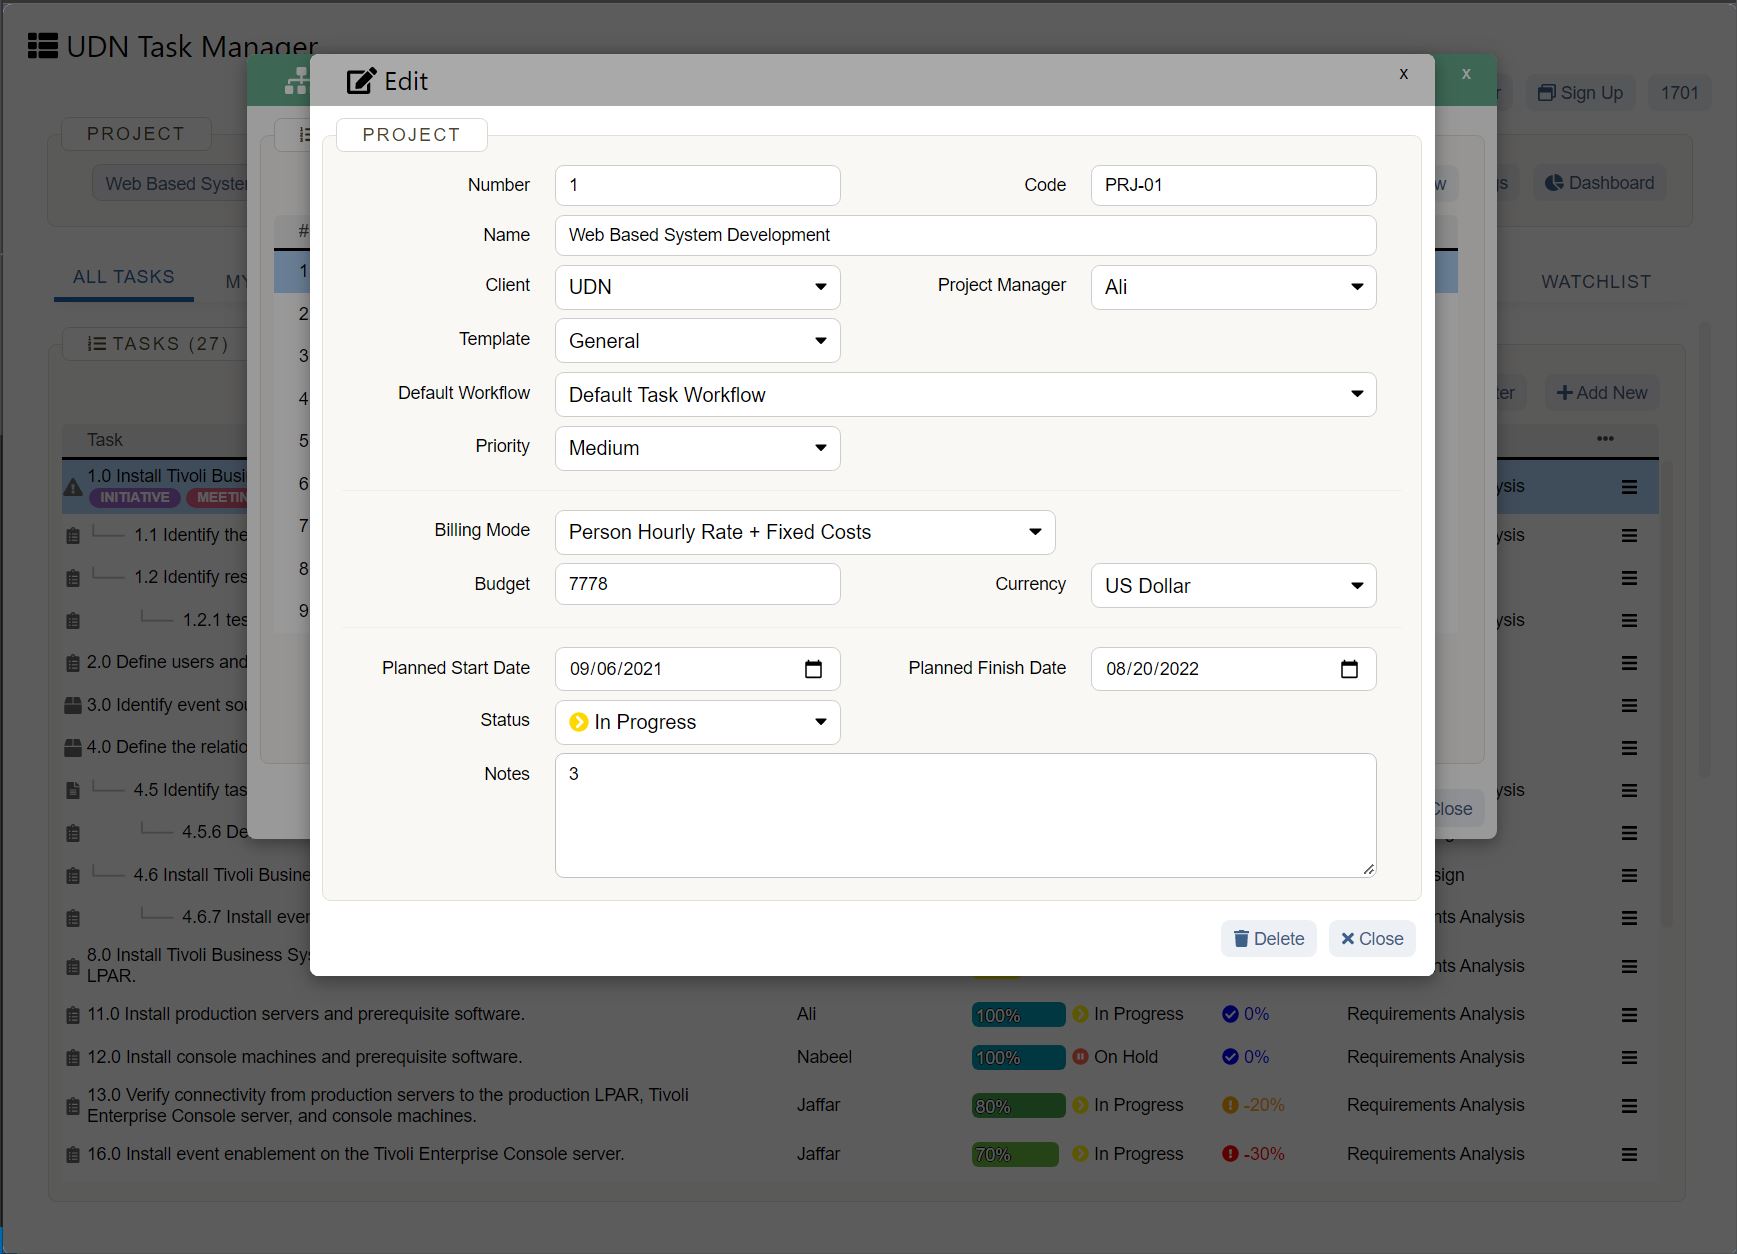
There are many stakeholders and various teams that assist with the product development process. The main leader is the product manager, who oversees all product tasks related to ideation, research, development, and product launch.
Additional important stakeholders include:
Product management: A product manager oversees all areas of the product life cycle and works to bridge communication gaps between various internal and external teams. The product manager works to initiate new product launches and initiates product ideation and market research.
Project management: A project manager may be involved in the product development process to assist with cross-departmental communication. They might also assist with task delegation and goal tracking.
Design: The design team helps during the prototyping and designing phase in order to support the visual product concept. It’s important to connect product designs with brand guidelines and UX best practices.
Development: The development team helps with the implementation of the product on your website. Most commonly, a team of developers will work together to build the new product offering depending on the complexity of the concept.
Marketing: The marketing team will assist with developing the marketing strategy and testing it before the product goes live. They will also measure the success of the marketing initiatives.
Sales: The product manager works with the sales team to come up with an effective strategy and report on success metrics after the product has been implemented.
Senior management: Senior stakeholders may need to give final approval before the product can go to launch.
In addition to these important roles, other teams that may be involved are finance, engineering, and any other related stakeholders. All of which can play a role in the process depending on the complexity of the concept.
Grow your portfolio with product development
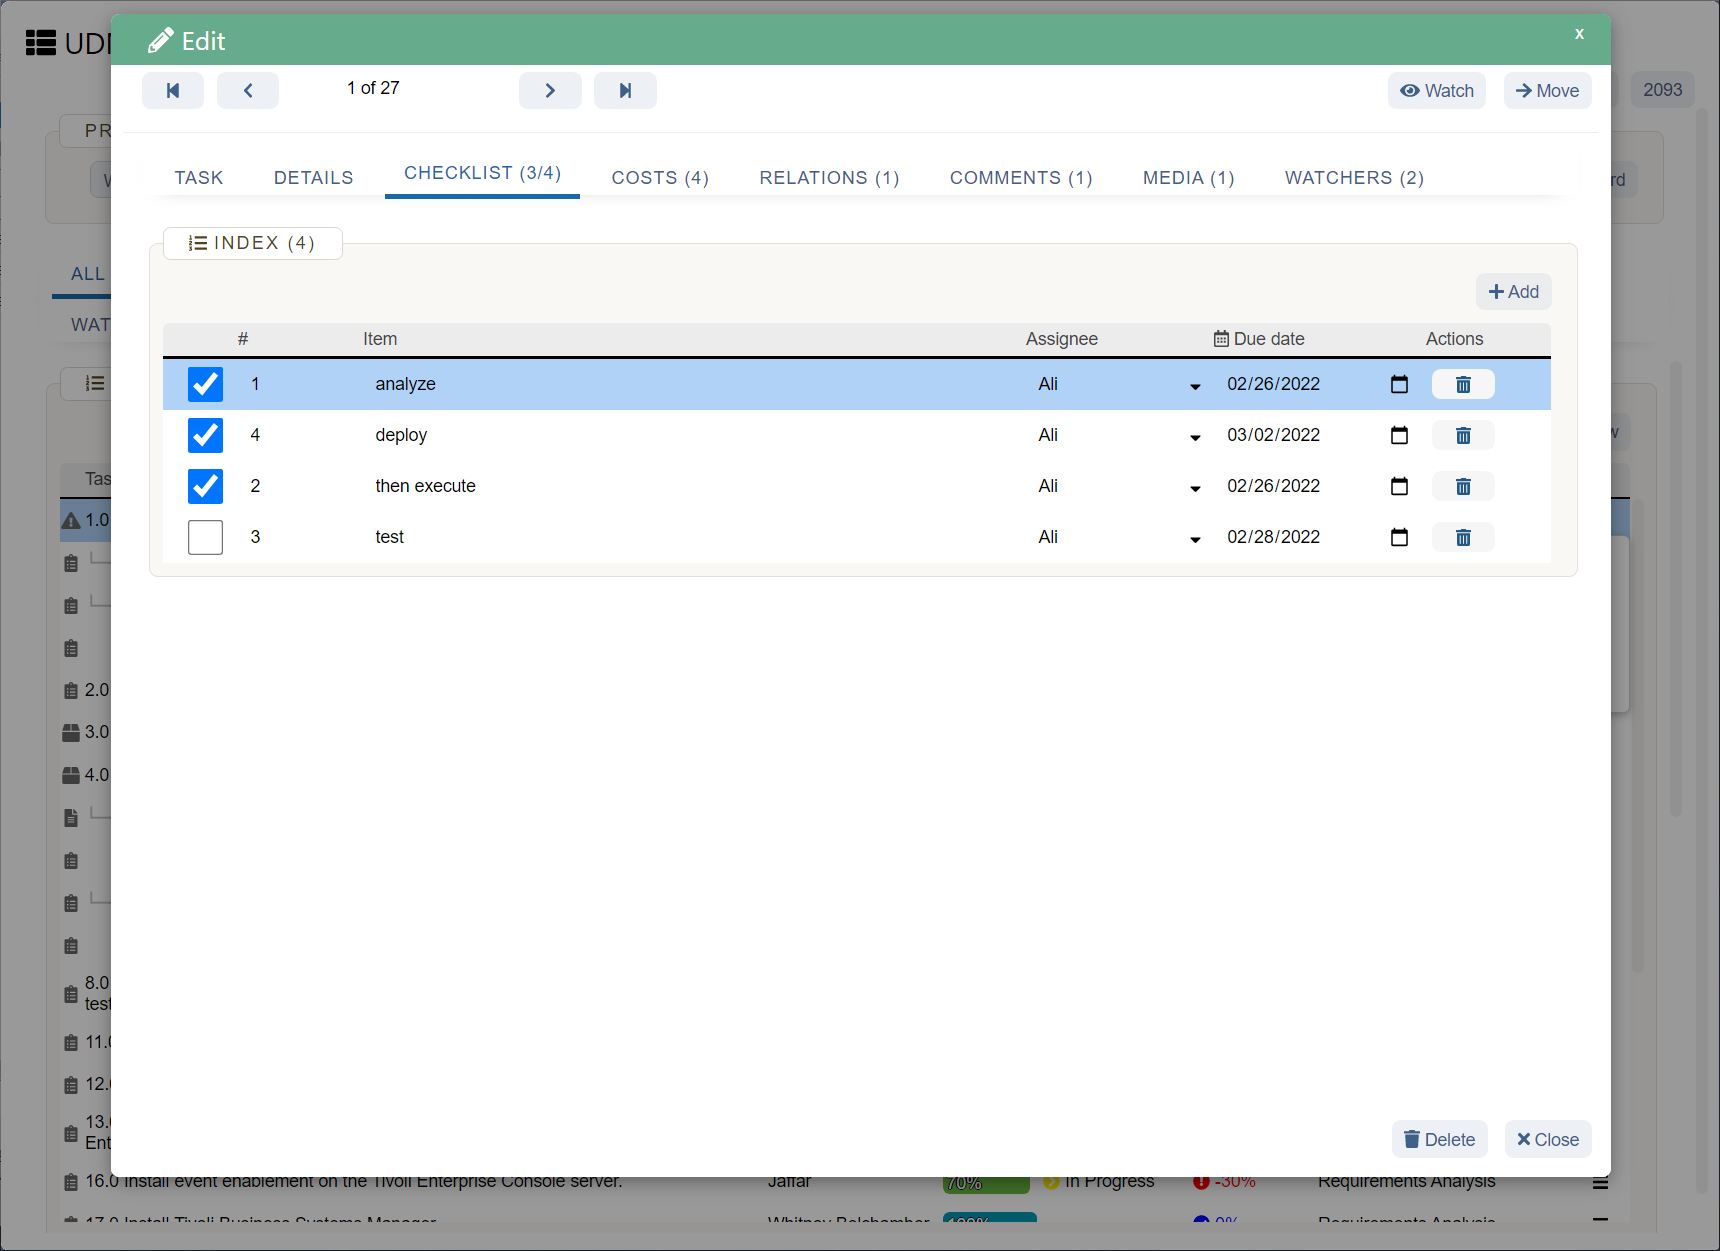
The right product development process can help you streamline each step with organized tasks and team collaboration. The six stages outlined above will get your team through all steps of the process, from initial idea screening to the development phase.
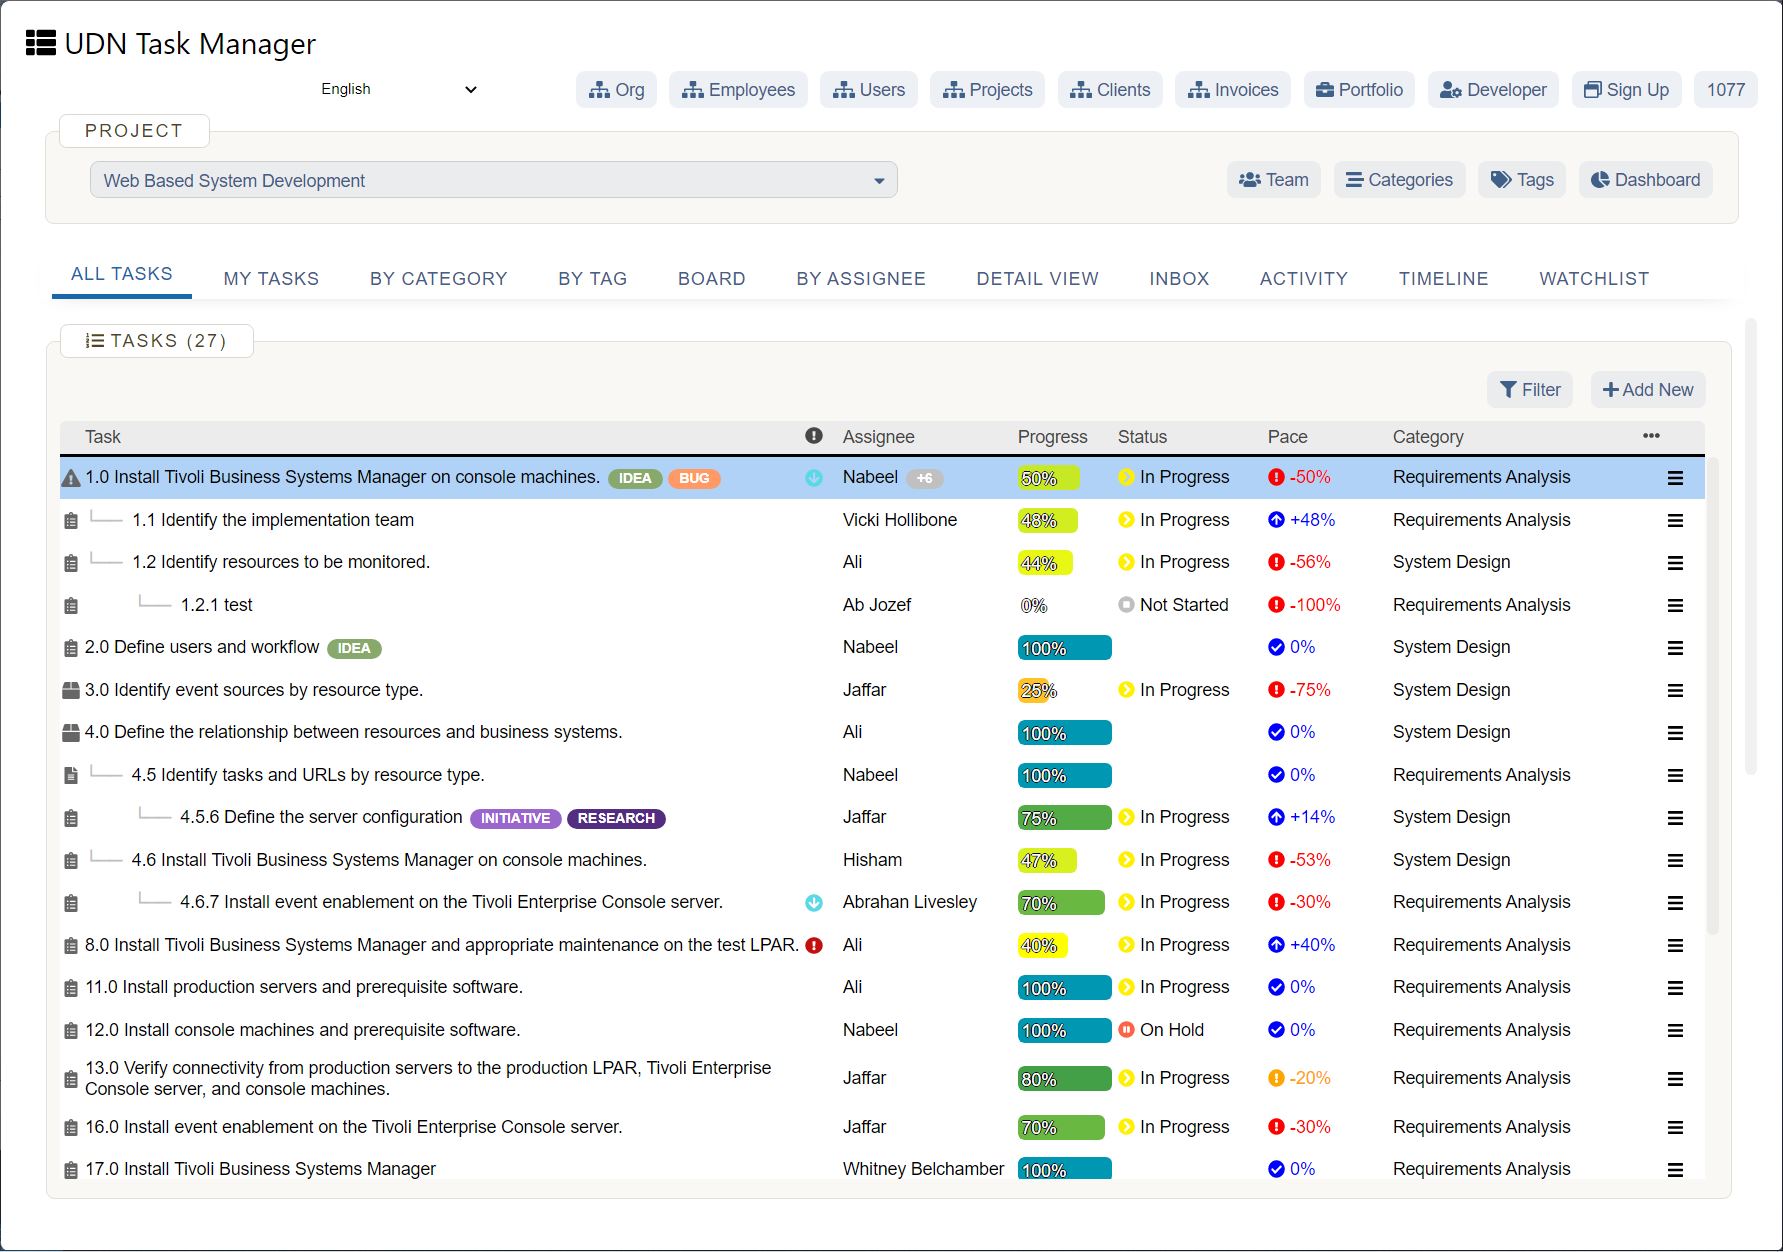
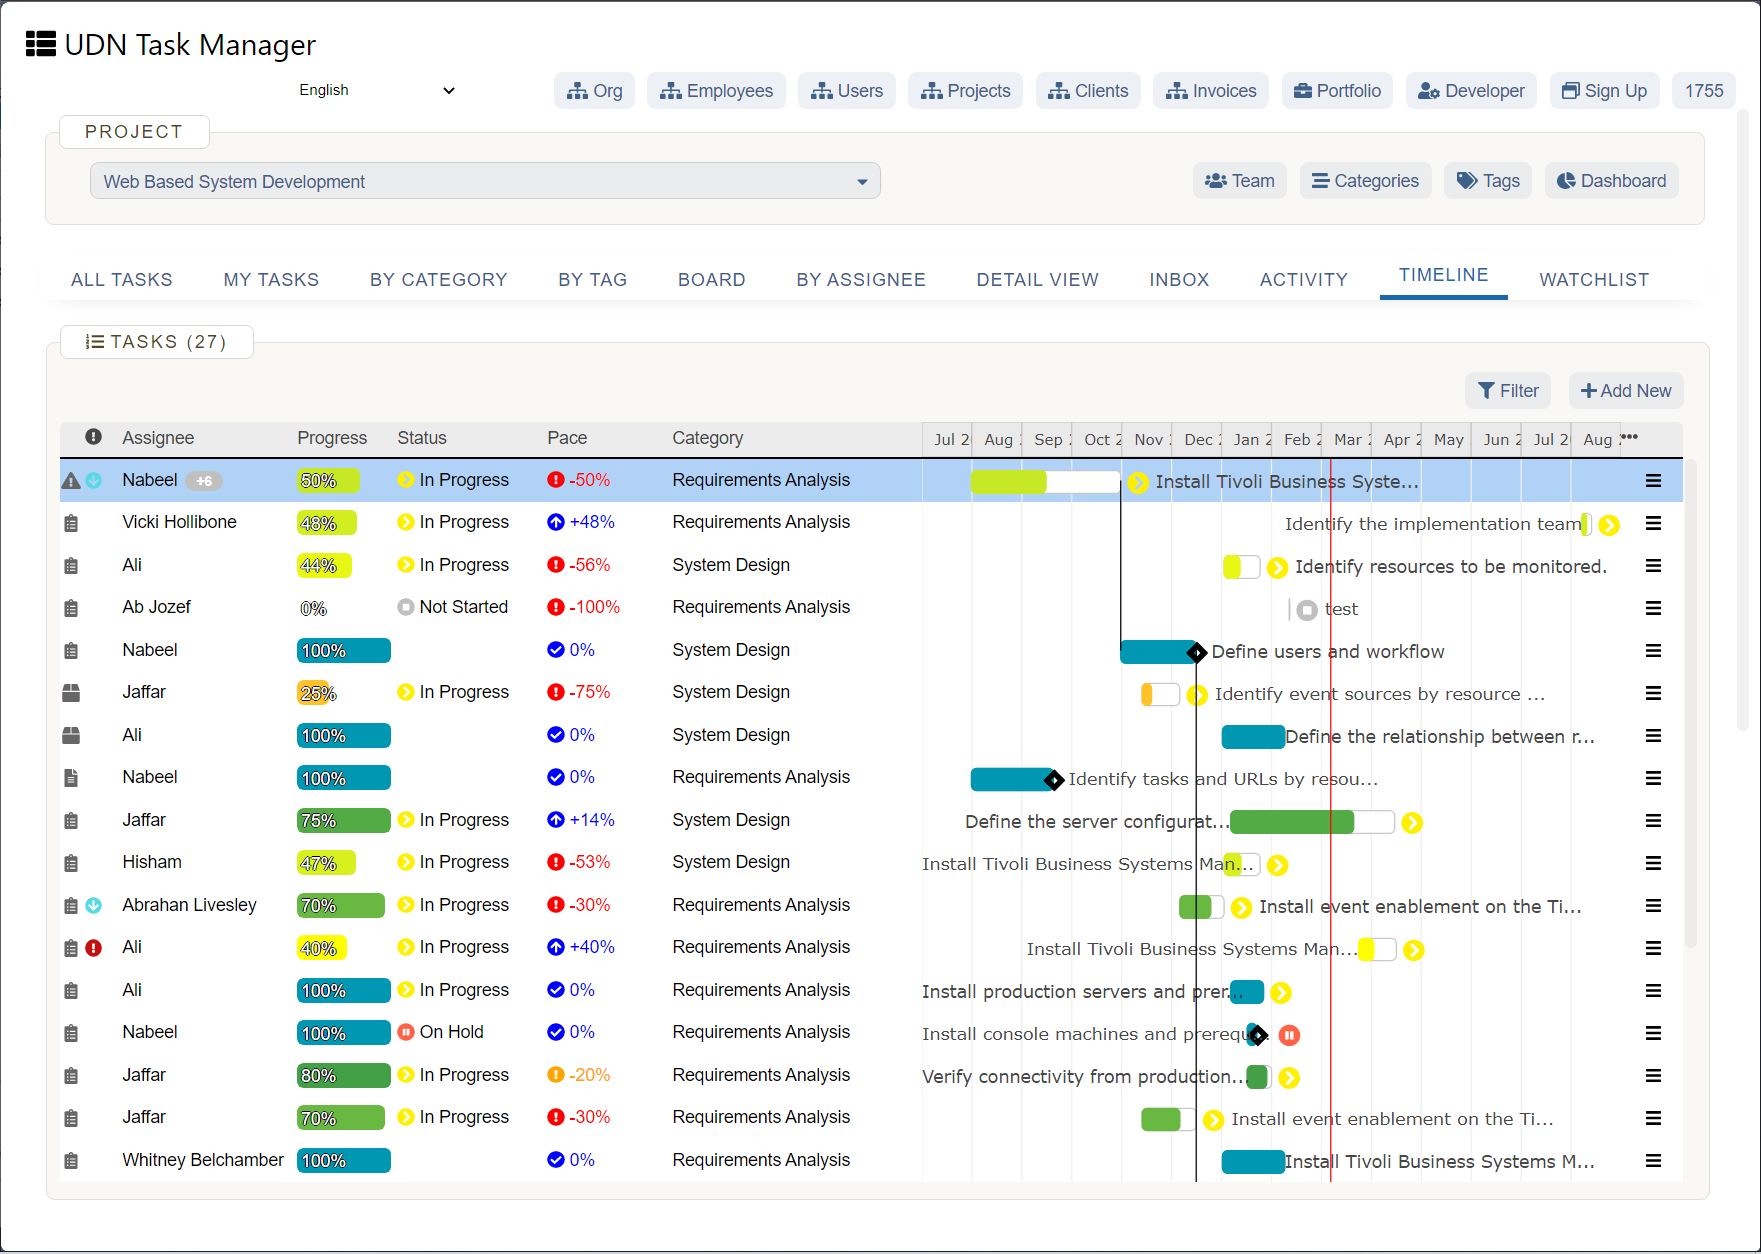
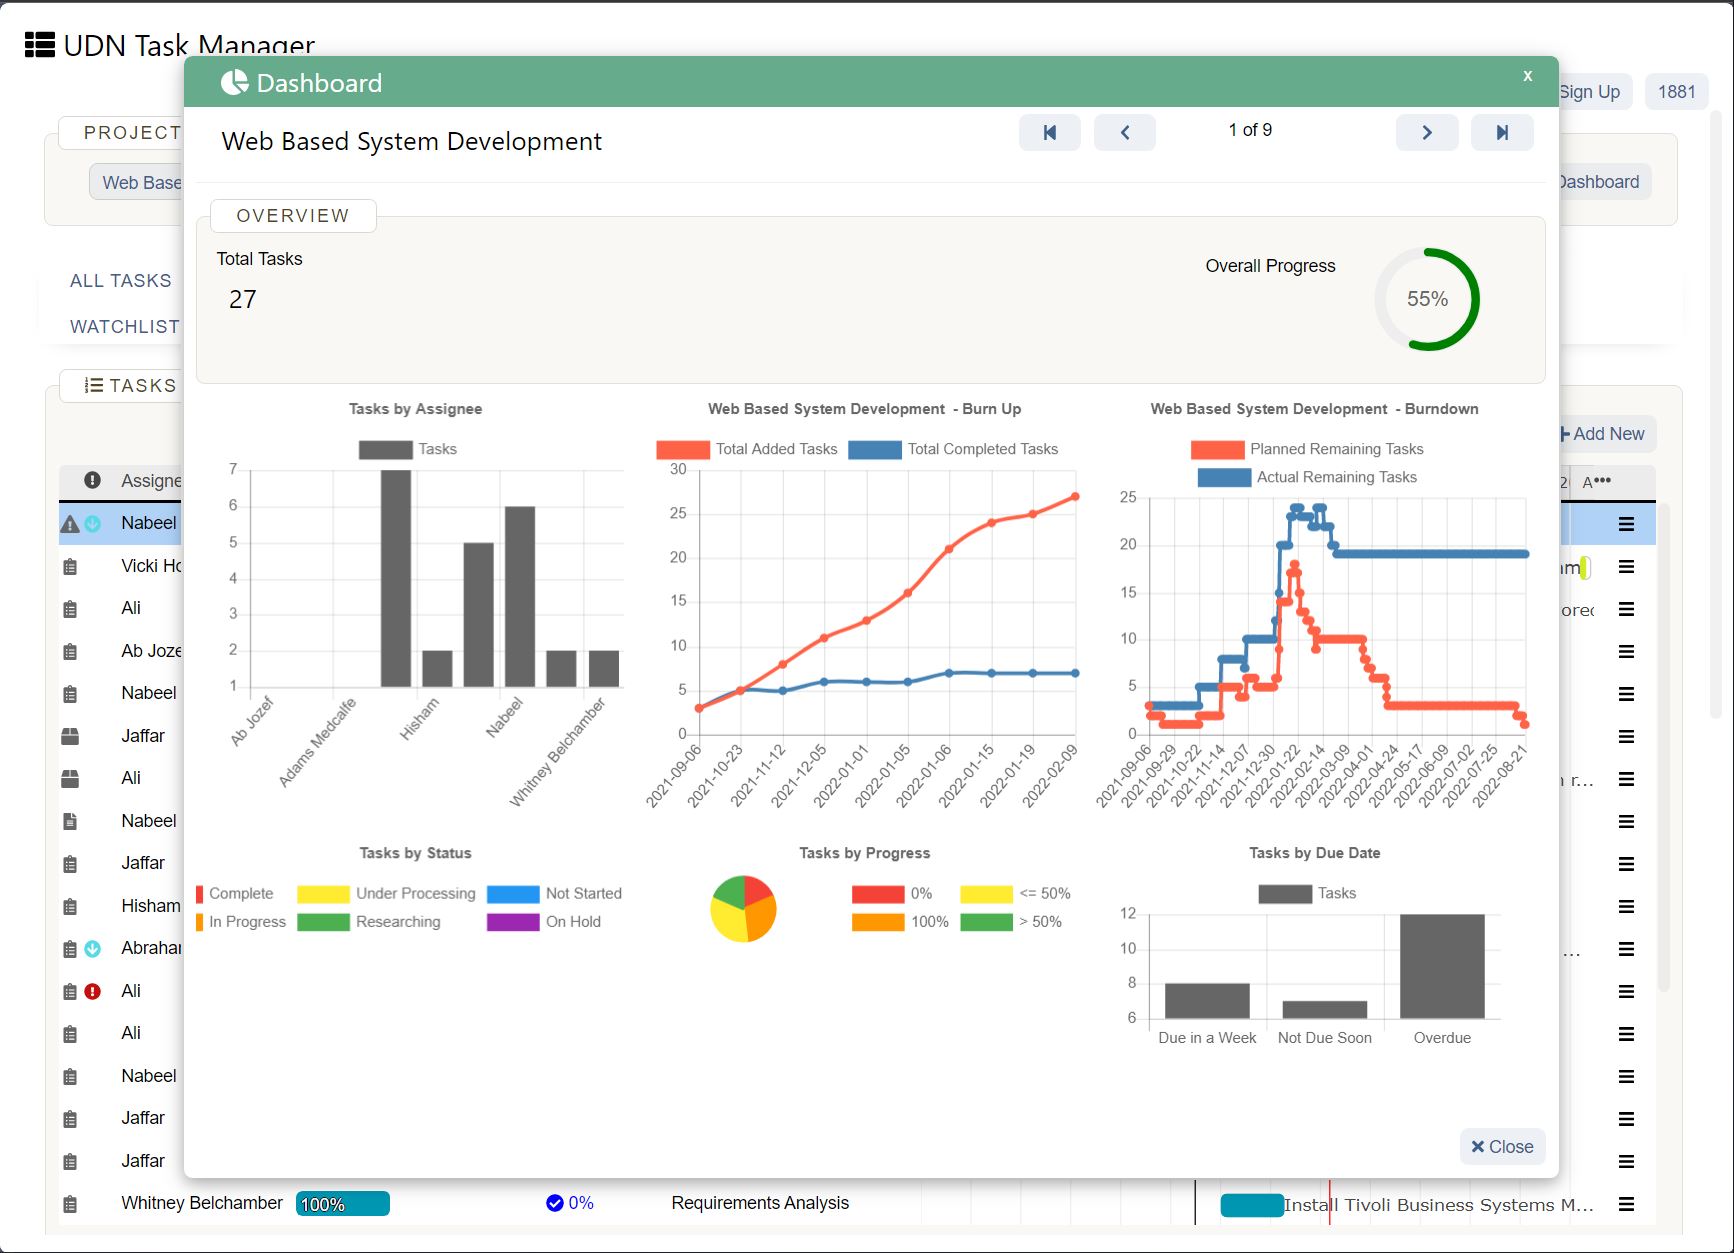
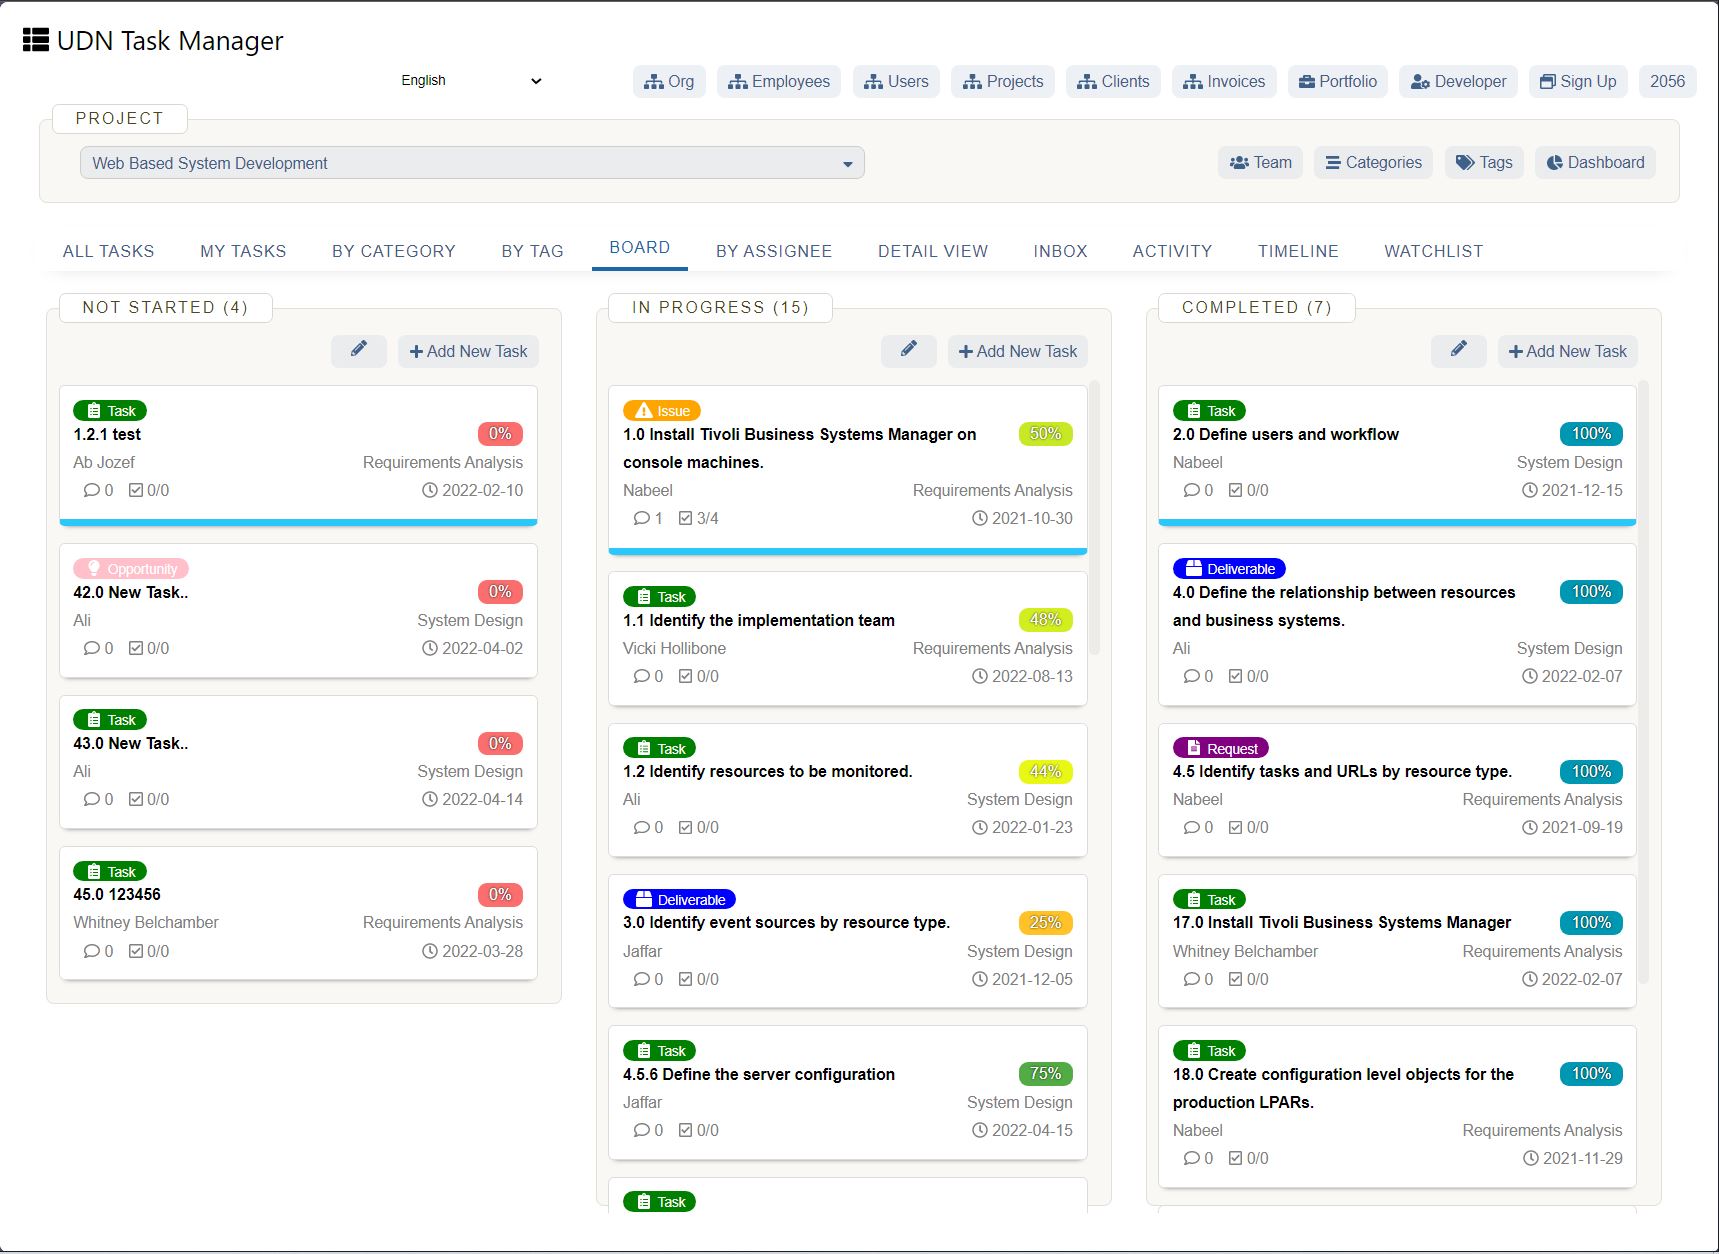
Coordinate tasks and organize your product development process with UDN Task Manager for product management. UDN Task Manager can help get your products to market faster by tracking workload and simplifying planning.


