What is resource leveling? (Techniques and examples)
Sometimes projects don’t always go as planned. You may encounter resource shortages and have to find ways to adapt to ensure project deliverables aren’t affected. That’s where resource leveling comes in. It allows you to readjust timelines so that a project can be finished with the available resources. With this technique, you can allocate resources accordingly to ensure goals and objectives are met.
Resource leveling requires solid resource management skills and a thorough understanding of what each project needs. To help you get a better handle on this technique, we break down the resource leveling process with examples and best practices for you to follow.
What is resource leveling?
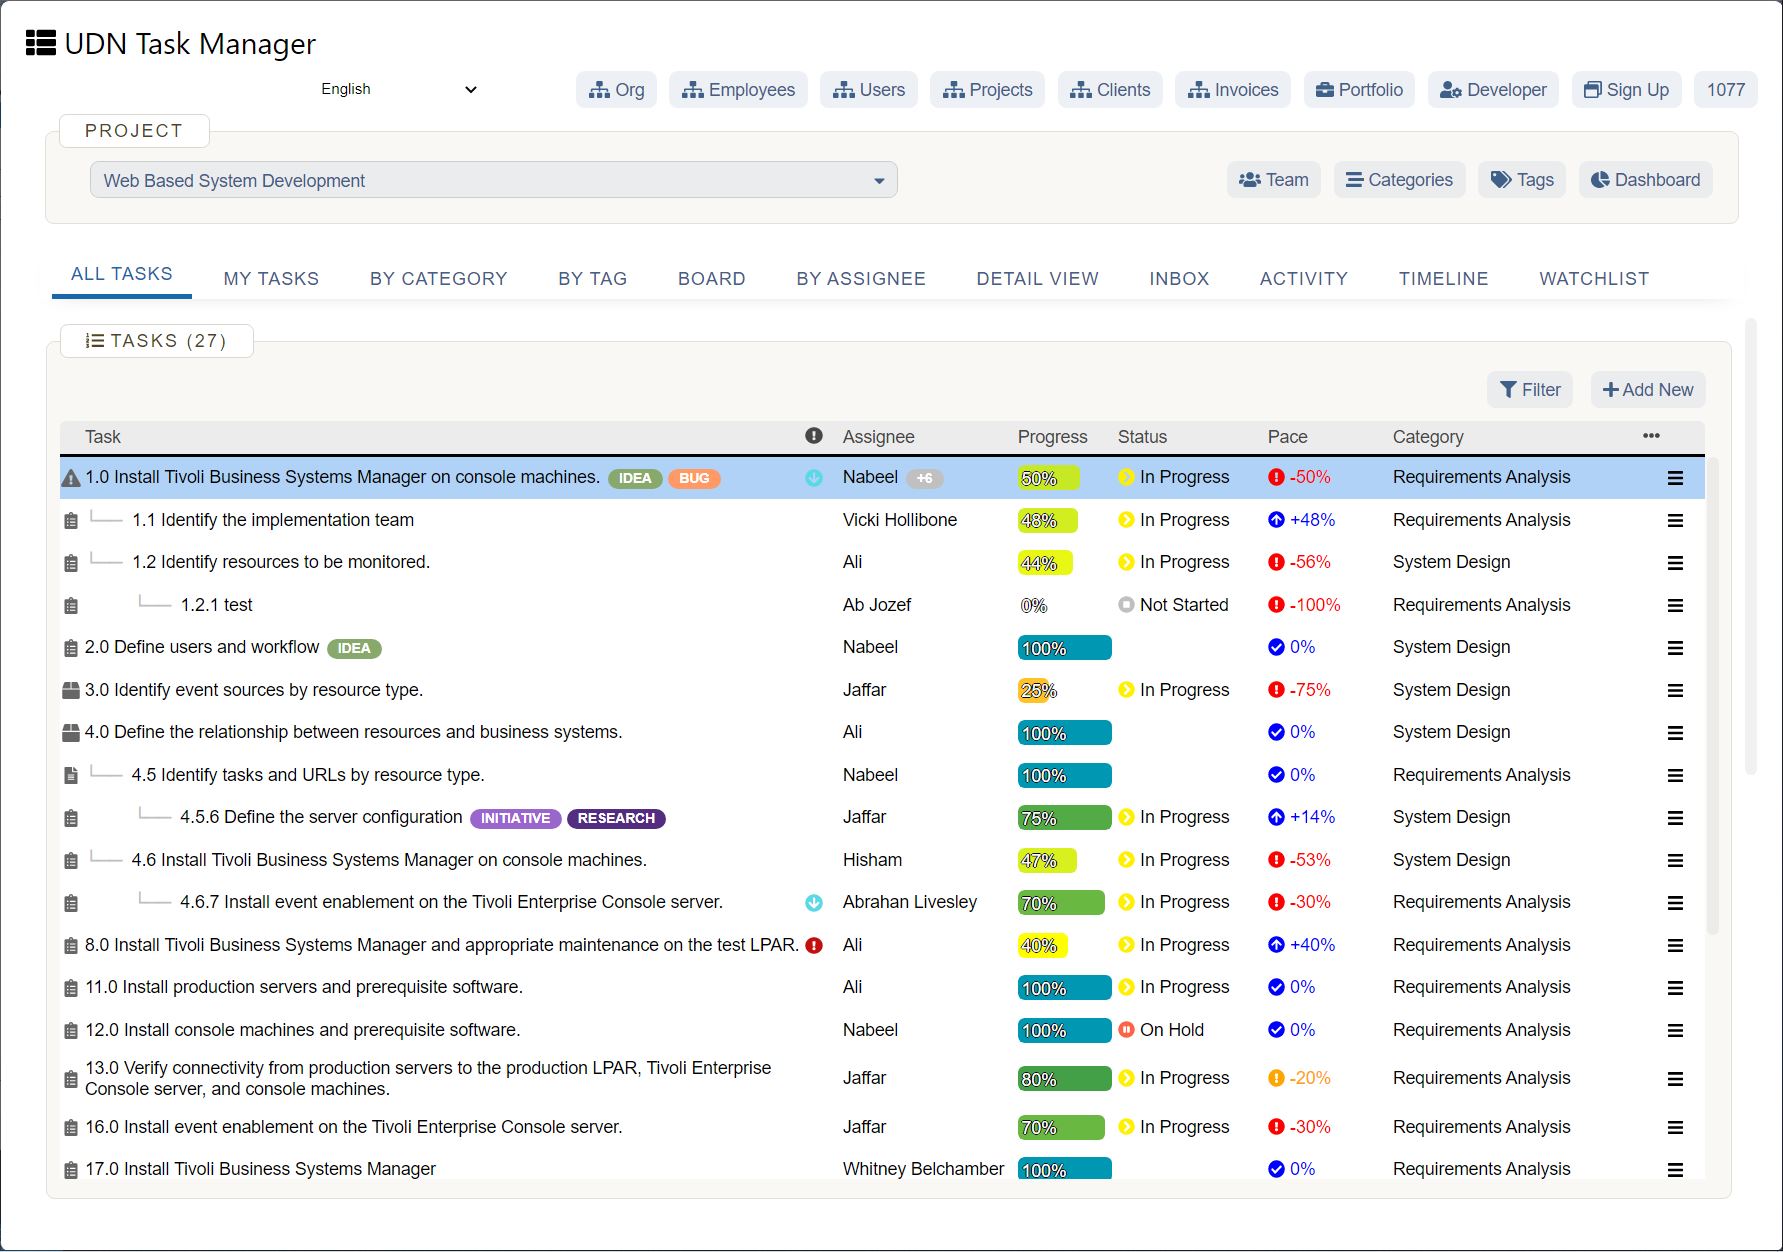
Resource leveling is a project management technique that involves resolving overallocation or scheduling conflicts to ensure a project can be completed with the available resources. Resources include the time, materials, or tools needed to complete a project.
The purpose of resource leveling is to get the most out of available resources while working within the project’s time, cost, and scope constraints.
Resource leveling can be challenging for project managers as it requires balancing the demand for the same resources across multiple projects .
Depending on your team needs, here are possible outcomes:
If the goal is to keep the current project deadline, more resources may need to be made available.
If the goal is to run the project with currently available resources, the deadline of the project may be extended.
Resource leveling adjusts resource allocation or project schedules to keep resources from being overextended. This can help maintain the quality of project outputs.
When to use resource leveling
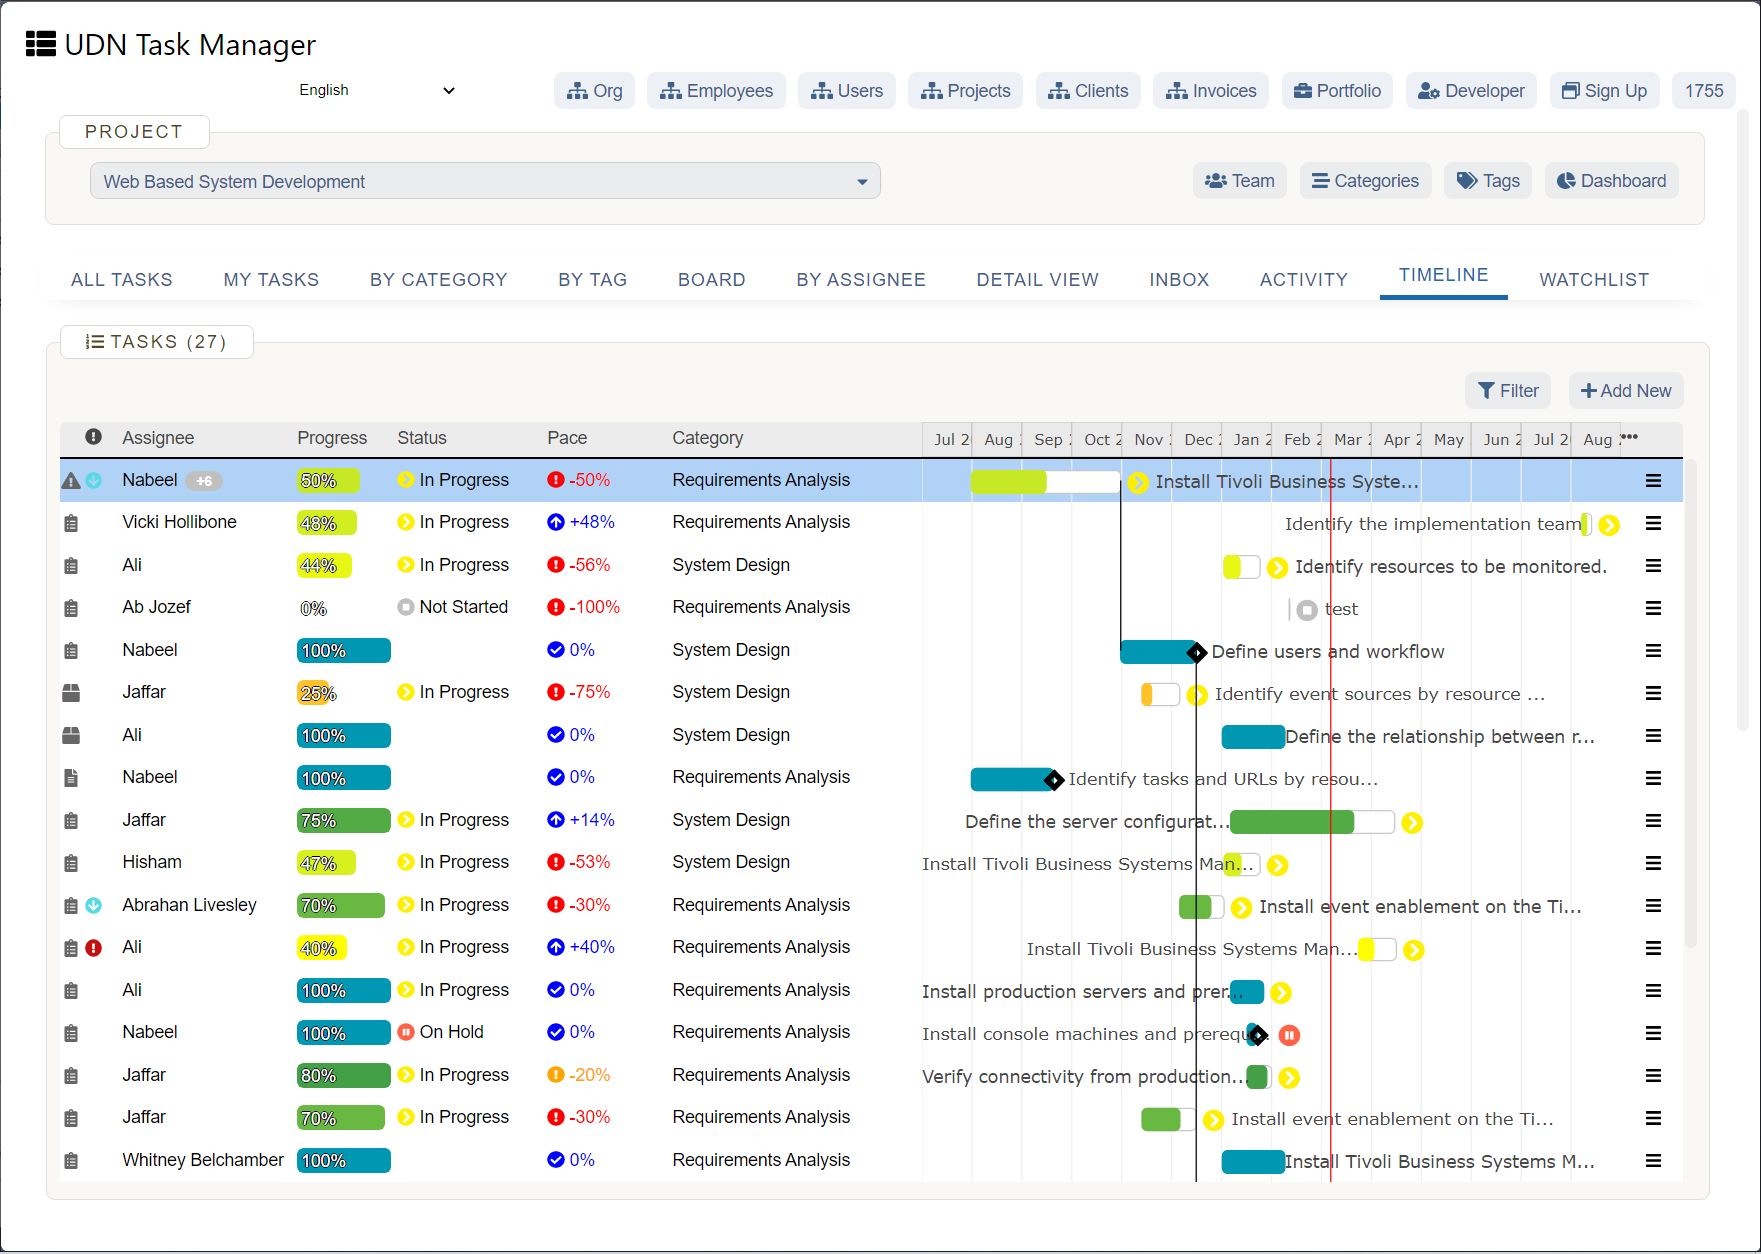
Resource leveling prevents resources from being spread too thin while ensuring projects still have what they need to succeed. This technique contributes to not only project management, but also helps maintain work-life balance for the team. Here are some reasons why your team can benefit from resource leveling.
To optimize your resources
Resource leveling lets you get the most out of the resources you have on hand. It helps you assess which projects should receive additional resources and which ones are flexible in terms of deadlines.
To minimize deficits
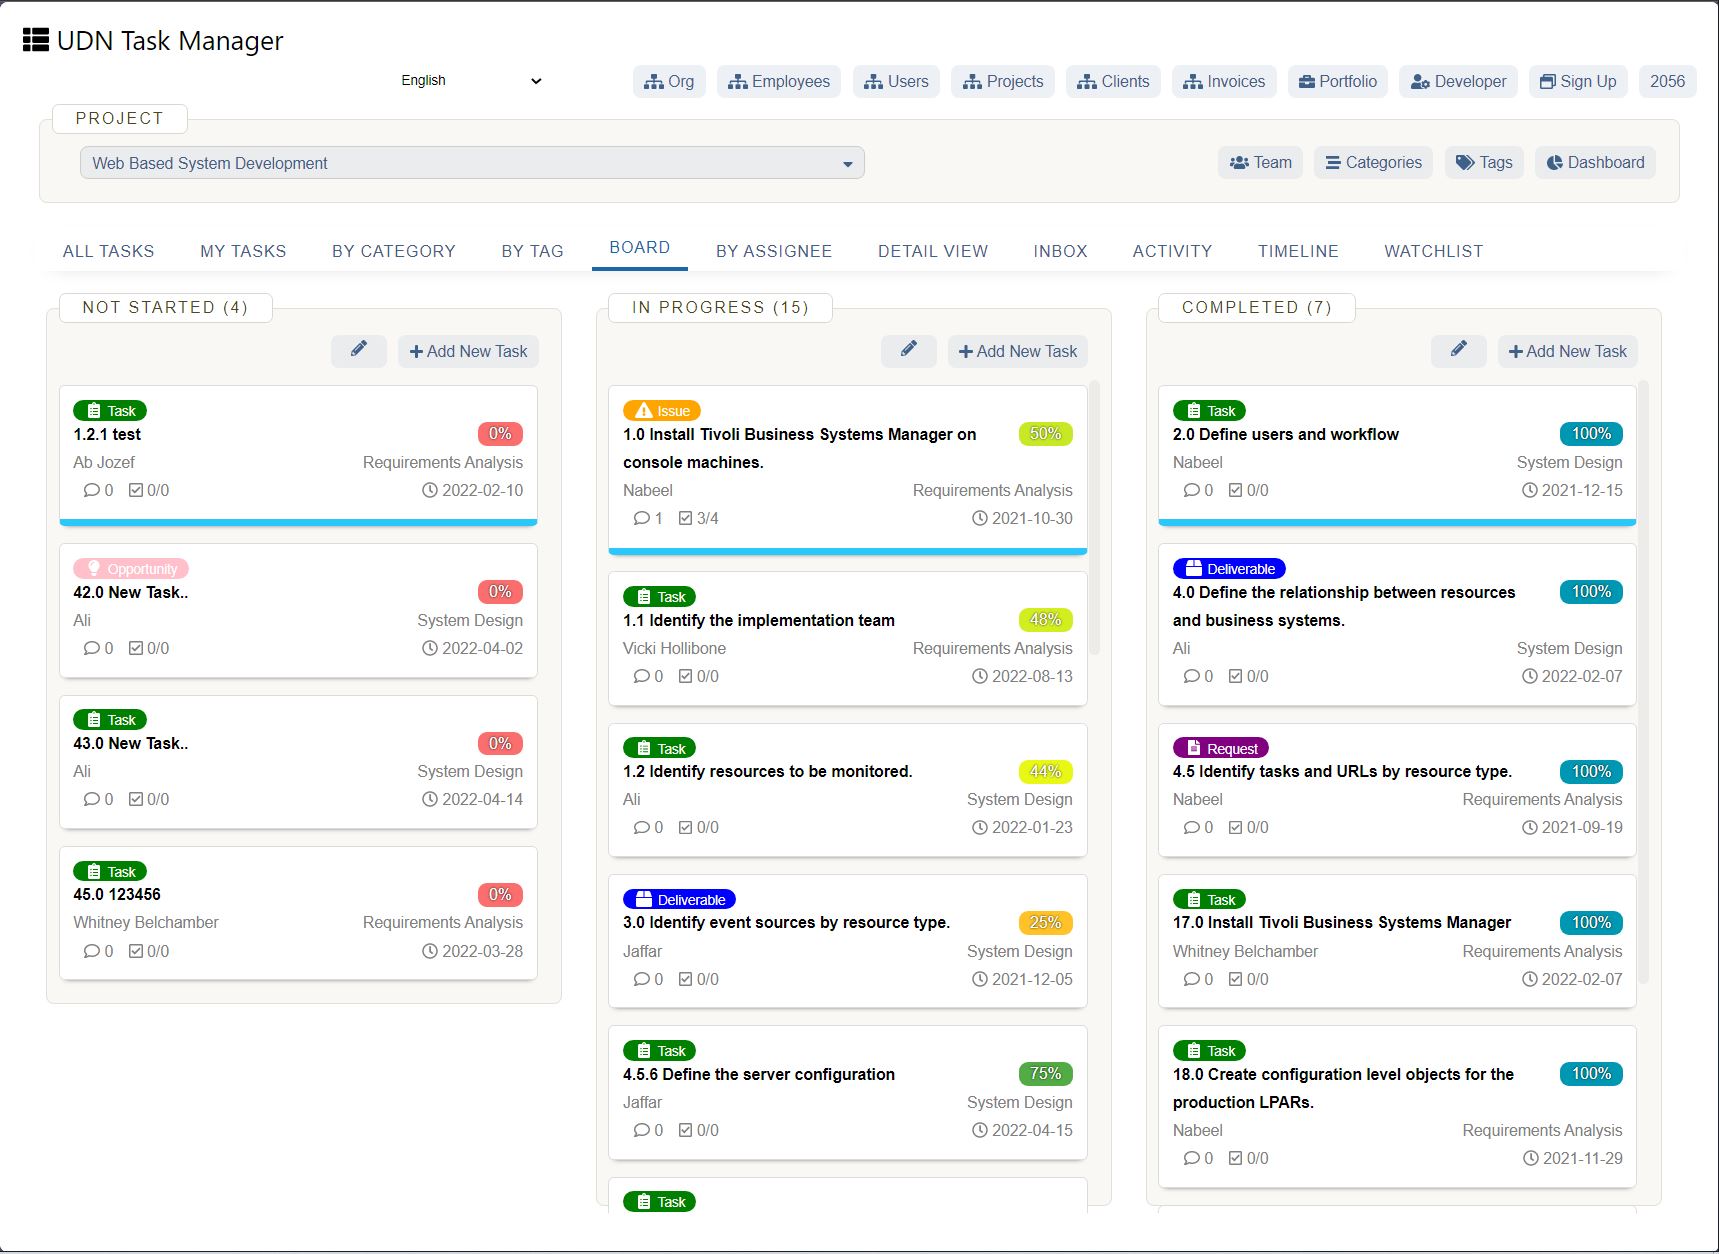
Resource leveling prevents significant project delays, thereby minimizing the losses in costs and labor. This technique allows you to manage the resource demand without exceeding the company’s current capacity and financial resources.
To prevent task overloading
Overallocation of resources leads to overwork , which can be overwhelming for team members. Resource leveling prevents this by resolving overallocation issues and adjusting deadlines to ensure team members don’t have too much on their plates.
To ensure the quality of a project output
Leveling allows you to manage both resources and client expectations by maintaining the same level of quality for project deliverables. In general, resource leveling can be a useful technique for resolving budget issues, resource overallocation, and project delays.
Resource leveling examples
To help you get a better understanding of how resource leveling can be applied across your team, here are some examples:
Example one: Delaying a project start date
A project requires a designer to create mock-ups for the client, but the designer was double-booked, and the rest of the design team is occupied as well. They decide to start the project two days later when the designer is available. Since the designer works fast, the project end date remains the same.
Example two: Obtaining additional resources
The IT team has been responding to a large number of IT requests to deal with a virus that infected company computers. Since the company’s current antivirus software isn’t robust enough to handle the virus, the team decides to invest in new antivirus software so they’re able to fix the computers.
Example three: Postponing a project end date
The marketing team is launching a new social media campaign and they’re waiting for approval from the social media manager, who is currently out of the office due to illness. Since the campaign isn’t time-sensitive, they decide to push the launch date back by a few days so the manager has time to review.
Whether you lead a marketing, sales, or IT team, resource leveling can come in handy for resolving resource conflicts. Once you decide on a solution, let the rest of your team know your plan. You can use a meeting template to plan the agenda.
Project resource leveling

Adding project resource leveling to your arsenal of skills will help you become a more effective leader. Here are some resource leveling strategies you can apply to your team.
Critical Path Method (CPM)
The critical path method is a common resource leveling technique that’s used to calculate project duration without taking resource limitations into account.
This technique involves linking dependent project activities in a logical sequence in order to calculate the earliest and latest possible dates that each activity can start and finish by. The “critical path” refers to the sequence of tasks with the longest duration that needs to be completed in order to successfully close out a project.
Once you figure out the activities on the critical path, you can determine their “float,” or scheduling flexibility:
Total float refers to how long tasks can be delayed from the earliest start date without impacting the project completion date
Calculation: (Late finish date) – (early finish date) or (Late start date) - (early start date)
Free float refers to the number of days that tasks can be delayed without impacting the start date of subsequent activities
Calculation: (Early start date of next task) – (early finish date of current task)
Tasks on the critical path have a float of zero, meaning that if one task is delayed, the rest of the project is delayed as well.
For example, let’s say the IT team is working on replacing the current security system, and they identify two critical and two noncritical tasks:
Critical :
Discontinue the use of current security software across the company within two days
Install and test the new software on all company devices within four days
Noncritical :
Finalize purchase details with the software vendor within a day
Create how-to guide for using new software within two days
Based on this example, the shortest project duration is six days, since the critical path activities are crucial to complete the project, whereas noncritical tasks may be optional.
Fast tracking
There are times when projects must be delivered on or before the deadline to satisfy client requirements. In those cases, you can use fast tracking to run multiple parallel tasks to speed up the project. This schedule compression technique can only work if the activities can be overlapped with one another to a certain extent.
For instance, activities with dependencies can be staggered and activities without dependencies can occur in parallel.
An example of fast tracking is when the software development team starts building the back end of a website while the design team is finishing up the website mock-up. With the fast tracking technique, the work gets done on time and on budget, but there’s also a higher possibility of reworks.
Crashing
When fast tracking can’t be applied or it’s not effective enough, you can implement the crashing technique. This is where additional resources are allocated to a project to shorten the timeline. In this case, you have to assess the needs of high-priority tasks and look for resource options that provide the most value at the least cost.
For example, the marketing team needs two more writers since their deadline was moved up by two days. With no spare team members, the project manager decides to hire two freelancers they’ve worked with before rather than spend time looking for new writers.
Before you decide to use crashing to compress project schedules, be sure to get approval from your manager or client about obtaining additional resources.
Critical chain method
The critical chain method is an updated version of the critical path method. Unlike the critical path method, the critical chain method takes resource limitations into account. In this case, the critical chain refers to the longest path of tasks, taking into account both task and resource dependencies. A resource can only be allocated to one task at a time.
Project scheduling using this method involves listing required resources for tasks and reassessing their availability when needed.
The critical chain method includes a buffer period, which is placed between the last task and the project finish date, acting as a contingency for the critical chain activities. Tasks that finish early increase the buffer. Conversely, delays in critical chain activities use up this buffer but won’t affect the project completion date.
For example, to publish a piece of content on time, the manager determines the resources needed: a writer, editor, designer, and developer. They set a buffer of five days in case there are delays between content or design reviews.
The critical chain method aims for realistic estimates of project duration and resources so that projects finish on time without overextending resources.
Resource leveling tools
Resource leveling will become easier with more experience. As you practice this technique, here are some tips and tools you can use to your advantage.
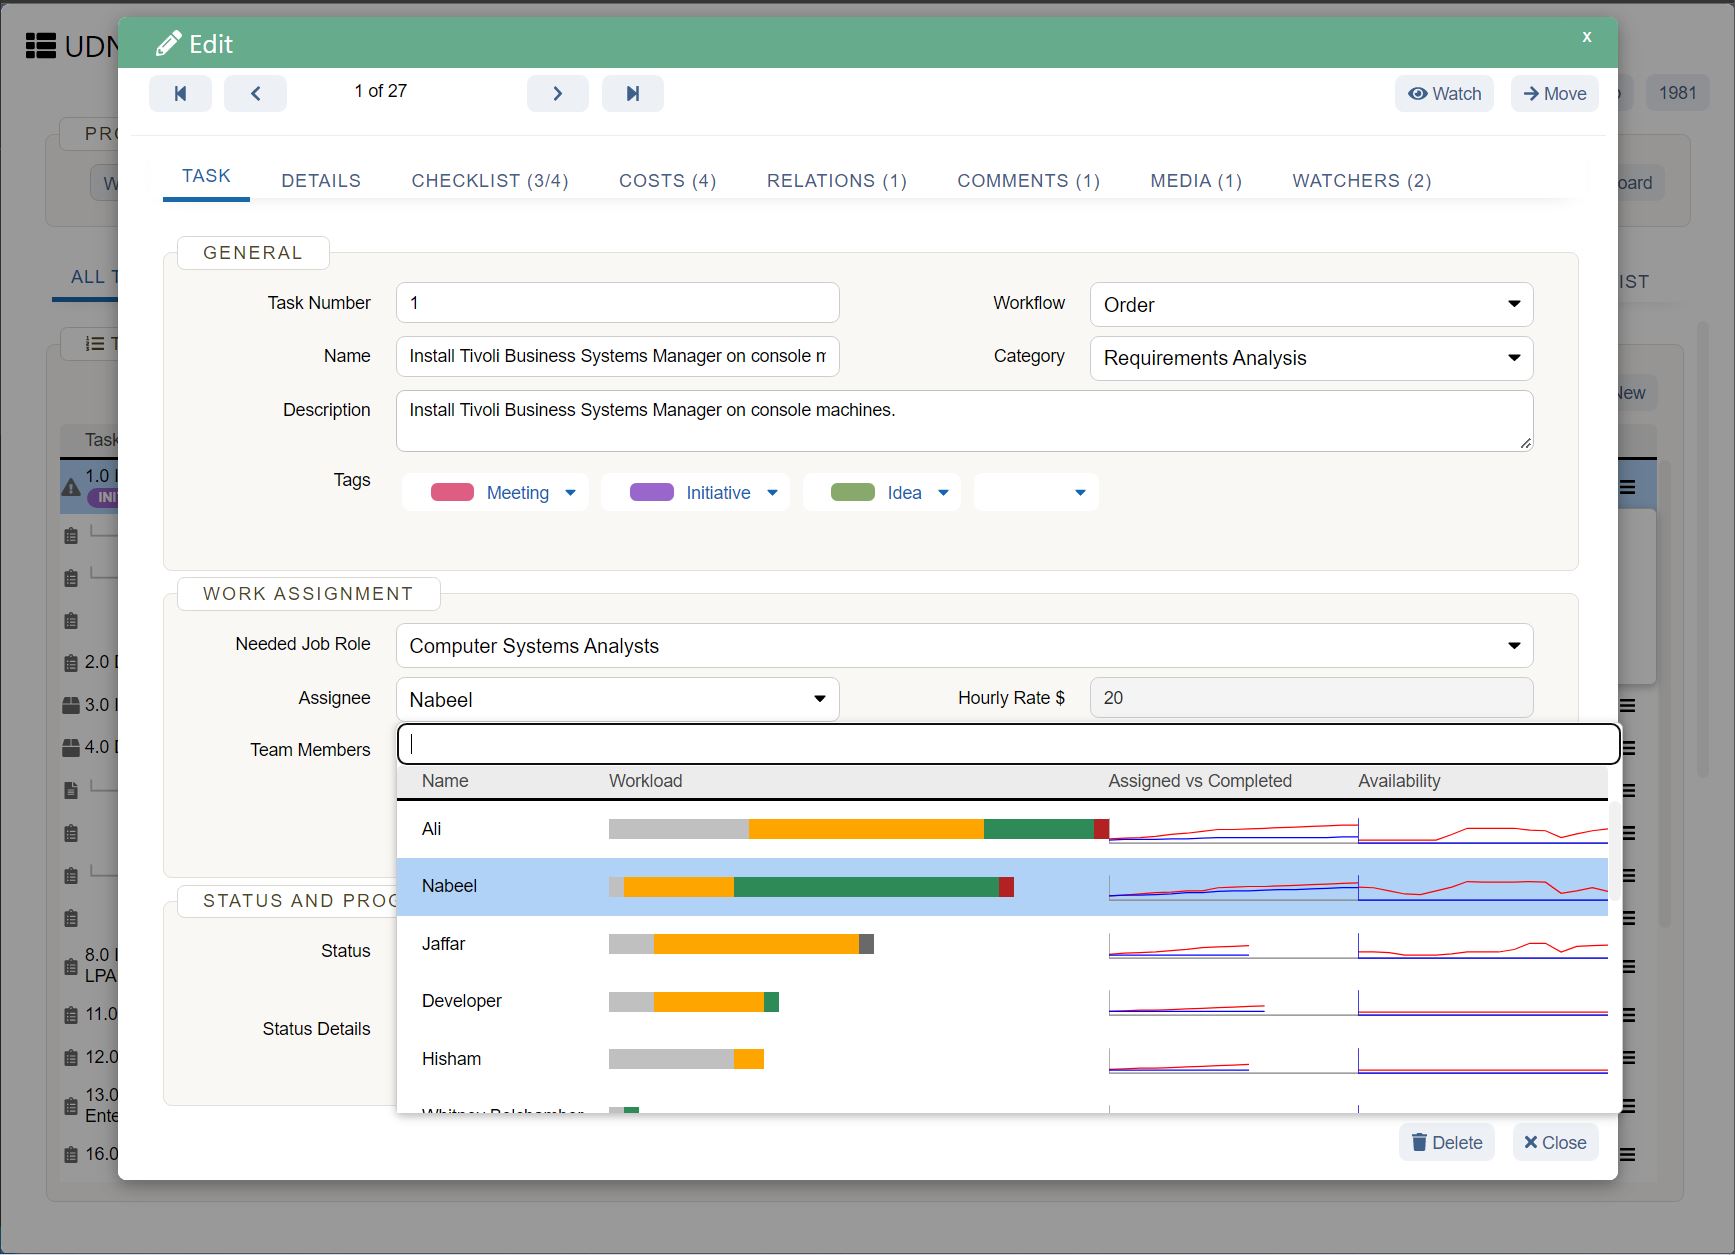
Use Gantt charts: A Gantt chart is a bar chart that visualizes a project schedule and can be ideal for identifying and planning the critical path. You can easily get a high-level overview of the task dependencies, start and finish dates, and project duration. As the project progresses, you’ll be able to rearrange the chart and adjust dates as needed.
Leverage project management software: Some project management software comes with resource leveling algorithms that can help resolve overallocation conflicts. Project management software also gives greater visibility into team members’ schedules, which will assist in preventing scheduling conflicts and double-booking ahead of time.
Draw network diagrams: A network diagram is another type of visual representation of a project’s schedule. It’s shown as a chart with sequences of boxes and arrows to depict the chronology of tasks. It can be used to plan the schedule as well as track project progress. When you connect the series of boxes, each representing a task with its duration, you’ll be able to identify the noncritical and critical paths.
Use previous projects as a reference: Keep an archive of past project plans and schedules so that you can reference them when doing a similar project to come up with a more accurate project plan . Looking at past successful or unsuccessful projects will give you a better idea of how much leeway to give each task and approximate which resources are required so you can gauge resource availability before the project starts.
Make realistic estimations of resource needs: Resource leveling efforts have a better chance of succeeding if you clearly define the project scope up front and make realistic estimates of resource needs.
Here are some tips for making more precise estimates:
Make estimations in a team to reduce personal biases
Include potential project risks in the estimation process
Estimate in ranges rather than specific values to cover a wider set of possibilities
Use the same estimation technique each time to yield more consistent estimates
The better the initial resource estimates, the less drastic the resource leveling will be if issues occur later on.
Resource leveling vs. smoothing
Both resource leveling and resource smoothing can be considered resource management techniques .
The primary difference between the two is the project constraint that’s prioritized: Resource smoothing prioritizes time constraints whereas resource leveling focuses on the availability of resources.
Here’s an example: Say you’re booked to work on a task for eight hours for five days, but you only need 30 hours to finish the task, so you redistribute the schedule to six hours a day. By doing so, you have more leeway to work on other tasks without affecting the project deadline.
Resource leveling is used when there’s resource overallocation, whereas resource smoothing is used when there’s an uneven allocation of resources. Resource leveling comes with the flexibility of moving project dates around, but project dates are set when you use resource smoothing.
After using resource leveling to resolve overallocation conflicts, you can use resource smoothing to even out the project schedule.
Level up your resource leveling skills
To make the most out of limited resources, you can use the resource leveling technique to distribute available resources to help projects finish on time.
Use this strategy in tandem with customized templates for your team, such as IT templates or marketing templates , to plan and schedule your projects.
Resource leveling relies on having solid resource management skills, but work management software can help you take your project coordination to the next level.


